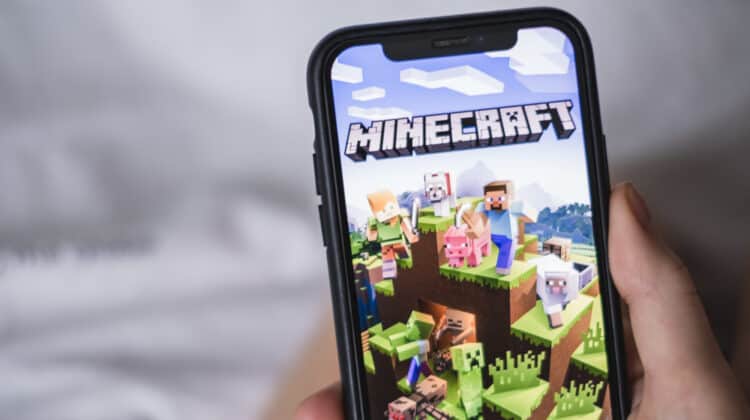
Minecraft is one of the most popular games among avid gamers.
However, you may not have the smoothest gameplay all the time, experiencing different issues.
One of the most frequent issues reported by users is lags and stuttering.
While stuttering is a common issue in modern games, you have a wide range of solutions to try and fix the stuttering issue in Minecraft.
Minecraft Stuttering (Causes, Fixes)
1. Graphics Card Issues
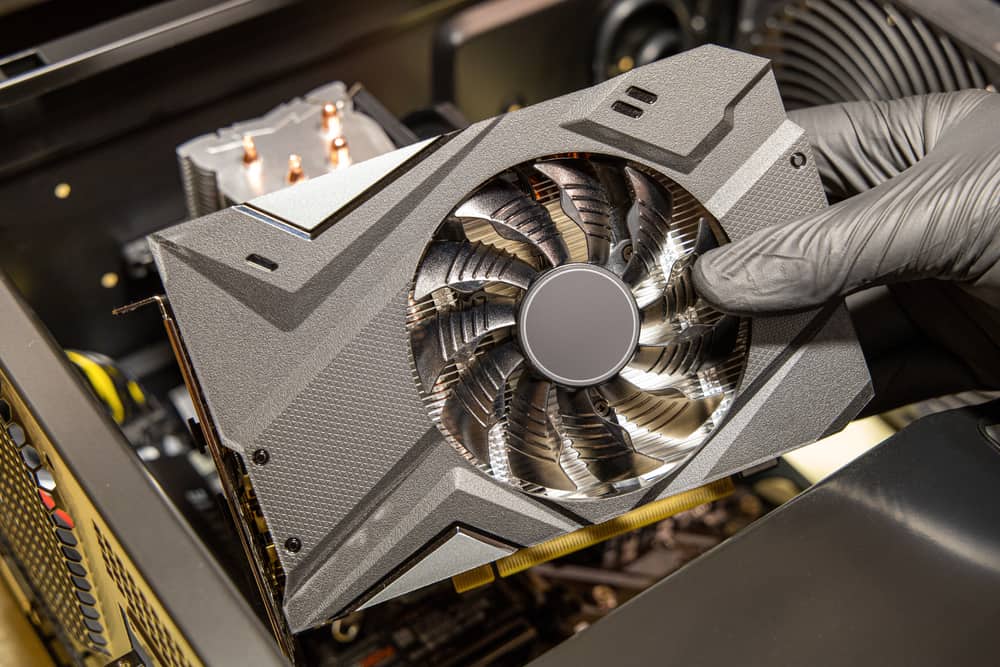
Even if you have the best graphics card for playing games, you may not be able to take full advantage of its specs.
One of the most important issues with Minecraft is that the operating system doesn’t let it access your dedicated graphics card to use its resources.
As a result, it’ll be stuck with your integrated GPU, giving rise to lags and stuttering.
It can also happen due to wrong graphics settings, making Minecraft use the CPU instead of the graphics card.
You may notice these issues, especially after updating the drivers.
Since the onboard graphics card isn’t powerful enough, it can’t fulfill Minecraft’s graphical requirements, especially at high FPS and when you download mods and shadows.
How To Fix
If Minecraft doesn’t recognize the dedicated graphics card, you can simply set it as the default graphics processing unit.
You should go through different settings depending on your graphics card, Nvidia or AMD.
For the Nvidia graphics card, go to Nvidia Control Panel and click on the Desktop tab.
Click on Manage 3D Settings on the left pane and go to Global Settings > Program Settings.
Select Minecraft from the dropdown menu and click Add.
Choose the Java executable folder and add it to the list.
Under the next option, “Select the preferred graphics processor for this program,” click on the dropdown menu and select “High-performance Nvidia processor.”
Click Apply to save changes.
For AMD users, go to AMD Radeon Settings and select Desktop.
Go to System > Switchable Graphics > Installed Profile Applications.
Click Browse to search among the installed apps and select Minecraft.
You should choose the Javaw.exe file and select High Performance for the dedicated GPU.
You could also change these settings via your computer’s display settings.
Click on a blank space on your desktop and select Display settings.
Locate Graphics settings at the bottom of the window and click on it.
Select Browse to search for Minecraft’s .exe file and add it to the list.
Click Options and select High Performance in the pop-up window.
Hit Save and launch Minecraft to see if the images still stutter.
Outdated Drivers
Another issue related to the graphics card that can cause stuttering is outdated or corrupted drivers.
Since Minecraft is a GPU-intensive game, it can’t run smoothly with outdated drivers.
You must have the latest drivers by downloading drivers from your graphics card’s manufacturer’s website and installing it on your computer.
This method is the best way to ensure your drivers are the latest, but you need to know your Windows version (32-bit or 64-bit).
If you want a more straightforward method, you can download the updates automatically.
You can do this through Device Manager, right-click on your graphics card under Display adaptors, and select Update Driver.
Follow the on-screen prompts to finish the update process.
Note. Some users have reported that updating drivers was ironically the main culprit behind the stuttering issue.
If you feel that Minecraft started stuttering after a recent update, try rolling back to the previous update and see if it helps.
You can access the rollback option through the same method for updating drivers.
However, instead of Update driver, you should choose Properties and go to the Driver tab.
There, you can see the rollback option.
2. Insufficient RAM

Regardless of the game, your gameplay depends heavily on the amount of RAM you have on your system.
RAM is the temporary memory that allows the system to access files more quickly, vastly improving performance and responsiveness.
It’s so crucial that every video game has a specific RAM requirement that you should check before downloading and installing it.
Otherwise, you’ll experience lags and other issues.
The minimum amount of RAM required by Minecraft is 4 GB, but the recommended amount is 8GB so that you can play smoothly with all the mods and textures.
How To Fix
Since Minecraft requires 8GB of RAM for the ultimate performance, you should upgrade it if you have insufficient RAM.
That’s especially the case if you multitask and do other resource-intensive tasks while playing games.
However, if you already have sufficient RAM, like 12 or 16GB, you may want to allocate more RAM to Minecraft.
Here’s how to do it:
After opening the Minecraft Launcher, go to the Launch options tab.
Move the toggle next to Advanced settings to turn it on.
Select your intended profile and turn on the JVM arguments.
Under the JVM arguments, you can see -Xmx and the value of currently allocated RAM next to it.
For example, if you currently have 1GB of RAM allocated to Minecraft, you’ll see -Xmx1G.
You can change this number to any RAM space you want to give Minecraft.
Start by adding one or two GB and see if it helps.
If you give it too much RAM, it will remain unused, and your other programs will suffer.
You could also allocate more RAM to Minecraft via the Task Manager.
Open the Task Manager while Minecraft is running by pressing Alt + Ctrl + Del.
Go to the Details tab and find Minecraft.
Under the Memory column, right-click on the value in front of Minecraft.
Click Set Priority and select High.
3. Hard Disk Issues

When you play a video game, it has to be transferred from the permanent memory (hard disk) to the volatile memory (RAM).
This transfer has to happen for any file you open on your computer to allow faster performance.
However, you may experience stuttering due to different issues when the file is being transferred.
One of these issues is a fragmented hard disk.
Hard disk fragmentation occurs over time as files scatter in different parts of the disk.
Although this issue can happen across different disks, it can affect your performance more if it affects the hard disk.
When you store a file on your hard disk, the system allocates a suitable space for it to be saved.
However, your storage gets more occupied with these files as time goes by.
If you have a large file, the system has to break it into smaller parts and store it on different clusters of the hard disk.
If these clusters aren’t next to each other, you’ll get a poor performance while retrieving data.
How To Fix
Since disk fragmentation is a frequent issue in Windows, it has a built-in tool to defrag different disks.
To run this utility, type defrag in Cortana’s search box and click on the Defragment and Optimize Drives app.
In the new window, you can see a list of your drives and their status regarding fragmentation.
Click on your hard drive and select Analyze to see if it’s fragmented.
If so, click on the Optimize button to defragment the hard drive.
4. Disable OptiFine
OptiFine is a great and popular tool to boost your performance and FPS and make your game look better.
It’s particularly recommended for low-spec systems that could benefit from the FPS boost provided by this mod.
However, it can deliver opposite results by lowering speed and stuttering because it eats up resources.
You could try uninstalling OptiFine and see if it helps with the stuttering issue.
Many users have reported that they’ve benefited from installing OptiFine, so if uninstalling the mod doesn’t eliminate the lag issue, you could reinstall it to enjoy its advantages.
5. Frame Rate Issues

One of the most frequent causes of game stuttering is that your graphics card and monitor have different frame rates.
That means your monitor refreshes the images at a lower rate than the GPU, and it can’t keep up.
As a result, the images won’t be consistent, and you’ll experience screen tearing or game stuttering.
How To Fix
Screen stuttering due to refresh rate differences is so prevalent that GPU manufacturers have developed a solution: VSync.
It’s a technology that synchronizes the GPU and monitor’s frame rates to deliver a consistent image.
If your monitor has a lower frame rate than the graphics card, VSync will limit the output frame rate to that of the monitor.
This way, the monitor doesn’t have to produce frame rates that it can’t handle.
Fortunately, most modern graphics cards support this technology, so you don’t need to worry about compatibility issues.
Here’s how to activate VSync for Nvidia:
- Go to the Nvidia Control Panel and click on Manage 3D settings on the left side.
- Find Vertical Sync under Settings and expand the dropdown menu next to it.
- Select On and click Apply.
- If you have an AMD Radeon graphics card, right-click a blank spot on your desktop and click the first option: AMD Radeon Settings.
- Go to the Gaming tab and select Global Settings > Wait for Vertical refresh > Enhanced Sync.
- Now, relaunch Minecraft to see if the stuttering issue has stopped.
If not, you may want to disable VSync because ironically, it can cause input lag and stuttering.
The reason is that VSync was originally designed to address screen tearing by lowering the frame rate.
Finding a perfect point where the monitor can handle can lead to stuttering.
Adaptive Sync
You’ll probably have adaptive sync technologies if you have a modern graphics card.
AMD’s adaptive sync is called FreeSync, while it’s called G-Sync in Nvidia cards.
These are more effective and advanced versions of VSync that overcome its limitations to eliminate stuttering.
If your monitor supports these technologies, you can experience a buttery smooth performance.
To enable G-Sync, go to Nvidia Control Panel and click on Display > Set up G-Sync.
Check Enable G-Sync to activate it.
To enable FreeSync for AMD graphics cards, right-click your desktop and select the first option, AMD Radeon Software.
Open its Settings by clicking on the gear icon at the top right corner of the window.
Go to the Display tab and select your preferred display under Global Display.
Under Display Options, the first option is Radeon FreeSync.
You can enable it by moving the toggle in front of the option.
However, if your monitor doesn’t support FreeSync, you’ll see “Not Supported” instead of Enabled/Disabled.
FreeSync has another useful feature that allows you to enable it for a specific application or game.
Therefore, you can use it to enable adaptive sync only for Minecraft.
To do so, open AMD Radeon Software and go to the Gaming tab.
Select Games and find Minecraft.
Click on it and look for Radeon FreeSync at the lower-left corner.
Click on the arrow and select On.
6. Render Distancing

You may think that Minecraft isn’t a graphically demanding game because its visuals aren’t that impressive.
However, since it has massive worlds, your computer requires huge processing power to load these worlds.
There’s already a solution to this issue, chunks.
Chucks are 384-block segments of a world that are 16 blocks long and 16 blocks wide.
They help you divide the map, which is 30 million blocks, into smaller and manageable parts.
However, loading these chunks can also be challenging, leading to stuttering.
How To Fix
You can fix this issue by lowering your render distance.
Render distance determines how many chunks are loaded at a time, and the higher the distance, the slower the loading time.
When the render distance is high, the game has to load many chunks simultaneously, even if they’re not needed.
The best thing is to lower the render distance through the game settings.
Open Minecraft and click on the Options button.
Go to Video Settings > Render distance.
You can lower the number of chunks loaded at a time by setting a value.
The highest recommended value is 8, but you can use a lower value to speed up the loading time.
7. Slow Computer Components

Are you sure that the stuttering is a Minecraft issue, or is it a problem caused by your computer?
Even a high-end PC can experience stuttering due to bugs, glitches, or issues that affect its hardware or software.
It’s advisable to eliminate the factors that generally slow down your computer.
How To Fix
You can speed up your computer in different ways.
- Close unwanted programs. This includes the browser tabs and windows that you don’t need. You can also use the Task Manager to see the apps and processes running in the background. Decide which ones you can terminate to speed up your system.
- Remove unwanted browser extensions and plugins. They can slow down your computer by eating up resources.
- Make sure the computer isn’t heating. Heat is a great performance-killer because of its effect on hardware. If your CPU gets hot, the failsafe mechanism activates to lower the system’s performance and cool down the innards. Also, make sure that your cooling options are effective and sufficient and follow all cooling methods to avoid overheating.
- Optimize storage. If you keep your games on your hard drive, it’s better to invest in an SSD since they’re faster and more efficient at retrieving and loading data. Get an SSD with NVMe slots, which are faster than SATA, to get a performance boost.
- Make sure all the component drivers and the operating system are updated. These include mice, keyboards, monitors, sound cards, game controllers, and even network controllers. Check the monitor manufacturer’s website for firmware updates and install them if available.
8. Java Runtime Environment

Since Minecraft is written on Java, it may experience lags when Java Runtime Environment doesn’t have priority.
If you give Java a high priority, your CPU gives it more resources to run.
Therefore, Minecraft will stop lagging.
How To Fix
You can set increase the priority of Java in the task Manager.
Press Alt + Ctrl + Del to open Task Manager and go to the Details tab.
Look for Javaw.exe and right-click on it.
Select Set Priority and choose High.
9. High Video Settings

Every gamer likes to play games at the highest settings to enjoy the ultimate gaming experience.
However, running a game at the highest settings can place a huge burden on your CPU, GPU, and RAM.
So, it’s advisable to turn off some fancy video settings and continue with normal features to see how things go.
How To Fix
Open Minecraft and click Options > Video Settings.
Here, you can change the options that seem to slow down your gameplay.
Smooth Lighting, Bobbing, 3D Anaglyph, and Clouds are settings you should turn off.
Set Graphics to Fast, and select Lower Max Framerate for FPS.
If VSync didn’t help you eliminate the lag issue, make sure it’s off.
10. Threaded Optimization

If you have a multicore or hyperthreaded CPU, you’ll perform better because each core has more than one thread.
Nvidia graphics cards have a threaded optimization feature that makes better use of this technology.
It boosts FPS to improve lags and deliver smooth gameplay.
However, some users have reported that this feature has opposite effects in some games, reducing speed and causing lags.
How To Fix
If you want to make sure threaded optimization isn’t the main culprit, try disabling it and see if it helps.
Remember that this feature is only available on Nvidia graphics cards.
To disable this feature, open Nvidia Control Panel > Manage 3D settings > Program Settings.
Expand the dropdown menu under Select a program to customize and choose Minecraft Launcher.exe.
Now go to Specify the settings for this program and locate Threaded Optimization.
Expand the dropdown menu and select Off.
Click Apply and launch Minecraft to see if it helps.
If the lagging issue persists, go back and set Threaded Optimization to Auto.
NEXT: Why Are Wii Games So Expensive? (Top 10 Reasons)