You’ve built yourself a brand-new PC, and when you push the power button, there’s no display on the monitor.
Maybe you’ve just upgraded the graphics card to a better one, and you face the same issue.
Either way, you’re in the right place.
In this article, we have gathered all possible culprits and their fixes for this situation, so read on to solve the issue.
We’ll use these terms in our solutions, so it’s vital that you know about them.
Installed New GPU, No Display (Causes, Fixes)

The term “Black Screen of Death” refers to when the monitor has no display and is black.
Let’s start by eliminating smaller issues that could be causing the problem and move on to the more serious ones.
1. Check For Cable Issues
Your problem could be as simple as wiring problems.
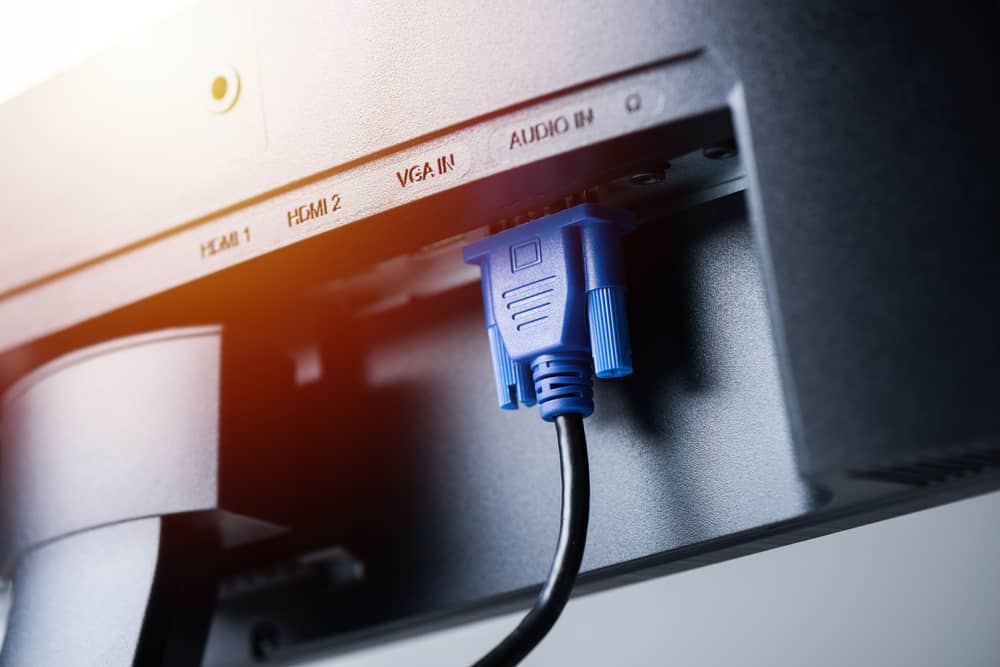
First, ensure that the monitor has power and its connection to the power supply is flawless.
Second, check the connection between the monitor and the GPU.
Unplug all the monitor cables, including the signal cable (HDMI, DisplayPort, VGA, DVI), and make sure you plug them back in properly.
Leave the PC idle for a few minutes before you connect them again.
You need to rule out any possible issues with the monitor or the cables.
Use a new signal cable to make sure the other one isn’t defective.
Alternatively, you can use another type of connection.
For instance, connect a display port cable instead of an HDMI.
If your monitor is new, swap it for another one that you are sure works properly.
You can also connect the monitor to a working PC instead.
If you get a display, it means the monitor is defective, and there’s an issue with its internal circuitry.
2. Check The GPU Power

Check if the power supply switch is on and that it’s working correctly.
Its fans should be spinning at a standard rate and blowing air out.
The GPU’s connection to the motherboard can only provide it with less than 100 watts of power.
High-end GPUs need more power to operate, so they have to connect to the power supply correctly.
The graphics card’s connection to the power supply can come in two forms: a six-pin or eight-pin power connector.
If your GPU needs an eight-pin plug, you need to connect one six-pin cable with an extra two-pin one.
You also need to consider the GPU’s power requirements.
You can find how many watts it needs to operate in its manual or on the manufacturer’s website.
This number should match the amount of power that the power supply can provide, or else you won’t get a display.
You’ll have to obtain a stronger PSU if it can’t get the juices flowing.
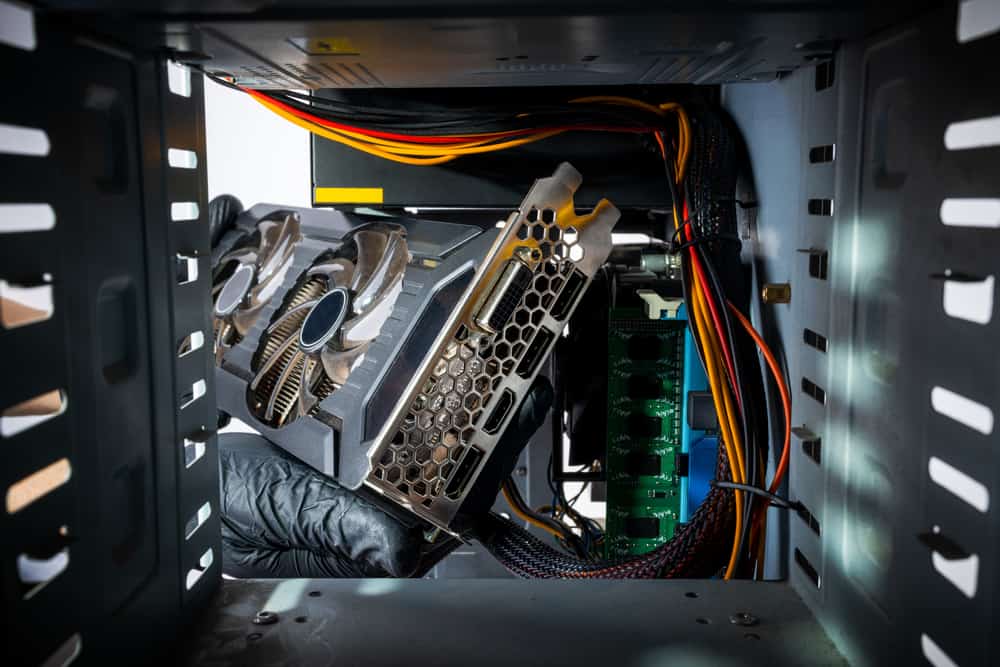
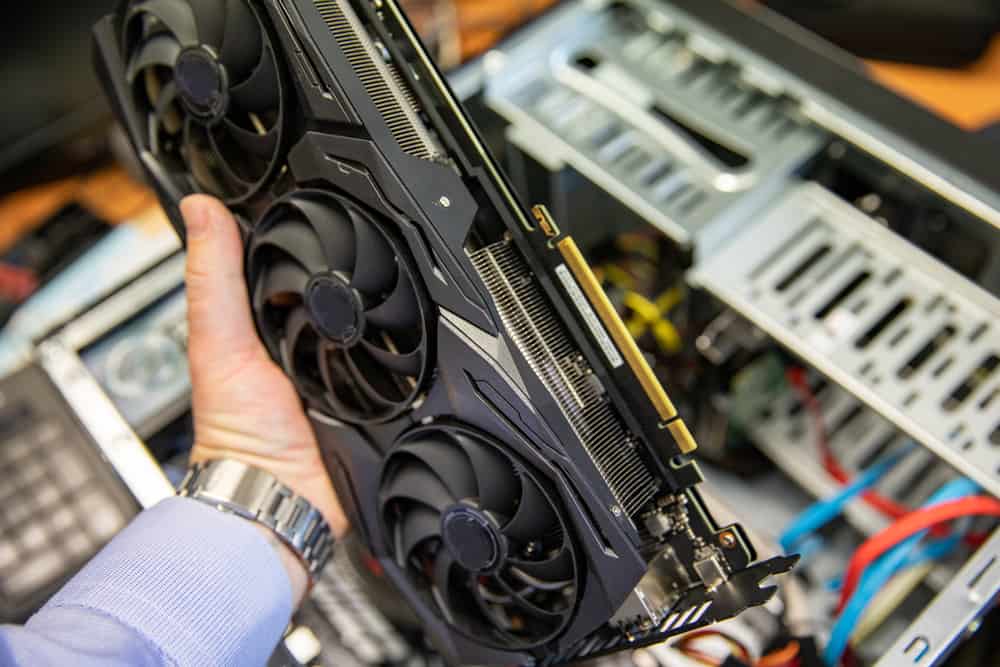
3. Check GPU PCIe Connection

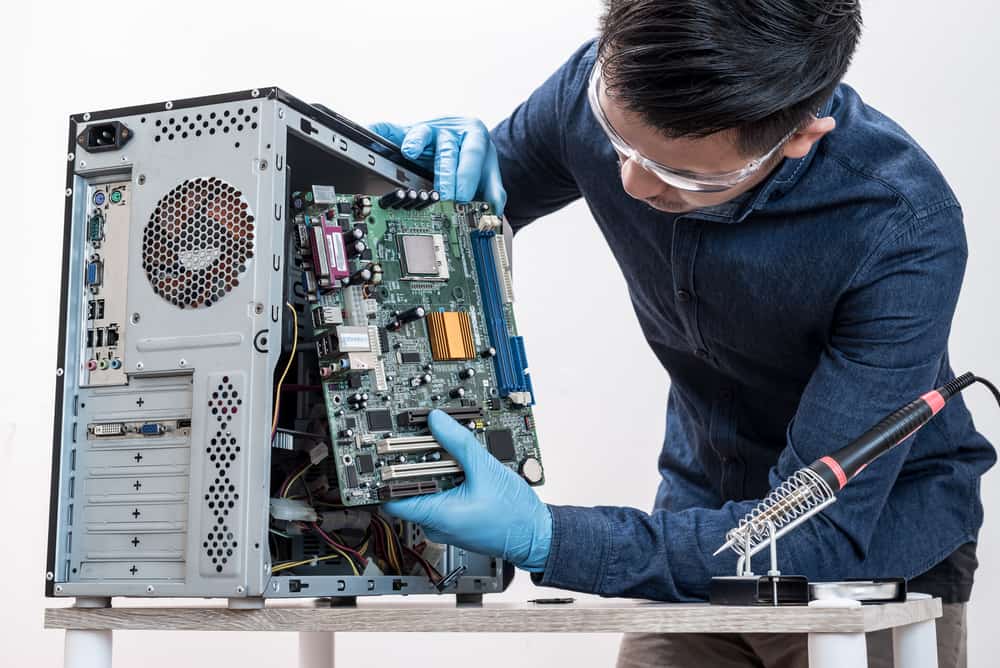
Turn off the computer and unplug the power supply.
Open up the case, remove the graphics card from the motherboard, and reassemble it to make sure it’s tightly attached to the motherboard’s PCIe slot.
If your motherboard has other PCIe slots, try installing the GPU in another one and see if the issue persists.
4. Troubleshoot External Devices

One of the external devices or their cables may be interfering with the display connection.
Turn off your computer and remove all the external hard drives and USB devices from the motherboard.
This includes the keyboard, mouse, USB flash drive, card reader, external hard drive, and other devices connected to the PCIe slots.
Also, disconnect the network and audio cables from the motherboard.
The only remaining connections should be the display cable and the GPU.
Turn your PC back on and see if you get a display.
If so, connect the external devices one by one to find the defective one.
Once you identify the problematic device, update its driver to solve the issue.
5. Check The Motherboard’s Integrated Graphics Processor
If your motherboard has a graphics processor built-in for internal display, this might be causing the issue.
Shut down and disconnect your PC.
Remove the graphics card.
Next, connect the signal cable to the motherboard’s display output interface.
If you get a normal display, the issue is with the graphics card.
Reconnect the wires to their previous positions and move on to the following fixes.
If, however, the screen remains black, your motherboard has an internal problem.
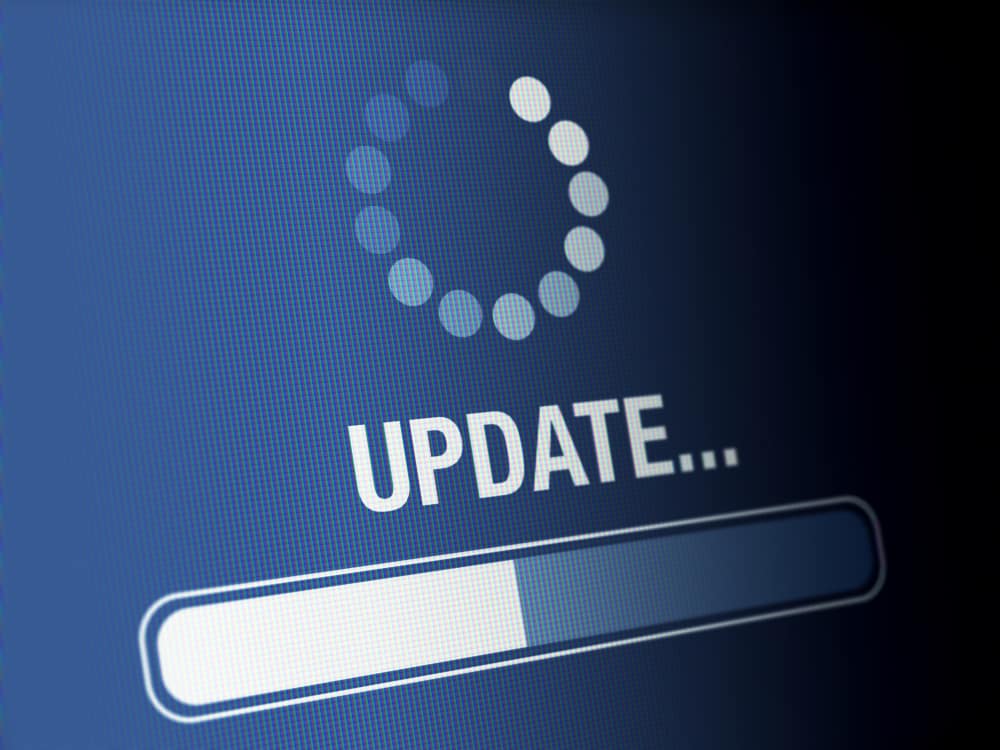
6. Reinstall GPU Drivers

An out-of-date GPU driver could be causing the black screen.
Your first choice is to try updating the drivers through Windows:
- Type “Device Manager” in the Windows search box.
- Find the Display Adapter, click on it, and locate your driver underneath.
- Right-click on the driver’s name and choose Properties.
- Open the Driver menu and click on Update Driver.
- In the window that pops open, choose “Search automatically for updated driver software.”
If this process doesn’t solve the problem, you’ll have to install the latest versions of display drivers manually through the manufacturer’s official website.
However, you should first uninstall the current driver.
You can do this through Device Manager → Display Adapters → Uninstall, but Windows tends to leave some traces of the old driver behind, causing further conflicts with the new driver.
You need to use a utility called the Display Driver Uninstaller or DDU to remove the driver entirely beforehand.
Download the app from their official website, run it, and restart your PC after removing the driver’s remains.
Head to your GPU manufacturer’s website (Nvidia, AMD, and so on) and download the latest driver version available.
Check and see if the issue is resolved after installing the driver.
You can also get help from third-party applications for updating drivers.
The Smart Game Booster is a reliable app that lets you know when your drivers are out of date and updates them for you with just a few clicks.
Another scenario to keep in mind is that the black screen of death can happen after you’ve installed a new GPU and updated its drivers.
If you’ve updated the driver through Windows, go to Device Manager again, right-click on your driver’s name, and choose properties.
Under the Driver menu, click on the Roll Back button.
If the button isn’t enabled or if you’ve updated the driver through the manufacturer’s website, uninstall the current drivers using the DDU tool, head to the website again, and install the earlier version of the driver.
7. Reinstall GPU Drivers In Safe Mode

If the black screen issue occurs again, you’ll have to install the driver again in safe mode because Windows will run with minimal service without a third-party program interfering.
First, uninstall the previous drivers using the DDU tool.
Then, download the latest GPU drivers but don’t install them yet.
- Open the Settings app and select Update and Security.
- Select the Recovery tab located in the left pane.
- Scroll down to reach the Advanced Startup and hit the Restart Now button.
- Select the Troubleshoot button in the Choose An Option window.
- Select the Advanced Options, and then choose the Startup Settings.
- Hit the Start button for Windows to restart.
- Once you see the boot options, press the 4/F4 key on the keyboard, selecting the Enable Safe Mode option.
- When Windows starts in safe mode, install the GPU driver, and hopefully, the issue resolves.
8. Update Or Roll Back The BIOS
Updating the BIOS is another solution you can try.
- If you can’t see the Windows startup screen, remove the GPU, and connect the monitor’s cable to the motherboard, as explained in the previous sections.
- When Windows starts, click on the Start button and then select Power.
- Hold down the Shift key and then hit Restart.
- You’ll see a screen with the title reading Choose an Option and Select Troubleshoot.
- Click on Advanced Options and choose the UEFI Firmware Settings.
- Hit the Restart button so that the PC boots to BIOS.
- Once you get to the BIOS screen, check the BIOS model and version.
- Using another computer, download the newest BIOS version and move the file onto a USB flash drive. It should be the only file in there, and it shouldn’t be in zip format.
- Plug the USB drive into your PC and select the BIOS Update option on the BIOS screen.
- Choose the file from the USB flash drive and wait for the update to complete.
If, by any chance, the no-display issue started happening after you updated the BIOS, reinstall the older version of the BIOS using the same method.
9. Check The CPU Voltage

Changing the CPU voltage settings manually or updating the BIOS that changes the default CPU voltage by mistake can lead to an underpowered CPU, which results in a black screen issue while installing graphics card drivers.
There are monitoring tools that can help you check out the CPU voltage and fix it if it’s underpowered.
CPU-Z is free software that you can install for the job.
10. Reset The BIOS

There are two ways to reset the BIOS.
Some motherboards have a switch for resetting the CMOS that can disconnect the BIOS from its backup battery power.
Check your motherboard’s manual or search online to determine whether there’s a switch, which should have either two or three pins.
Turn off your computer and unplug it.
If the switch has two pins, remove it.
If it has three, move it to the other side.
Press and hold the PC’s power button for 20 seconds to drain any residual power in the motherboard.
Put the switch back in its place.
If your motherboard doesn’t have this switch, you’ll have to remove the CMOS battery.
Once you’ve opened up your PC, look for a small, round battery seated in an exposed area on the motherboard.
It looks much like a watch battery, and a clip or lever will hold it in place.
Remove the clip and take out the battery.
Press and hold the PC’s power button for 20 seconds, and then put the battery back in its place.
11. Check Your Memory
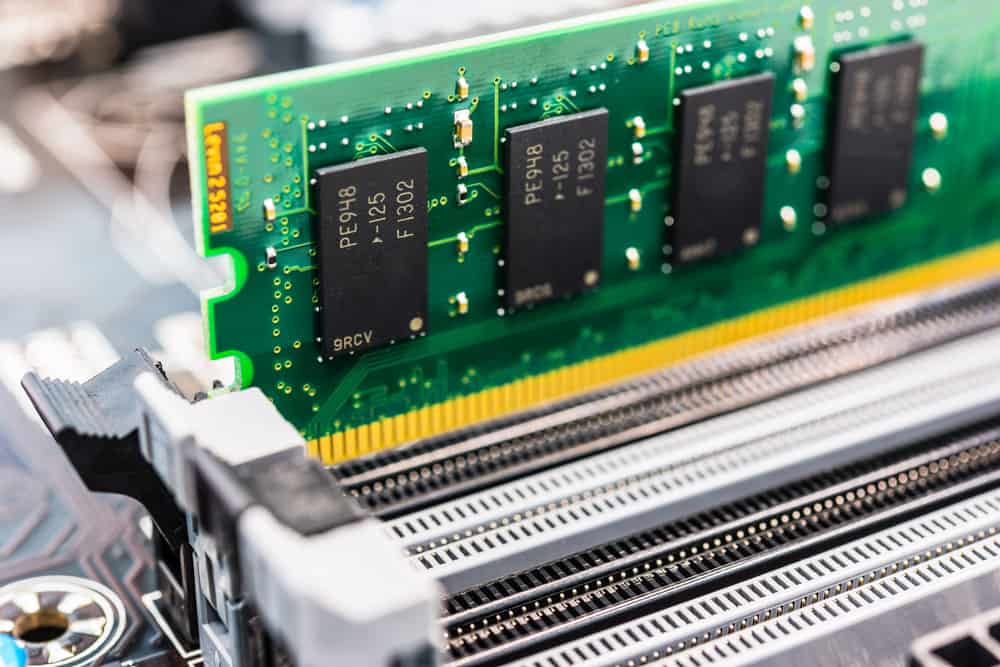
A defective RAM module could be the culprit for the black screen.
If you’ve installed two or more memory sticks, try removing all but one.
Then try to boot up your PC again.
If you’re successful, add the other memory sticks one by one until you find the troublesome stick.
12. Check For Overheating Or Dust
Overheating is one of the main causes of the black screen.
Excessive temperatures can cause the GPU to malfunction and lead to a no-display issue.
Overclocking, poor ventilation, and dust can cause overheating.
Firstly, find out the PC component’s temperature.
If your display comes up when you connect the signal cable to the motherboard itself, you can download your motherboard’s utility software for monitoring the parts.
For example, Gigabyte offers an App Center with a System Information Viewer for checking the parts temperature and other details.
MSI and many other brands offer their own specific utilities, as well.
Your second option is to use a reliable third-party utility to monitor the PC’s temperature.
There are multiple tools out there, but here are the most popular ones:
If you have confirmed that the PC is overheating, make sure all the fans are working.
It’s unlikely that the GPU fans are damaged if your GPU is new.
If any fan is faulty, replace it.
Keep your PC in a well-ventilated area.
If you haven’t cleaned the built-up dust out of the case for some time, use compressed air for doing so.
13. Disable Overclocking That Causes Instability

If you’ve overclocked the GPU, CPU, or RAM, it might be causing instability and therefore giving you no display.
As explained in the previous sections, you’ll need to reset the BIOS to its default versions to solve the issue.
Always be sure to check if your components are made for overclocking and take precautions before putting a heavy load on them.
14. Reinstall Windows 10

If your system wasn’t stable when you performed a Windows update, an incomplete update might have occurred, or the setup might have gotten stuck, triggering the black screen of death.
Also, the issue could be because of corrupted system files and drivers.
In any case, as a last resort, a clean Windows reinstall can fix the problem.
You’ll need to create a backup of your data beforehand and create a bootable USB drive with Windows installed on it.
If you don’t know the process, this article from Microsoft can guide you through it.
15. GPU Hardware Issues

The last possibility for a black screen is a damaged graphics card.
Since your GPU is new, it’s best to contact the manufacturer and use your warranty to either get it repaired or replaced.
What If You Get A “Graphics Card Not Detected” Error?

Sometimes you’ll get a “Graphics Card Not Detected” error from the system, which means that there’s an issue with the graphics card.
The solutions for this problem aren’t different from when you get no display on your monitor.
Go through the steps discussed in this article until you fix the issue.
What Is A GPU And How Does It Affect Display?
Firstly, let’s briefly explain what a GPU is and understand its relationship with the display.
The Graphics Processing Unit (GPU), also known as the graphics card or video card, is a printed circuit board that attaches to the motherboard inside the PC’s case.
The images that appear on the screen are made of more than a million pixels.
The PC will decide how to fill each one of these pixels for you to understand the image.
That’s the GPU’s job.
It takes the binary data from the CPU and translates them into the 2D and 3D images and videos that you see by performing rapid mathematical calculations.
The GPU accomplishes this process with the help of the following components:
- The Motherboard: The GPU connects to the motherboard to send and receive data from it and also draw power to run.
- The GPU’s Processor: The GPU’s brain or processor is where it decides what each pixel should look like.
- The GPU’s Memory: As the GPU is working, it needs its own RAM to store the information about each pixel, including its color and location.
- The Monitor: The GPU sends the translated data to a monitor through a cable for you to see the final result.


