
You’ve upgraded your graphics card to enhance your visual experience, but the results turned out to be the other way around.
Not only don’t you see clearer pictures, but you see no pictures at all.
The screen has completely been shut off.
From your power supply to the motherboard, display cable, or even the graphics card itself, the root of your problem may be your hardware.
However, it may also be just a software glitch and reversible by a few adjustment tricks.
Read on as we explore how you can check and troubleshoot both physical and logical causes of a dead screen.
New Graphics Card Black Screen (Causes, Fixes)
1. Insufficient Power

Just like a poor diet can’t supply your energy to activate during the day, an insufficient power supply fails to run your graphics card or other components.
On the other hand, different graphics cards require different amounts of power to work smoothly.
Chances are your old PSU isn’t powerful enough for the new hardware.
Check your card’s documentation for the minimum wattage required, and then compare it with your PSU wattage.
If the numbers differ significantly, you may need to invest in a PSU with a higher maximum rating.
2. Wrong Connector Type

Even if the PSU supplies enough power, it cannot transmit it to your graphics card with the wrong connector type.
Graphics cards work with various cables such as 3 Pin, 4 Pin, 6 Pin, and 8 Pin.
Make sure you’re not using the same old connector with the new component.
Additionally, some PSUs have more than one power cable, and you may have forgotten to connect one.
Make sure this is not the case with you.
3. Loose Video Cable
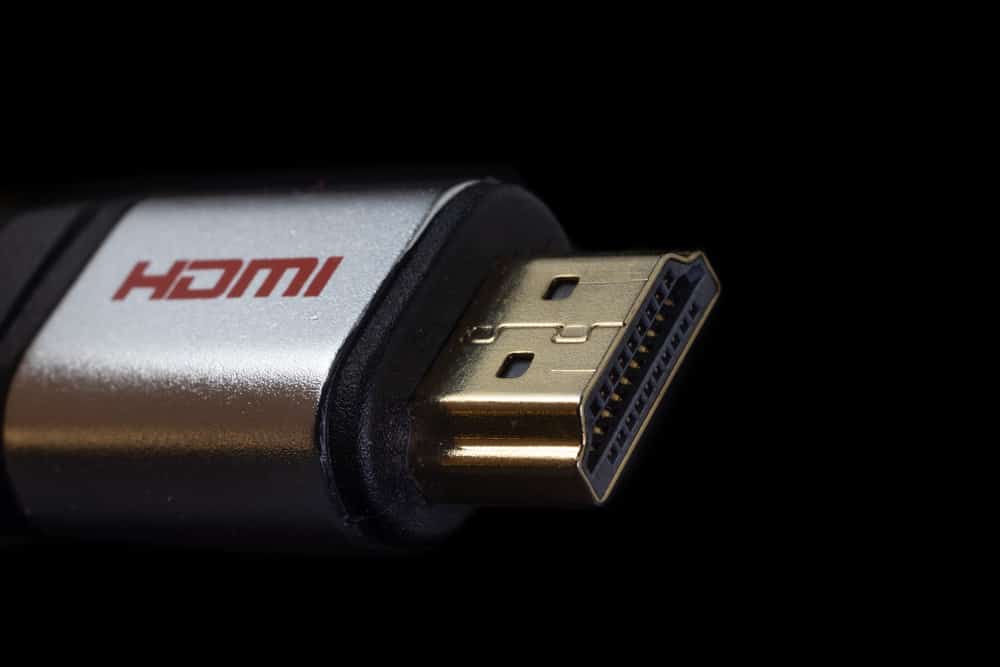
A loose video connector means no visual data can be transmitted from your PC to the monitor.
Maybe you’ve failed to securely connect the HDMI, VGA, or AV cable to the monitor after installing the graphics card and reassembling the case.
That made you think the new graphics card stands guilty for the error.
Before delving into more technical troubleshooting techniques, tighten all the cable screws in their places.
It’s also worth unplugging and re-plugging the cable to see if the problem disappears.
Just make sure to wait a few minutes before you reattach the cable.
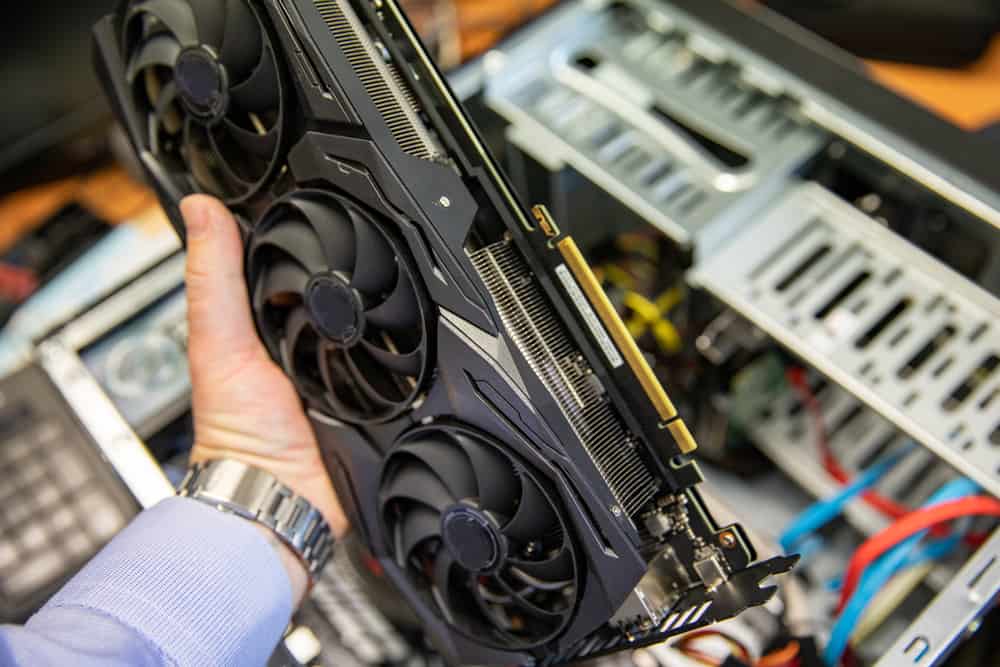
4. Improper Graphics Card Placement

Sticking a graphics card into a tower isn’t a simple process, and this increases the chance of incorrect placement.
Open up your case once again to ensure the graphics card is securely inserted into the PCI slots.
Is the PCI latch locking the card in place?
Isn’t the retention clip broken?
Are all the cables attached?
This video shows how to properly place the graphics card to avoid such problems:
Video:
5. Damaged Motherboard

This option especially applies to those with insufficient PC building capabilities.
Replacing your delicate PC components requires some expertise, and if you don’t have the skills, you may damage your motherboard while installing a new graphics card.
Touching the gold pins, dropping the boards, or failing to ground yourself are common causes of a motherboard failure.
To check if this has happened to you, reinstall the old graphics card and see how it works.
If you continue to see the black screen, you’ll need a new motherboard.
6. Motherboard Compatibility Issues

Have you done your homework before buying the new graphics card?
If not, you may have bought an incompatible unit.
Motherboards come with different types of PCI slots, such as x4, x8, x16, and x32 models.
(Each value indicates the number of lines in that slot.)
Your graphics card’s PCI slot configurations should match these numbers to be securely placed on your motherboard.
If it does, you can also place the card in another slot to ensure it’s not broken.
7. Absent Or Not Suitable Drivers

Computer drivers are intermediate utilities that help your hardware communicate with your OS.
Without them, your computer wouldn’t know how to perform your graphics card’s functions.
Therefore, you have to install a compatible driver upon the placement of the new graphics card.
Most operating systems automatically install the associated driver, but sometimes you need to do it manually.
Step 1: Boot in Safe Mode

To view the drivers’ setup page, first, you have to run your PC in Safe Mode.
It’s a troubleshooting mode that boots your system with minimum settings and applications.
This will likely let you recover the screen and tweak driver settings.
While the screen is black, you can start Safe Mode with three different methods:
Method A: The F8 key
- Press and hold the power button for a few seconds until you see the light turn off, then press it once again to switch on the PC.
- Before the OS loads, press F8 consecutively until you see a blue screen with a prompt.
- From there, select Troubleshoot > Advanced Options > Start-up Settings > Restart.
- Now, press F5 or 5 keys to select “Safe Mode with Networking.”
- Wait for the PC to load your Windows with essential apps.
Method B: Power Button
If the first method doesn’t work, you can alternatively use the power button to enter Safe Mode:
- Perform the first step of the above method, and immediately after you see the black screen, push the power button once again to turn off the computer.
- Repeat the off/on process three times, so the PC takes you to a new window.
- From there, click See advanced repair options > Troubleshoot > Advanced options.
- Select “Startup Settings for Safe Mode” and hit “Restart.”
Method C:
- Turn off your computer, disconnect it from the outlet, and open the chassis.
- Unmount your new graphics card, keeping the necessary precautions in mind.
- With the case open, attach the monitor to the video output, and then switch on the PC. Your computer should now boot normally because you’ve taken out the main culprit.
- Tap on the Start Menu and enter “msconfig” in the search field.
- Switch to the “Boot” tab in the new window.
- Under the Boot Options header, check the “Safe Mode” checkbox and press “Apply.”
- Turn off and unplug your PC.
- Remount the graphics card, and turn it on once again to boot in Safe Mode.
Note: If neither of the above methods works, chances are you’re facing a hardware issue, so you can skip proceeding with the other steps.
Step 2: Install Graphics Cards Drivers

- Visit your graphics card manufacturer’s website to download the latest driver for your device. (There might be a search tool in the Customer Service, Support, or Downloads section, letting you search by your device’s name, model, and number.) Once downloaded, zip the file, and memorize where you stored it so you can access it later.
- Now, search “Control Panel” in your Start Menu and open the resulting app.
- Open Device Manager.
- Press the “Action” button from the upper ribbon.
- Hit “Add Legacy Hardware” through the pop-up menu and follow the on-screen prompts to add your new graphics card. (At some point, you may need to browse your computer to add the downloaded driver.)
Step 3: Update The Existing Driver
Sometimes, your computer updates the associated driver as soon as you set up new hardware, but it gets the wrong type of software or one with bugs and errors.
In this case, you’ll need to update the driver manually.
- In the Device Manager, scroll down the list until you see the “Display Adaptors” option.
- Press the little arrow beside it to expand the list of installed video drivers.
- Select the existing video card driver and hit “Update Driver…”
- There’ll be two options: “Search automatically for updated driver” or “Browse my computer for driver software.”
In the first method, make sure you have the files on your PC by doing step 1 of the previous method.
Note: After making the necessary changes to your drivers, don’t forget to go to Start Menu and type “msconfig” command to exit Safe Mode.
8. Low Screen Resolution

Sometimes, the drivers that become automatically installed with your new graphics card wreak havoc on your system settings.
As an example, they can change your screen resolution without your permission.
If the set value is too low, your monitor cannot support it or show any pictures.
Since your display is dead, the best way to revert these settings is to reset your monitor to default settings.
Here’s how:
- Press the “Menu” or “Settings” button on your monitor to see if any messages appear on the screen.
- If so, use the adjustment buttons to find the “Factory Reset” “Default Settings” function.
- Confirm your choice and go through the subsequent prompts.
If the monitor doesn’t even show on-screen prompts, run the Safe Mode, and change the resolution through Windows Settings:
- Go to your Windows Start menu and select Settings.
- Then, select System and view the Advanced display settings.
- Scroll down to see the “Screen Resolution” segment.
- Click the expandable arrow to broaden the drop-down menu.
- From there, choose your preferred resolution.
Here’s a quick guide on the best resolution for each display:
- 1280 x 1024 pixels for 19-inch monitors.
- 1600 x 1200 pixels for 20-inch monitors.
- 1680 x 1050 pixels for 22-inch monitors.
- 1900 x 1200 pixels for 24-inch monitors.
Note: if the practice solved the black screen hassle, you have to roll back your video drivers to prevent its recurrence.
How To Roll Back Drivers
By rolling back a driver, Windows disables the current driver version and restores a saved one from previous installations.
This can probably wipe out the potential bugs with the new software.
- Go to your “Device Manager” through the Windows Search bar.
- Look for the “Display Adapters” category, expand it, and right-click your Graphics card.
- Press “Properties,” then navigate to the Driver tab.
- Click “Roll Back Driver” and confirm.
- If the computer asks, mark a reason you’re restoring an old driver.
- Let the computer do its job and restart your PC once finished.
9. Wrong BIOS Settings
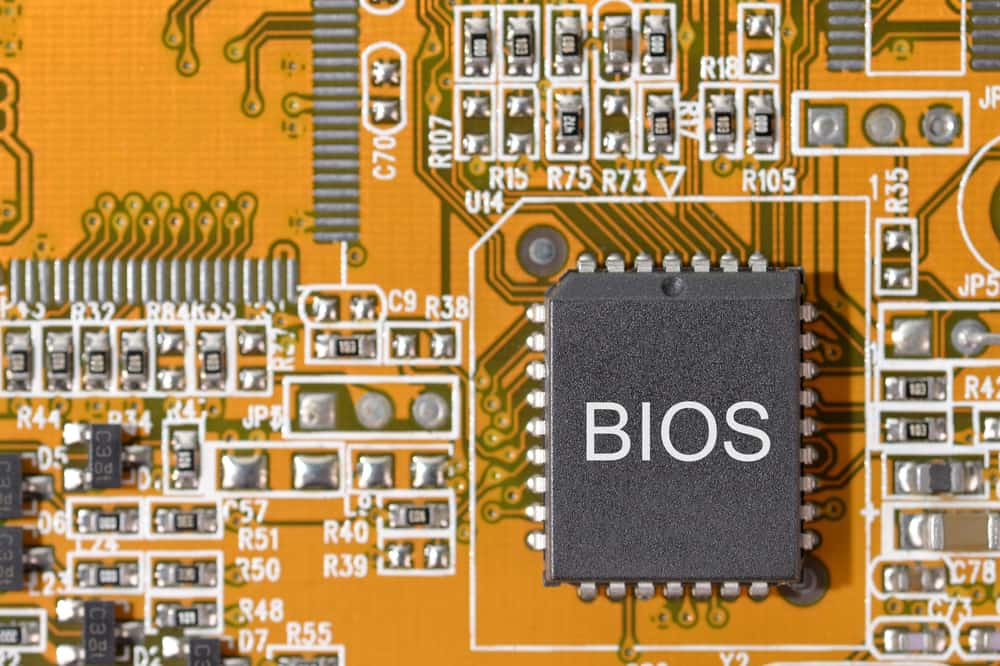
The BIOS is responsible for initializing all your computer utilities, including the graphics card.
If it becomes corrupted, your graphics card cannot become activated, and it won’t transmit visual data to your screen, making it completely black.
In this case, resetting your BIOS configurations can resolve the matter.
The easiest way to recover BIOS default settings is using the three-pin jumper:
- Press and hold the power button to turn off your computer.
- Flick the black switch at the back of the tower to entirely block the electrical current and then unplug the power cables.
- While taking the necessary precautions, open the computer chassis to access the motherboard.
- Look for the CMOS reset button and press it.
- If your computer doesn’t have such a switch, look for a three-pin jumper somewhere close to the CMOS battery, and change it to the Clear position. (You can recognize it by labels such as CLEAR, CLEAR CMOS, or CLR PWD/CMOS.)
- Swap the three-pin jumper from one position to another. (The jumper sits on two of the three pins, so change it from the 1-2 stance to the 2-3 position.)
- Wait about five minutes and put the jumper in the same old position.
- Reassemble, reconnect, and reactivate your PC.
A. Remove CMOS Battery
If you can’t find the BIOS jumper, removing the CMOS battery is another way to reset BIOS settings.
Just repeat steps 1 through 3 of the above section and locate the battery.
In some laptop models, you can remove the CMOS battery by pulling a toggle at the back of your device: It comes out in a tray-like holder, just like an optical CD drive.
Desktop computers and other laptop models have their CMOS battery inside the chassis, under the PCI slots.
Refer to your Manufacturer’s Catalog or search your device’s name and number to know where you can find the unit.
B. Update BIOS
An outdated BIOS may not recognize or support new devices installed on your motherboard, including your graphics card.
That’s because the new hardware probably wasn’t released when your motherboard was installed.
Updating it may be a practical way to resolve the blank screen issue after graphics card replacement.
Here’s how you can do that:
- Use another system to visit your motherboard manufacturer’s support site and get the latest BIOS version.
- Extract the zipped folder into a regular one and transfer the files to a USB flash drive.
- Go back to the faulty PC and press and hold its power button to turn it off.
- Switch the PC on and during the boot-up process, use any of the following keys to enter the BIOS interface: F1, F2, F10, Del, Esc
Note: The key may be different depending on your computer brand and model.
Lenovo and Dell, for example, work with F2 and F12, while Acer and ASUS accept F2 or Delete.
Also, press ESC or F10 if you’re an HP user.
- Find a way to open your Flash Drive and upload the stored files into your BIOS. (You may find an option in the “Boot,” “Configurations,” or “Advanced” menu, depending on your motherboard model.)
- Wait until the installation process ends and don’t restart or turn off your PC during this process.
- Exit BIOS.
10. Old PC, New Component
Some state-of-art graphics cards, such as AMD RX cards, are ill-adapted with legacy systems, especially those lacking UEFI firmware.
Check your laptop specs to ensure this isn’t causing you trouble.
11. Conflicting Windows Version

Another possibility is that your OS build version cannot support the newly installed component.
Therefore, you may also want to update your Windows as a last resort.
Launch your computer in Safe Mode and then proceed with these steps:
- Head to the Start Menu and tap on the gear icon to open Windows Settings.
- Go to Update & Security, tap “Windows Update” from the left pane, and select the grey button saying, “Check for updates.”
12. Faulty Graphics Card

In the worst-case scenario, you have to replace the newly bought graphics card.
Maybe you’ve harmed it during the installation process, or perhaps, it got damaged in the delivery.
Just unmount it and install it on a friend’s computer to find out.
You can also check the GPU temperatures or listen to the fan noise to see if anything seems abnormal.
Inspect the graphics card for physical dents, deformations, or frying marks.
If your motherboard comes with an error code display, reading its number and consulting the manufacturer would also be another diagnostic workaround.
NEXT: What Is IntelliPower? (Fully Explained)


Also check the refresh rate on your monitor! I just spent countless hours trying to fix a problem that only existed because my monitor wasn’t prepared for the refresh rate output by my new GPU.