
If you suspect that your graphics card is failing, you will need to take immediate action.
It’s possible, and relatively easy, to fix a GPU early on.
However, if you ignore the problem, it’ll start to heat up more and more to the point of frying.
If this happens, other healthy computer components might be at risk.
Continue reading to learn about the signs of a failing GPU first.
After diagnosing the issue, move on to the fixes.
How To Test If GPU Is Failing (Causes, Fixes)
A brand-new graphics video card should last you around five years.
You’ll only have to replace it if you want to work with more advanced graphics.
Here are all the possible causes that can lead to your GPU failing.
- Premature Failing: If your GPU fails soon after buying the system, faulty manufacturing is the culprit. You can usually get them repaired or replaced under warranty.
- Overheating: Overheating caused by dirt and debris build-up over time is the main reason for a GPU malfunctioning. Excess heat can also damage the GPU components if the cooling fan is broken or worn out. Moreover, if the fans are working correctly but you’ve stored the computer in a poorly ventilated area, overheating still happens.
- Incompatibility: If the graphics card you install isn’t compatible with your computer, or if you’re running it on apps and games with incompatible software drivers, it’ll get damaged.
- Bad connections: If the video card isn’t properly seated on the motherboard, damage will occur.
- Physical Damage: If you drop your computer or laptop or the casing takes a hit, the video card could get damaged.
- Overclocking: If you overclock a video card beyond the stock voltage and push it to its limits, it’s no longer safe, and you’ll shorten its life.
- Electrical outage: Any power surge or blackout can fry the PC components, and the GPU is no exception.
It’s wise to purchase an Uninterruptible Power Supply (UPS) and a surge protector.
Other possible causes:
- Static damage when installing the GPU
- Moisture build-up on the GPU
- Low RAM or faulty RAM
- Corrupted power supply unit or PSU
Common Signs Of GPU Problems
- Stutters: Experiencing stutters, freezing, and glitches are the first sign of a dying GPU, especially if it occurs when the card is under heavy graphics load.
- Artifacting: As time goes by, stutters might turn into different kinds of strange artifacts. When doing work that relies heavily on the graphics card, you might notice weird shapes, off-color pixelization, digital snow, 3D models stretching randomly, and so on.
- High Temperatures: Feel the back of your desktop or your laptop’s casing. If it’s hotter than usual, your graphics card might be damaged.
- Abnormal Fan Noises: It’s normal for a fan to start spinning at a higher RPM when you start doing some heavy gaming or editing on your PC. However, if the noise doesn’t seem natural or the high-speed sound begins when you use your PC normally, your graphics card is overheating abnormally, causing the fan to speed up.
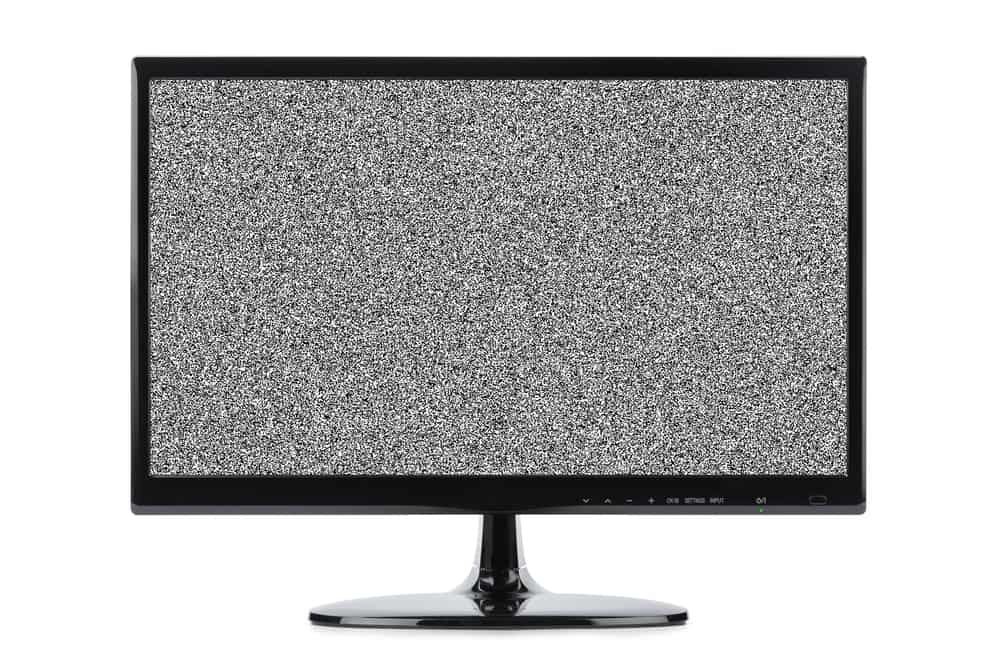
- Driver Crashes: This happens when the GPU is installed normally, and everything seems to be working fine, but the screen suddenly goes black for a few seconds. Once the display returns, either you’ll see everything is normal again, or the system will inform you that the video driver is not responding.
- No signal: Your card appears to work and the fan is standard, but as you turn on the computer, the screen either goes black, or you get the “no signal” error on the screen.
- Error codes: If your computer crashes when doing graphic-intense work and displays an error code such as: “Your PC ran into a problem and needed to restart,” or “Display driver stopped responding and has recovered,” the graphic card is at fault.
- Blue Screen of Death: The Blue Screen of Death can happen for many reasons, including a faulty hard drive, RAM, and so on. However, if your screen suddenly goes blue when your PC is performing some graphic-intense tasks like playing video games, watching 3D movies, or editing heavy videos, the GPU is the problem.
- No Booting: If the card doesn’t let your computer boot at all, or if the rebooting can’t happen after a crash, the graphics card might be faulty.
You might hear a beep sound when the PC is trying to reboot.
In that case, your motherboard has sensors that can detect corrupted components and shut down the computer to prevent further damage.
If you get a b2 error from the motherboard, the GPU is at fault.
In case you notice one or more of the mentioned signs, do further testing on your GPU.
First, run a heart-monitoring software like GPU-Z.
Then, run a stress test using a utility like the Heaven Benchmark tool.
Monitor the heat as the program runs.
The GPU temperature shouldn’t exceed 80°C, and no stutters, glitches, or random artifacts should happen.
You should get no errors, crashes, or black or blue screens.
You can also head onto the Device Manager.
Find Display Adapters in the device’s list and find your graphics card’s name under it.
Right-click on the title and select Properties.
If you see an error code 12 or 43 under Device Status, your video card has issues.
1. Check The Cables
You should start this process by eliminating problems that may share symptoms with a faulty video card.
The first one is a corrupted or disconnected video cable.
If your cable has an issue, it can create stutters, artifacts, and could even cause your PC to lose signal and the monitor to turn black.
Old systems connect the monitor to the GPU through a VAG cable, and newer models utilize HDMI or DVI cables.
Ensure you’re using the correct cable and that the HDMI cable supports the port’s version.
The cables should sit tightly in the ports.
If you find any loose connections or visual damage on the wires, replace them.
2. Rule Out Monitor Issues
If your monitor has internal circuitry issues or its power cable is damaged or loose, glitches and random visual effects can happen.
It might even lose signal and go black.
Therefore, the easiest solution is to swap the monitor with one that you know for sure works.
If the symptoms stop with the new monitor, you’ll need to replace the old one.
If not, move on to the next fix.
3. Swap APIs

The API could be the issue if you experience the problems only when you’re playing specific games.
The newest GPU models produce 3D graphics through these APIs: DirectX, Vulkan, and OpenGL.
Each of these APIs has different versions, and their levels of support vary depending on the GPU, graphic drivers, and operating system.
You can choose the rendering API through the game’s advanced graphical settings.
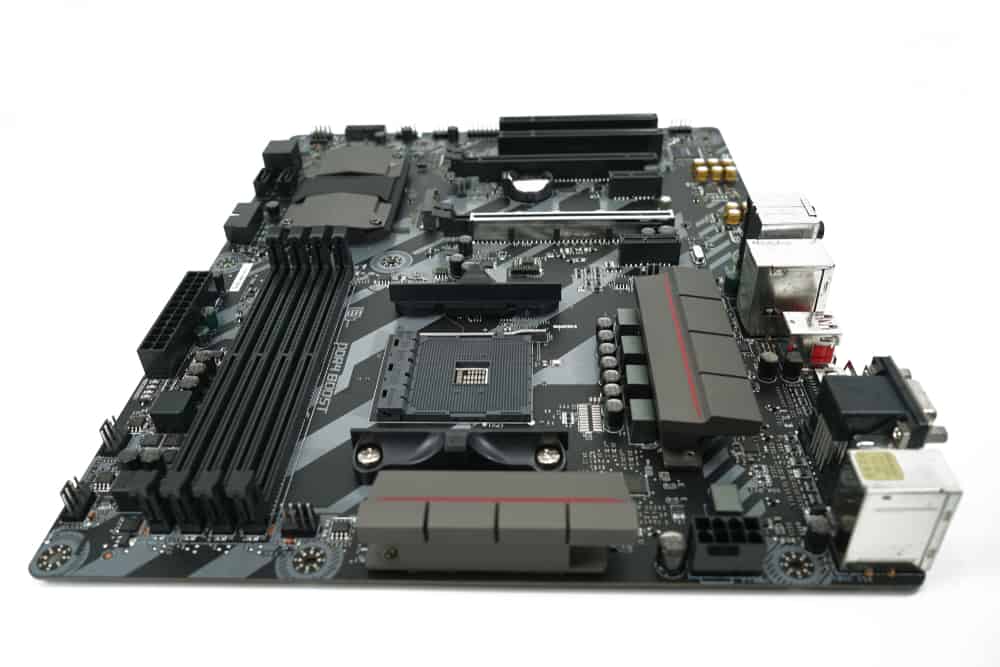
4. Install The Latest Chipset Drivers

Your motherboard contains many different components, including the RAM, CPU, hard drive, and so on.
These parts should collaborate with the help of specific chips on the motherboard, the most important of which is called the chipset.
Occasionally, software updates or installing new display drivers will cause problems with the chipsets, creating all sorts of symptoms and crashes.
When you experience problems with the graphics card, people advise you to update the graphic drivers, but they often forget about the chipset driver.
It’s best to reinstall the chipset now since we’ll tell you to install the latest versions of the video drivers in the following sections.
That might even solve the problem on its own.
1. Type “Device Manager” in the Windows search box.
2. Locate IDE ATA/ATAPI controllers in the list of devices and click on them.
3. You can see the name of the controller’s manufacturer like Intel, Nvidia, VIA, and so on.
4. Once you have the name, go to that manufacturer’s official website, and download the latest version of the motherboard drivers for chipsets.
The mentioned steps will improve the compatibility, make the motherboard components run at full speed, and solve stability issues.
5. Disable/Enable Graphics Card Drivers

Disabling and then enabling the video drivers might solve the no signal issue.
1. Type “Device Manager” in the Windows search box.
2. Locate the Display Adapters option in the list and click on it.
3. Once you see the graphic driver’s name, right-click on it.
4. Select Disable from the drop-down menu, and then restart your computer.
5. Head back to the Device Manager and this time, choose Properties once you right-click on the name.
6. Open the Driver tab and hit the Enable button.
6. Update Display Drivers Or Roll Them Back
An out-of-date video driver can be causing issues.
First, try to update the drivers through Windows:
1. Type “Device Manager” in the Windows search box.
2. Find the Display Adapter, click on it, and locate your driver.
3. Right-click on the driver’s name and choose Properties.
4. Open the Driver menu and click on Update Driver.
5. In the window that pops open, choose “Search automatically for updated driver software.”
If this process doesn’t solve your problem, you’ll have to install the latest versions of display drivers through the manufacturer’s official website.
However, you should first uninstall the current driver.
You can do this through Device Manager > Display Adapters > Uninstall, but Windows tends to leave some traces of the old driver behind, causing further conflicts and problems with the new driver.
Therefore, you need to use a utility called the Display Driver Uninstaller or DDU to remove the driver before updating thoroughly.
Download the app from their official website, run it, and restart your PC after removing it.
You must have seen the name of your diver when trying to update it in Device Manager.
It should be either Nvidia, AMD, or Intel.
Head on to their website and download the latest version of your driver.
If you’ve installed the latest drivers recently, your GPU might not be compatible with the updates, creating these problems.
If you’ve updated the driver through Windows, go to Device Manager again, right-click on your driver’s name, and choose properties.
Under the Driver menu, click on the Roll Back button.
If the button isn’t enabled or if you’ve updated the driver through the manufacturer’s website, uninstall the current drivers using the DDU tool, head to the website again, and install the earlier version of the driver.
7. Disable Your Sound System

If your PC crashes while you’re playing games, the first thing you’ll blame is the video card, and you’re probably right.
However, on rare occasions, crashes during games could be because of a faulty sound system.
When you’re using your computer normally and doing simple tasks, the PC runs a simple and reliable sound interface.
Once you start to play a game, the sound system uses more complex hardware.
The advanced settings might be buggy and cause the whole PC to crash.
To test the theory, disable the sound system and run a game:
1. Type “Device Manager” in the Windows search box.
2. Right-click on the Sound Driver and select Disable.
If the crashes stop, you need to install the latest sound drivers to fix the compatibility issues.
You need to download the sound drivers from the manufacturer’s website if you have a sound card.
If the sound system is integrated into your motherboard, its manufacturer should provide the updates.
8. Underclock Your GPU
Some video cards are meant to run at a particular GPU speed, but they can’t live up to that in reality.
Even if they can run at full speed, they become unstable and cause overheating and crashes.
If you underclock the GPU, which means slowing down the card values, including the video RAM clock rate and GPU clock rate, the problems might fade away.
Underclocking is possible through the apps used for overclocking.
If you’re running Windows XP, 2000, or 2003, ATITool can help.
The MSI AfterBurner or Dragon Center are both great options for newer graphic cards.
You can find many other utilities by searching online.
9. Cool The GPU Down
As mentioned, overheating could be the cause of many GPU issues.
If the lags, artifacts, errors, and crashes happen a few minutes after you’ve been running graphic-intense programs, it’s probably a heat issue.
The same goes for when you hear the fan spinning very fast after a while.
You can check the GPU’s temperature using special tools, including the MSI AfterBurner, GPU-Z, HWiNFO, EVGA Precision X1, and so on.
You can also feel the back of your desktop or laptop to see if it’s hot.
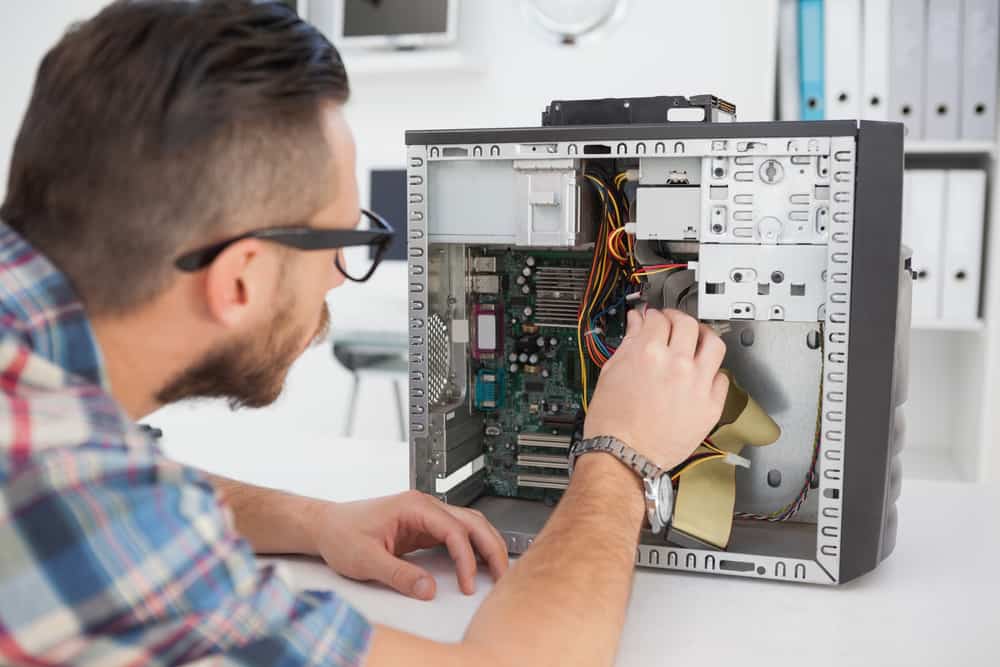
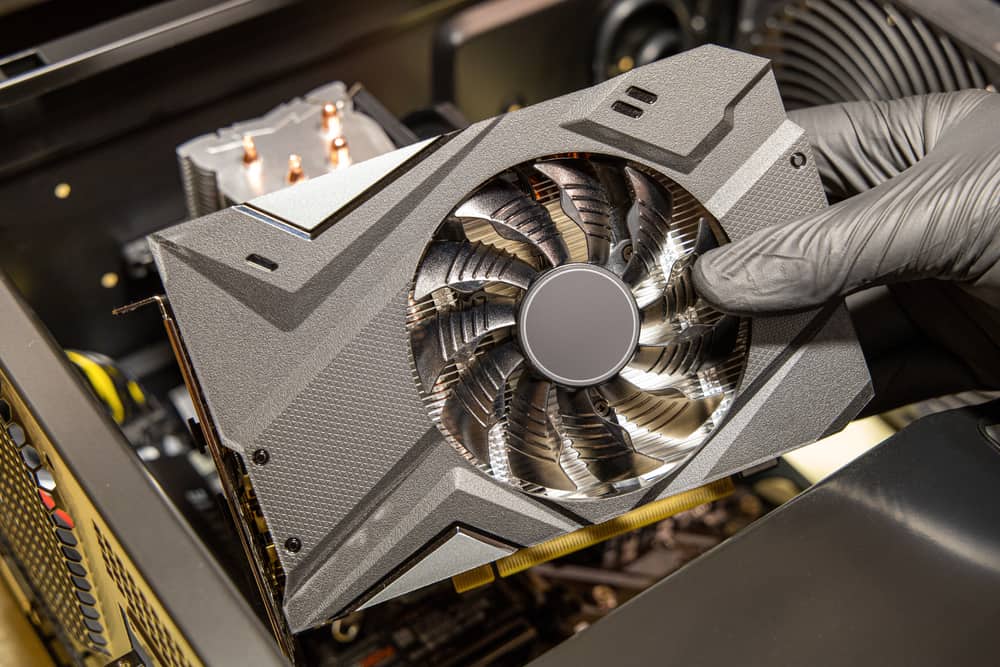
When you determine that overheating is the issue, you need to open up the PC and clean the GPU of built-up dust and debris.
While you’re at it, clean the RAM and power supply, as well.
If you’re a beginner, get a professional to remove and clean the components for you.
You can also try blowing a desk fan into the desktop vents to cool it down.
10. Check Motherboard Error Codes
Some motherboards display errors on a small screen.
You should open the computer case and remove the screws on the side of the panel.
Once you slide it back, you’ll see the error code display.
Restart your computer and record the error codes that come up on the screen.
Get the motherboard manual and find the list of error codes.
If the code matches the GPU errors, your video card is at the end of its life.
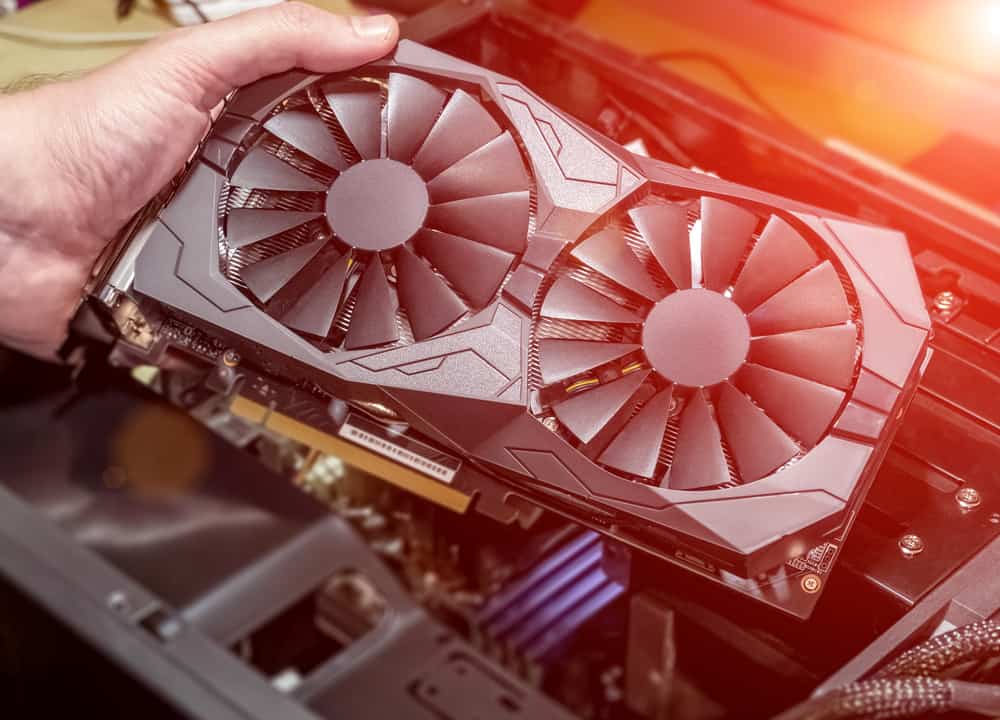
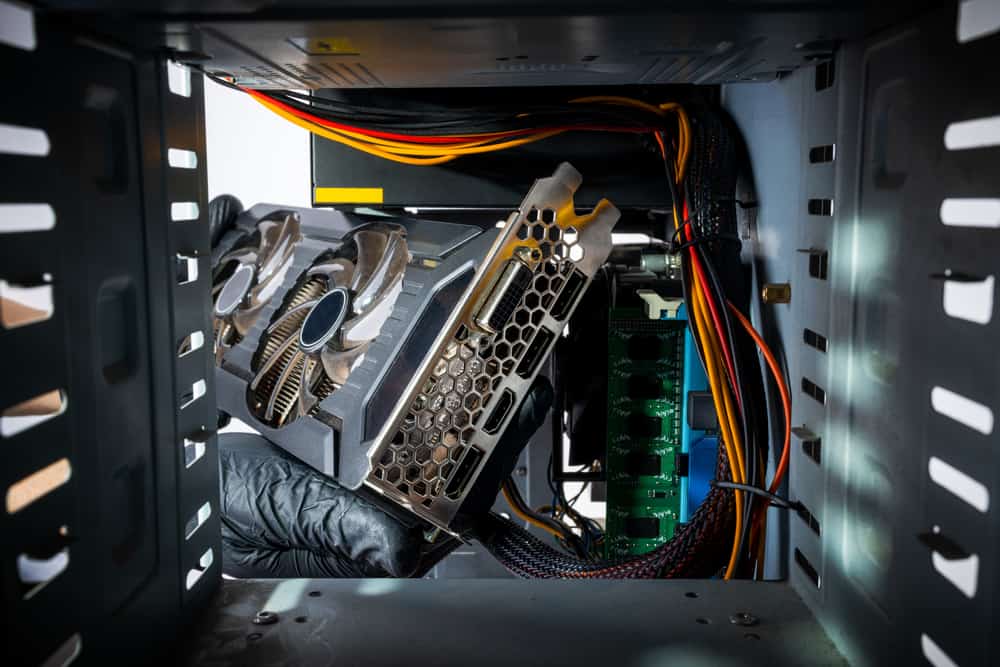
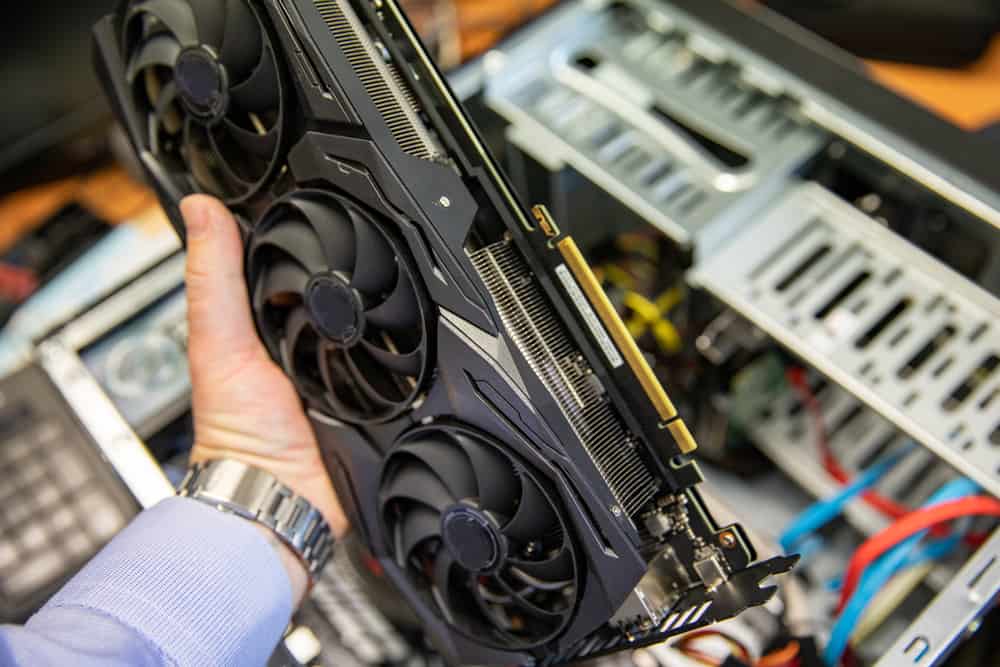
11. Make Sure The GPU Is Properly Seated
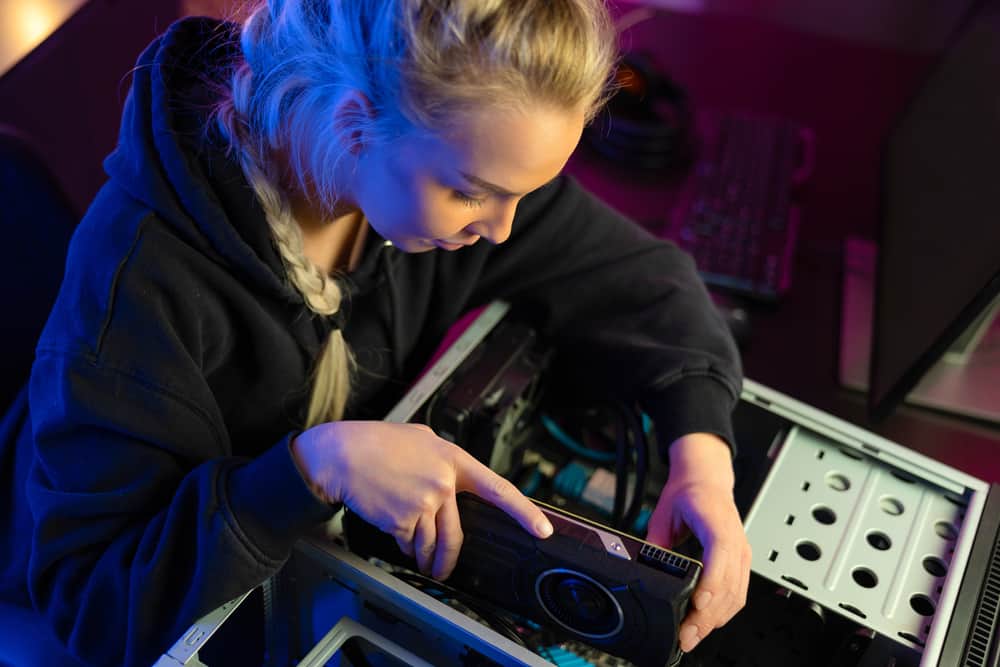
If you’ve recently moved the computer, or it has taken a hit of some sort, the GPU might have moved.
You should open up the PC and check if the graphics cards are correctly seated in the PCI slots and the additional power plugs connect firmly.
The screws should also be tight without wiggle room.
Again, if you don’t feel confident opening up the PC, contact a professional.
12. Remove And Change The GPU
If none of the mentioned fixes worked, your GPU is either damaged because of excess heat and overclocking, or it is past its prime.
If you’re still not certain, you can purchase a cheap video card and see if the issues are resolved after the replacement.
In that case, it’s time to say goodbye to the old GPU and install a new one that meets your requirements.
NEXT: Monitor Randomly Loses Signal (Causes, Fixes)


