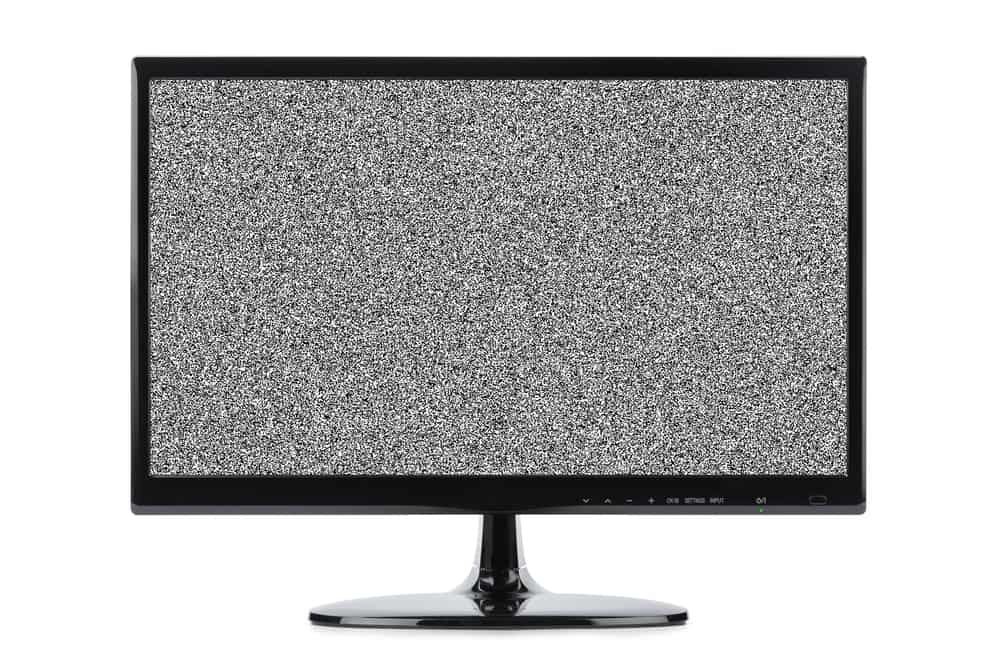
If your monitor suddenly starts to lose signal from time to time, or if the whole system shuts down, including your monitor, you have to troubleshoot every component of your computer one at a time.
Read on to figure out which steps to take first and what to do if any methods fail to solve the issue.
Monitor Randomly Loses Signal (Causes, Fixes)
1. Faulty Cables And Outlets
You’d be lucky if the cause is simply cabling or power issues.
First, start by verifying that your monitor has power.
You should see a blue, green, orange, or red light on the front, bottom, or somewhere on the monitor.
If you don’t see a working light, the monitor doesn’t have any power.
Check the wall outlet first and make sure it’s working.
If the monitor’s power cable is removable, swap it for another cable and see if it works; otherwise, check for any visible signs of damage.
If you see any, the cable might have been disconnected, and you should have a professional exchange it.
In case you have no luck getting the lights to come back on after proving that the cable and outlet are working fine, your monitor might have internal damage or a circuitry failure.
You must know that having a monitor repaired isn’t an economical option.
Replacing it will most probably cost you less, especially in the long run.
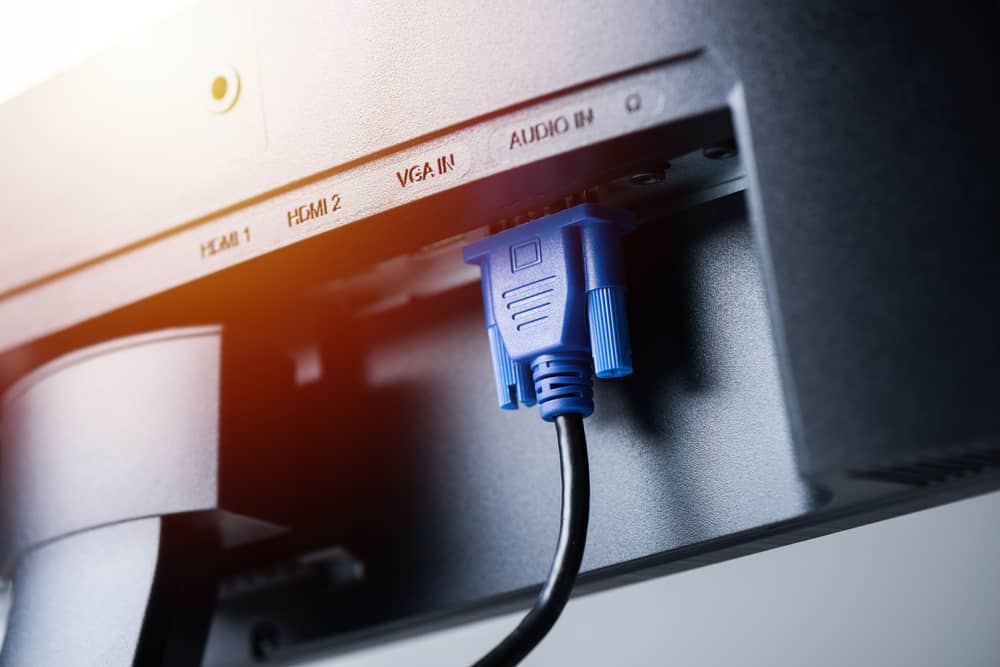
If your monitor’s lights are on, but the screen is black, the data cable might be causing the issue.
Older monitors use VAG cables, and new models work with HDMI.
Check if the cables are in the correct port.
They should fit securely in the port.
If the cable is old or damaged, swap it with a new one.
Make sure the HDMI cable supports the port’s version.
2. UPS Or Surge Protector Problems

A defective UPS (uninterruptible power supply) or surge protector might be causing the monitor to lose power from time to time.
Try connecting the computer directly into the wall outlet and disconnect the UPS from the computer.
If this solves the issue, then the surge protector is broken, or the UPS is either overloaded or has a power situation.
Make sure its software is updated and don’t connect too many devices to the UPS at one time.
3. Low Space On The SSD
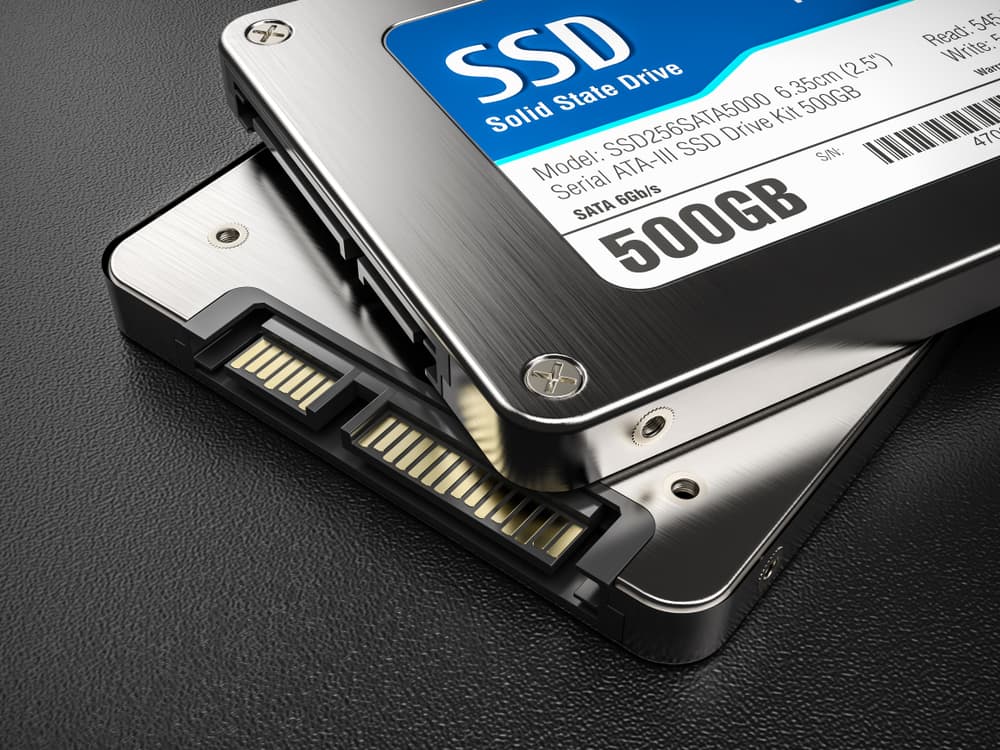
Although unlikely, some people have reported that their problem went away simply by clearing out some content from the SSD.
For instance, if your games take up most of the SSD’s capacity, it might cause the monitor to lose its signal.
Try freeing some space on the SSD to solve the issue.
4. Heat-Related Issues

Your monitor will automatically shut itself off whenever it overheats to prevent any further circuitry damage.
Touch the monitor and if it’s too hot, try to determine the cause of overheating.
It could be because of the room temperature and humidity, dust build-up, or blockage of the air vents.
Disconnect the monitor and let it cool down before plugging it back in.
Blow canned air into the vents and turn on the room’s air conditioning.
The overheating might originate from the computer’s casing components, including the hard drive, processor, video card, and so on.
That could damage the CPU and other parts of the PC, so the computer may automatically shut off the monitor or the whole system.
You can use special hardware or software to determine the CPU’s temperature.
Core Temp, HWMonitor, SpeedFan for Windows, and Temp Monitor for macOS are all great programs capable of displaying the CPU’s temperature.
You can also use heat probes and temperature guns to determine how hot the PC components are.
A CPU’s accepted temperature is between 45 and 50°C when inactive, and it shouldn’t exceed 80°C when working.
These temperatures may vary a bit depending on your computer’s model.
To keep the computer’s temperature low, make sure it sits in a location with proper ventilation.
Clean out the case and vents by blowing air into them.
Listen for the fans and make sure they’re working correctly.
A low grinding sound or a high squealing sound is cause for concern.
If the power supply’s fan isn’t working correctly, replace the power supply.
5. Hardware-Related Issues

The cause for your monitor losing signal or the whole system shutting off could be a failing hardware component.
Before you remove any hardware, check the Device Manager for any possible hardware conflicts.
Once you open the Device Manager, you should see a list of devices with an arrow pointing to the right next to them.
Other Devices or Unknown Devices shouldn’t be on the list.
A. Other Devices
If you can see the Other Devices category and a device with a yellow circle and an exclamation mark under it, the device might be conflicting with other hardware.
The device or its drivers might not be installed properly.
Right-click the devices, select uninstall, or highlight the devices and hit the Delete button on the keyboard.
Reboot the PC and let Windows install the devices again.
Open the Device Manager, and if the problem persists, Windows doesn’t have the proper drivers to install the device.
Download the latest drivers to solve the issue.
B. Red X
A red “X” next to a device’s icon means that the device is removed or disabled, or Windows can’t detect it.
Double-click the device, select the General tab, and choose the Use this device (enabled) option under Device usage.
If the device is already enabled or the option isn’t working, highlight the device and hit the Delete key.
Once you restart your PC, Windows will detect it.
If the mentioned steps didn’t help, you’ll need to install the latest version of the related drivers.
C. Downward Arrow
A small downward arrow next to the device’s icon shows that the device has been disabled.
Double-click on the device and select the Driver tab.
Hit the Enable button and reboot your PC.
D. Unknown Devices
If you see an Unknown Devices category, your Windows wasn’t able to identify the devices due to a lack of proper drivers.
Update or reinstall the chipset drivers to solve the issue.
E. Missing Devices
If you don’t see the name of the device you’re trying to set up in the list under Other Devices, or Unknown Devices, then your computer couldn’t detect it.
Turn your PC off, disconnect and reconnect your device, and reboot the system.
If the problem continues, either the hardware is broken, or it is not compatible with the current version of your Windows.
6. Virus Or Malware Issues

Different viruses work in different ways, one of which could be messing with your display or shutting off the whole system.
That could especially be the case if this problem occurs when you’re working with a specific program.
In any way, running a trusted antivirus and scanning your system for threats couldn’t hurt.
If you have an antivirus program installed, make sure it’s updated.
7. Operating System Problems

An issue at the operating system level could be causing the monitor or computer to shut off.
To determine if that’s the case, you need to restart your computer and enter the CMOS or BIOS setup.
Each computer might have a different way of entering this interface, but most recent PC models use one of the following five keys:
- F10
- F2
- F1
- Del
- Esc
What you need to do is to press the correct key as your computer is booting.
Once you’ve entered the BIOS setup, leave the computer on its own for a while.
If the monitor doesn’t lose signal or the system doesn’t shut off, your problem is with the operating system.
You have two choices; either restore Windows to a previous date when it didn’t shut off automatically or erase the hard drive and reinstall Windows.
Rolling back Windows to an earlier date is easy, and you won’t lose any data like photos, music, etc.
It may change some settings and drivers, though.
A. Windows XP
- Click on the Start button > Programs > Accessories.
- Select System Tools > System Restore.
- Once a window pops open, select Restore my computer to an earlier time and click Next.
- Select Show More Restore Points, choose a date, and confirm the restore.
B. Windows Vista Or 7
- Click on the Start button and type “System Restore” in the search box.
- Click Next on the window that pops up.
- Click on Show More Restore Points on the following screen.
- Select one of the options, click Next, and then confirm the restore.
C. Windows 8
- Type “Restore” in the Start search box and select Create a restore point.
- The System Properties window will open up.
- In the System Restore section, hit the System Restore button.
- Click Next in the following windows, and then select Show more restore points in the new screen.
- Select a restore point, click Next, and confirm your selection.
D. Windows 10
- Type “Create a restore point” in the Windows search box.
- Once the System Properties window opens up, go to the System Restore tab and click the System Restore button.
- Click Next and then Show more restore points.
- Choose one of the options and hit Next again.
If rolling back your Windows version doesn’t help, you should perform a factory reset.
That will reset the PC to its original settings, erasing the hard drive, and starting over.
This process will erase all your data, so be sure to back them up beforehand.
A factory reset is a sensitive issue, so be sure to look up your device’s software version and model and follow along with the steps provided on the manufacturer’s official website.
8. Failing Graphics Drivers (Video Cards)
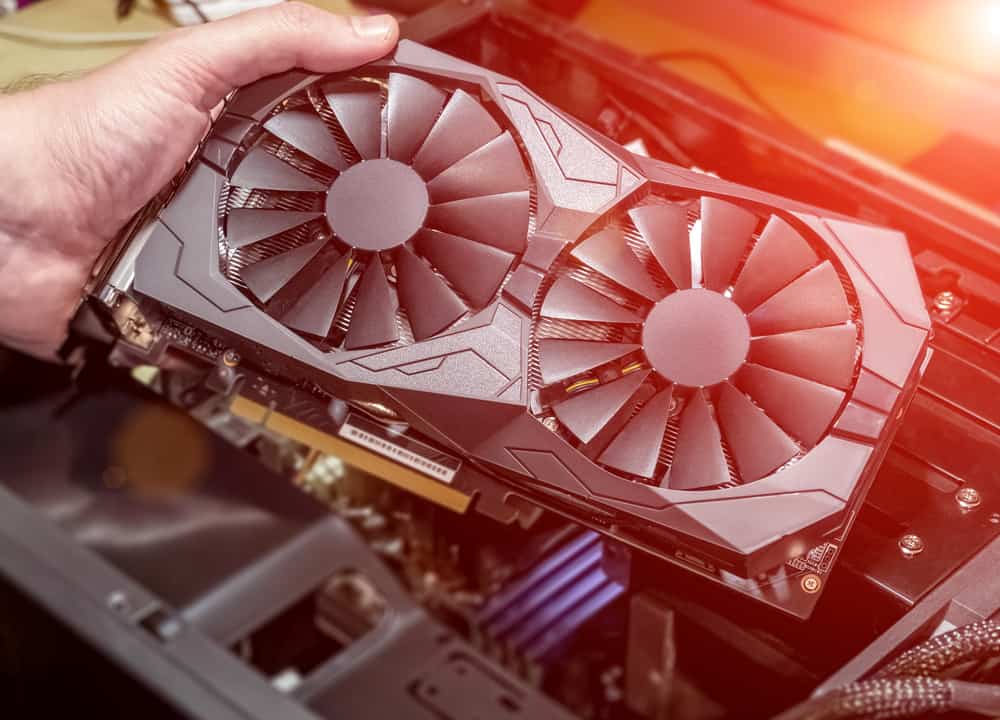
When you face a display problem, your mind probably goes to issues with the monitor first.
However, you should know that your computer’s graphic cards could be at fault, and it should be the main focus of your diagnostic efforts.
A. Update The Graphics Driver
Display issues usually occur when your monitor uses a resolution that your video card can’t yet support.
For instance, if you’re moving from a 60Hz to a 240Hz display or exchanging your monitor for a 4K one.
You can solve this issue by updating the video card drivers to access new features and fix possible bugs.
Windows updates usually install newer versions of graphic card drivers, but it’s best if you download them on your own.
Both NVIDIA and AMD provide the latest versions of their drivers on their official websites.
It’s wise to uninstall the old graphic drivers using the DDU tool (Display Driver Uninstaller) because Windows often forgets to remove all the parts, causing further issues.
B. Reset The Video Card
If updating the drivers didn’t help, resetting the drivers might.
You need to turn off your computer, open it up, and remove the screws that hold your video card in place.
Try to remove the video card from its expansion slot by moving it gently.
Once removed, clean all the heat sink grease from it.
You can use a small brush and some alcohol to gently remove any excess thermal paste and other unwanted chemicals from the video card.
Let the card sit until the alcohol evaporates completely, or use compressed air to dry it up.
Put the video card back in place and restart your PC.
Note: If your GPU is onboard, this method won’t help.
C. Replace The Video Card
If the two previous methods didn’t resolve the issue, the graphics card is probably broken, stopping any display output to your monitor.
To make sure the video card is damaged, you can either connect your monitor to another computer and see if it works or install the video card on another PC to check it.
Once you confirm the video card is bad, purchase a new one to replace it yourself or get a professional to do it for you.
You can also send your video card back for a warranty replacement if possible.
9. Custom Resolution Utility

Sometimes, your computer uses a resolution or refresh rate outside the range supported by your monitor.
This issue happens when the manufacturer overestimates the FreeSync range, resulting in a signal loss every time the frame rate falls below the FreeSync range.
It could happen every couple of minutes or every few seconds, depending on your situation.
To fix this issue, you’ll have to use a utility called CRU (Custom Resolution Utility) for editing the monitor’s EDED, including the FreeSync range.
Once you download the tool, open CRU.exe, click on Edit, and then increase the lower end of the FreeSync range by 1 Hz.
If the problem continues after you confirm the changes and restart the monitor configuration using the included restart64.exe, go back and increase the range by another 1 Hz.
For instance, you might go from 40 Hz to 42 Hz to get results.
10. Motherboard Issues
If you’ve determined that the video card and CPU weren’t causing the issue, the only remaining culprit would be a faulty motherboard.
You can run some tests to determine if your motherboard has an issue.
The first method is to open up the case and do a visual check.
You should check for a blown, bulged, or leaking capacitor.
If you find one, that’s what is causing the issue.
Next, check the CPU by removing it from the computer.
Look for bent pins on the side, which could be a sign of trouble.
Replacing a bad capacitor or bending a pin back are possible, but they both need precision.
If you don’t see a problem with a visual check, you can use software like Intel Processor Diagnostic Tool to test your motherboard.
You can also use hardware tools for diagnosing motherboard issues, including the Ultra-X collection or the PC-Doctor.
These aren’t cheap tools, but you might consider purchasing them.
Remember, getting help from a professional is always an option, especially if you don’t feel comfortable opening up your PC and checking for issues.
If you find an issue with the motherboard at any point, the wise thing to do is to replace it with a new one.
Repairing the motherboard won’t be cost-effective in the long run.
NEXT: Is ClipConverter Safe? (Everything To Know)


