
You’ve probably tried to turn on your computer like you normally would, but instead of seeing the Windows logo, you heard four beeps.
Unfortunately, these beeps could indicate multiple issues with the hardware, but once you detect what the problem is, hopefully, you’ll get it fixed in no time.
Computer Beeps 4 Times On Startup (Why This Happens)
1. Troubleshoot The Beep Codes

Sometimes computers are designed to show us error codes on the screen when something goes wrong and explicitly define the issue.
Other times, they communicate with us through beep codes.
The beeps have meanings, and they are trying to tell us what’s wrong with our computers.
Before you figure out the purpose, you need to make sure you heard the beeps right.
You must know that four short beeps are different from three short beeps and one long beep.
Turn on your computer and listen closely.
If you’re still not sure, don’t be afraid to restart the computer and listen again because you won’t cause a problem by doing so.
Make sure you get it right before moving on to the next section, or you’ll be wasting your time trying to solve a problem that your PC doesn’t even have.
2. Find Out The BIOS Chip Brand
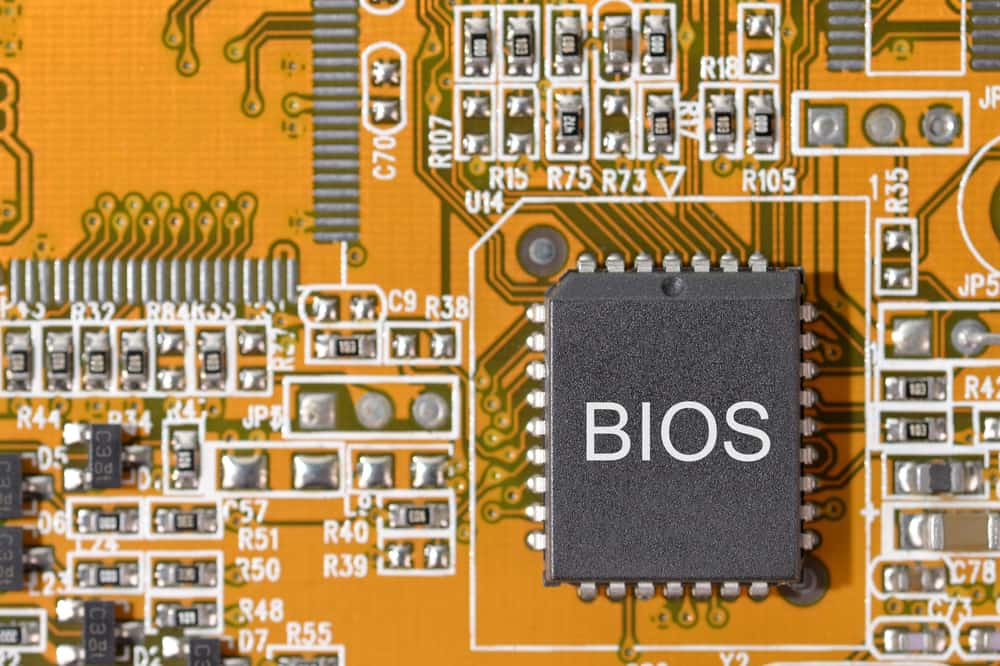
Several companies manufacture BIOS chips that sit on the motherboard.
Each of the companies has a unique way of communicating with beeps.
To identify the meaning of the beep codes, you need to figure out the brand of your BIOS.
The BIOS brands include:
- AMI (American Megatrends)
- Award
- Phoenix
- AST
- Compaq
- IBM Desktop
- IBM ThinkPad
- Mylex
- Quadtel
Some utilities provide you with the PC’s system information, including the BIOS manufacturer.
Speccy, PC Wizard, and Portable ASTRA32 are some free tools you can try out.
If your computer didn’t boot, your only choice would be to open it up and locate the BIOS chip on the motherboard.
The manufacturer’s name should be printed on it.
3. Learn What The Beep Code Means

From the many BIOS manufacturers mentioned in the previous section, only some of them have four beeps on their list of error code communications.
A. AMI (American Megatrends)
The American Megatrends manufacture AMI BIOS, and many motherboard manufacturers use this brand of BIOS chips.
- Four Short Beeps: This beep code indicates a problem with the motherboard timer or the clock IC.
It could also mean a problem with the RAM module located in the first bank of memory or the expansion cards.
- One long and Three Short Beeps: This code indicates conventional or extended memory failure, meaning your RAM is bad.
B. Award
Award BIOS chips manufactured under Phoenix Technologies communicate through screen errors.
Those not manufactured by Phoenix use beep codes:
- One Long and Three Short Beeps: Video card not detected or corrupted video card.
C. AST
- Four Short Beeps: Bad keyboard controller or keyboard
- One Long and Three Short Beeps: The video adapter’s memory has failed.
D. IBM
- One Long and Three Short Beeps: The video display circuitry (EGA) has a problem.
E. Mylex
- Four Beeps: The Keyboard or its controller IC on the motherboard is bad.
F. Quadtel
- One Long and Three Short Beeps: One or more of the system peripheral controllers are bad.
G. Dell
- Dell computers also have specific beep codes:
- Four Beeps: The RAM is bad.
4. Fix The Issue

Some of the mentioned issues are very common with simple solutions.
For instance, if the code indicates keyboard problems, you’ll have to ensure that it’s properly connected, and ultimately, you will need to have the IC on the motherboard checked out by a specialist.
For video card issues, make sure it’s correctly seated in its slot.
If it doesn’t function, get it checked out.
If the system peripheral controllers have gone bad, replace them.
The problem becomes more severe if there’s a RAM or motherboard issue.
Read on to troubleshoot the problem and fix it.
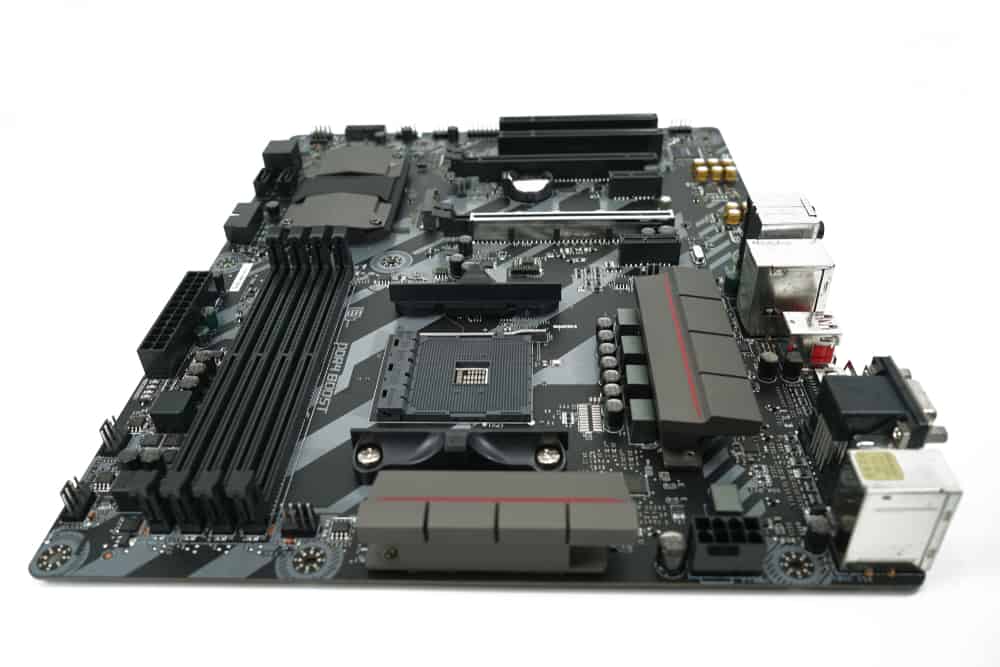
5. Reseat The RAM Sticks

The error might be simply because of dirt and debris build-up on the RAM sticks, or maybe one of them has somehow gotten loose.
Reseating the sticks has reportedly solved the issue.
- Turn off the computer or laptop and unplug the power cables.
- RAM sticks plug into the motherboard, so they’re inside either the computer case or the laptop’s body.
You should open up the screws on the side panel of the case or the bottom of your laptop.
Note that some cases have a button or lever for releasing the panel instead of screws.
- Locate the RAM modules on the motherboard.
There should be one or two white retaining clips holding down each RAM module in place.
- Push down on the retaining clips simultaneously, so they release the RAM stick.
- It should pop out of its slot.
- Gently remove the RAM module from its slot without touching the metal contacts located at the bottom of it.
- Blow on the slot, or dust it off with some compressed air.
- Blow some compressed air into the slot, as well.
- Slide the module back into its slot.
- Push on both ends of the RAM stick, and the clips should snap into place automatically with a clicking sound.
- Now, without touching anything else inside the chassis, plug the cables back in and start the computer.
- If you don’t hear the beeping sound and the system begins to boot like normal, you’ve solved the issue.
- Put the case back together.
- If you hear the beep code again, repeat steps two through seven for the next RAM stick.
6. Replace The RAM Sticks

If reseating the RAM sticks didn’t help you, you need to find out which one(s) is causing the issue.
Therefore, you need to correctly place all the RAM sticks in their slots except for one.
Turn on the computer.
If you don’t hear the beeps and your PC starts to boot up, then congratulations! You’ve found the troublesome RAM stick.
Let the computer boot completely and make sure everything is in place.
However, if you hear the beep again, put the RAM stick back in and remove the second one.
Repeat this process until you find the damaged one.
To ensure that you have the bad RAM stick, you can pop it in place and take the other ones out.
You should hear the beeps when starting your computer.
The model of the corrupt RAM stick is probably written on its back.
Search it up and try to find an identical one.
Once you purchase the new RAM stick, place it in the empty slot, close up the computer, and turn it on.
7. Reseat Expansion Cards

Much like the RAM sticks, the expansion cards might malfunction due to dust or loosening over time.
Reseating them might help solve the issue.
- Turn off the computer, unplug the cables, and open up the case.
- Locate the expansion cards.
- They’re usually secured to the case with a retaining screw.
- Carefully remove the screw and put it somewhere safe.
- Don’t drop and lose it in the case.
- If a screw remains in a computer case, it can bring up all sorts of issues.
- If the manufacturer didn’t use a screw and secured the expansion card in some other way, refer to the case manual to find out how to remove it.
- Move the wires out of the way.
- Use a firm grip on each side of the expansion card with both hands and avoid touching the electronic parts on the card.
- Slightly pull the card up a little, one side at a time.
- Work the card out of the slot gently.
- Inspect the card for any dirt or damage.
- The card, the metal contacts on the bottom of it, and the slot should be clean.
- If you detect any dirt, clean them carefully.
- Blow some compressed air on the card and in the slot, as well.
- Move the cables and wires away and align the expansion card with its slot.
- The mounting brackets should face towards the outside of the case.
- Push the card down firmly and secure it with the screw.
8. Replace Expansion Cards

After you’ve reseated the expansion cards, see if your computer boots up without beeping.
If it doesn’t, you may have a defective expansion card.
Remove all the cards and try to start your computer.
If it boots up fine, one of the cards is causing the issue.
To put the theory to test, place one card in its place and try to boot the computer.
Do this with all the cards until you get the beep code again.
Once you find the corrupted card, replace it with a new functioning one.
9. Reset The CMOS/BIOS

The CMOS or Complementary Metal-Oxide-Semiconductor is a small amount of memory that stores the BIOS or the Basic Input/Output system on the motherboard.
It helps the PC perform basic functions like booting.
When you get error codes when trying to boot up the system, resetting and clearing the CMOS can help eliminate the issue.
There are four methods for resetting the CMOS:
A. Case Button
Some computer cases have a button on them labeled “Reset” or “Clear,” which will reset the CMOS.
If you find such a button on the case, usually next to the power button, go through the following steps:
- Turn your PC off and unplug the cables.
- Hold down the button for about ten seconds and release it.
- Reconnect the cables and power the PC on.
B. Motherboard Button
Some of the more high-end motherboards have buttons on them for resetting the CMOS.
The buttons usually read “Clear,” “Reset,” or “CLR,” and you can access them by opening the case.
- Power the computer off and disconnect the cables.
- Press the power button on the case a couple of times to discharge the motherboard capacitors.
- Open up the case and locate the button on the motherboard.
- If you’re not sure where it is, you can read the manual.
- Ground yourself and then press and hold the button for about 10 seconds.
- Reconnect the cables and reboot your PC.
C. Motherboard Jumper
Most motherboards have a unique jumper made for clearing the CMOS and BIOS saved settings.
- Turn off your PC, unplug it, and press the power button on the case a couple of times.
- Open up the case and find the clearing jumper in the shape of a two or three-pin configuration on the motherboard.
It should read “Clear,” “Reset,” “CLR,” or something like that.
- If three pins share a middle pin, move the plastic jumper to the other side.
- If there are two pins, remove the plastic jumper altogether.
- Wait a couple of minutes and put the jumper back in its original place.
- Reconnect and restart your computer.
D. CMOS Battery
As a last resort, remove the CMOS battery to erase saved settings and force a reset.
- Power off the computer and unplug the wall outlet.
- Locate the CMOS battery, which is usually a coin-sized battery near the PCI Express slots.
- It might be secured in place by a metal clip.
- Gently remove the battery and wait a few minutes before you put it back in place.
- Reconnect the cables and reboot the PC.
10. Troubleshoot The Motherboard
A motherboard issue is one of the hardest things to diagnose and solve since various components on there can be causing the error codes.
We’ve already inspected the RAM, which is usually the first suspect in motherboard problems.
We’ve also covered troubleshooting the expansion card and resetting the CMOS.
If your problem continues after that, go through the following steps:
- If you’ve recently added new hardware to your computer, remove it and see if the issue goes away.
- If so, the hardware is either incompatible or defective.
- Remove any CDs, DVDs, and disks, and disconnect any USB devices.
- See if anything changes.
- Make sure the power cord and other motherboard cables are properly connected.
- There should be no sign of damage on the cables and no loose connections.
- Try plugging the power cable directly into the wall outlet instead of a power strip or UPS.
- If a computer overheats or detects a fan failure, it’ll refuse to boot.
- Check all the fans, especially the CPU fan, and see if they’re working correctly.
- You may have to repair or replace the defective fans.
- To find out if any of the drives are defective, power off the PC and disconnect all the data cables, including the IDE, SATA, SCSI.
- If you don’t hear the beeps when restarting the computer, plug the wires back in, one by one, to detect which is corrupted.
- The BIOS chip on the motherboard might have become loose because of heat expansion.
- After grounding yourself, give the chip a little push to make sure it’s secure.
- Remove the CPU from its place and reseat it into its socket if you’re comfortable enough doing so.
- You should also add a layer of fresh thermal compound between the heat sink and the CPU.
- Remember, you can always get a professional to help you.
- If you couldn’t solve the issue by now, either the motherboard, power supply, RAM, or CPU are corrupt.
- Either get your computer serviced or change the parts yourself in this order:
- Motherboard
- RAM
- CPU
- Power Supply
- As a last resort, turn your PC on, off, and on again and fast as you can.
- If the computer has issues with the power supply or motherboard, this method may help it boot up.
- You can get valuable information from your computer.
- Don’t use this method more than once.


