
The last time you used your PC, it was completely fine.
Now, once you press the power button, the fans spin for a few seconds, but nothing shows up on the screen.
Then the PC turns off and instantly turns back on.
You’ve never seen anything like this before, so you don’t know what to do—other than panic!
Luckily, we’re here to help you fix the problem.
In this article, we’ve covered some of the main causes of the restart loop and discussed a few simple fixes you can try yourself.
Continue reading to learn more.
PC Keeps Restarting Before BIOS

If your PC restarts before displaying the Windows logo, you have a hardware-level problem because Windows hasn’t started yet.
The most likely culprits are the power supply unit, RAM, and CMOS.
Other potential causes include a faulty GPU, a poorly seated CPU, or corrupt BIOS settings.
Finally, you should inspect your motherboard if you’ve ruled out the other components.
Although overheating can cause strange startup behavior, it’s an unlikely cause because the CPU isn’t under a heavy enough load to generate heat.
The ultimate solution is to take everything out of the case, leaving only the PSU, one stick of RAM, the CPU, and the motherboard.
If you get to the BIOS screen with this setup, you can add your parts one by one starting with the storage.
This way, you can identify the culprit and fix it.
On the other hand, if the BIOS screen still doesn’t appear on the bare-bones rig, you must find spare parts and test your components individually.
The good news is that you may not have to take extreme measures to pinpoint the cause.
Before gutting your computer, read the rest of this article for some helpful tips.
How To Triage A Computer With A Reboot Loop

Any number of issues can get a computer stuck in a reboot loop.
To avoid wasting your time, you must answer three questions.
The first one is the most important.
Do You Hear The POST Beep?
The Power-On Self Test (POST) is a diagnostic sequence of checks that validate your hardware’s compatibility and connections.
If the components are healthy and capable of communicating, you’ll hear a short beep.
Otherwise, the motherboard may generate a longer beep or a sequence of short and long beeps.
Each sound has a specific meaning depending on your BIOS version and manufacturer.
For example, six short beeps on an AMI BIOS indicate a keyboard error.
If you know what to listen for, you don’t have to go on a wild goose chase, checking your RAM, GPU, etc.
You can simply unplug the keyboard, and your computer will boot up.
We recommend learning more about beep codes in our complete guide so that you can easily troubleshoot your issue.
Do You See The POST Screen?
The POST screen displays a few details about the POST results, including the condition of the RAM and USB controllers.
If you see the screen, carefully read all the information to see if you can identify the cause.
For example, your motherboard might have trouble detecting your RAM, or an unrecognized USB peripheral could confuse your BIOS and prevent it from loading the OS.
The situation becomes more complicated if you can’t see the screen because you’ll have less diagnostic information to work with.
On the other hand, if you only see a black screen, there are two possibilities:
- There’s nothing to display: The motherboard becomes the most likely cause.
- The computer can’t display the information: The GPU is the primary suspect.
Read the relevant sections below to learn what you can do in each situation.
Do Your Mouse And Keyboard Turn On?
If the indicator lights on your mouse and keyboard are on, your motherboard is at least partially fine.
The first fix is disconnecting all the peripherals and restarting your computer.
If the problem disappears, your USB controller is at fault, which a BIOS or firmware update can fix.
If you answered no to all the previous questions, it’s hard to tell which one of your components has become defective.
We’ve listed some of the main culprits.
We’ll start with the most likely ones and move to the less frequent causes.
Cause 1: Power Supply Unit

PSUs are complicated components.
A failed transistor or capacitor can wreak havoc on your system.
Just because the PSU fan spins once you turn on the computer, you can’t rule it out as the culprit.
It may send too much or too little voltage to your motherboard, CPU, or PCI cards.
Install Another PSU
The easiest way to rule out your PSU is to replace it with a functional one.
Ensure the new PSU can provide the necessary number of watts to your system; otherwise, you can’t troubleshoot your problem.
It should also have the right number of 16-pin, 8-pin, and 4-pin connectors to power all your components.
If your PC turns on after setting up the new PSU, you need to permanently replace your PSU.
A technician can pinpoint the exact component causing the issue using a voltmeter.
They may be able to replace that component, but repairing a PSU isn’t wise as it increases the risk of power surges and unpredictable power behavior in your PC.
Cause 2: RAM

If replacing your PSU didn’t solve the problem, it’s time to check your RAM.
It’s one of the components that causes the most trouble in your PC, but it’s also easy to fix.
A. Reseat Your RAM
Reseating means taking out your RAM and then inserting it back in.
It helps eliminate loose connections and static build-up that may prevent your computer from booting normally.
Disconnect the power cord and turn off the PSU switch on the back of the case.
Then push the sides of your RAM slot to release the RAM stick.
Remove the stick completely and re-insert it.
If you have two or more modules, do the same to all of them.
Turn on your computer and check the boot status.
B. Install a Single Stick
Sometimes, one of the RAM sticks dies for no apparent reason.
It’s hard to test a stick on a computer that doesn’t boot.
However, you can identify a faulty one by installing the sticks individually and testing your computer every time.
C. Use A Different Channel
On the flip side, the RAM sticks may be fine, but the slots on the motherboard could be defective.
If your memory runs in dual-channel, switch both sticks to slots with a different color.
If this fixes the issue, you must have a technician look at your motherboard.
D. Replace Your RAM
As a last resort, you can borrow a RAM stick from a friend to test on your computer.
Make sure the DDR version matches the one supported by your motherboard, as RAM generations aren’t cross-compatible.
Try the new stick in all your slots to make sure you don’t miss anything.
Cause 3: CMOS Battery

The CMOS battery is a small round battery on your motherboard that delivers power to your BIOS.
It ensures the BIOS settings, including the password, stay permanent.
It’s also responsible for maintaining your system’s date and time.
Reseat Or Replace the Battery
If the battery fails, your BIOS might not be able to load the appropriate drivers when booting your computer.
Thus, it ends up continuously restarting your computer, hoping that the next time it loads, it can find the right settings and drivers.
Sometimes, reseating the battery makes it work again.
If that doesn’t work, you can get a replacement battery for a few dollars from the nearest computer store or order one on Amazon.
Cause 4: GPU
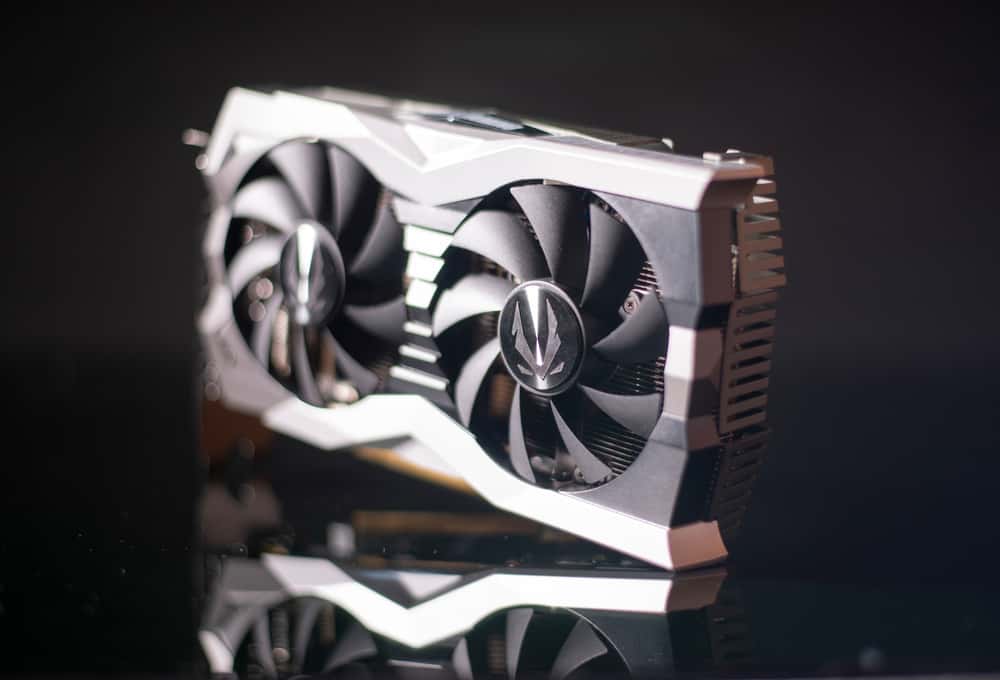
Although having a graphics card isn’t necessary when booting up your computer, it can cause endless restarts if it becomes faulty.
A. Disconnect The Graphics Card
Most CPUs have an integrated GPU that lets you output images on your screen—unless you have a series F or KF Intel CPU.
This onboard GPU won’t be nearly as good as your dedicated one, but it does the job when you want to diagnose a problem.
Turn off your computer completely and carefully unmount the graphics card from the PCIe slot.
Then connect your monitor to the graphics port on the motherboard.
Depending on your motherboard and monitor, you may have to find a VGA cable because most onboard graphics don’t connect using HDMI or Displayport.
If your monitor doesn’t support VGA, you can buy an HDMI to VGA convertor or find a monitor with a VGA port.
Test the setup without a GPU and see if it boots.
B. Plug The Graphics Card Into Another PCIe Slot
You can also try inserting the graphics card in another PCIe slot to ensure the current one is fine.
Like RAM DIMMs, individual PCIe slots on your motherboard can also become defective.
But the remaining slots on your board are fine if you’re lucky.
This solution might not apply to you if you’re using a mini-ITX or microATX motherboard since these boards usually have a single 16x slot.
In this case, you should test your graphics card on another computer or install a healthy one on your current computer to see what works and doesn’t.
The problem may be with the graphics card or the motherboard.
Cause 5: Storage

Your computer needs a boot drive to load your operating system.
If it can’t detect that drive, it’ll terminate the boot sequence and display an error on the POST screen.
However, it’s not uncommon for a faulty drive to cause a reboot loop.
A. Disconnect All Non-Boot Drives
If you have more than one storage drive on your computer, disconnect all the non-essential ones.
This way, your boot sequence only has one option to load Windows.
B. Install Another Drive
Another solution is to borrow a drive with Windows from a friend.
Although you might run into a few driver issues, if the new Windows loads, you can conclude that your boot drive has become defective.
A technician may be able to fix the drive by removing the bad sectors or repairing the MBR.
However, you’ll most likely need a new drive.
C. Boot from USB
Alternatively, you can boot your computer from a thumb drive with a portable OS.
This method allows you to run a lightweight OS and perform various diagnostic checks on your components and peripherals.
If you don’t already have a portable thumb drive, you need another computer and an empty drive with at least 8 GB of storage.
Most technicians have that sort of thumb drive on hand.
If you don’t want to deal with the hassle, you can take your computer to the shop.
Cause 6: CPU

CPUs are highly durable components that last years without any issues.
Therefore, it’s unlikely that you’re dealing with a CPU failure.
Nevertheless, the CPU’s heatsink and fan are likely to cause problems since they’re much less reliable.
A. Check The CPU Heatsink And Fan
Depending on your motherboard and CPU, the heatsink may attach to the motherboard using plastic pins—for example, if you’re using the stock cooler on an Intel CPU.
These plastic pins may erode or break over time, causing your heatsink to detach from the CPU.
As a result, once you turn on the computer, the CPU temperature spikes to 100°C.
The CPU turns off the computer to protect itself from extreme heat.
Check the heatsink pins and reseat the CPU if necessary.
If one of the pins is damaged, ask a technician to replace the heatsink because the damaged pin may have also damaged the motherboard.
Also, make sure the fan works correctly and can spin continuously.
Note: This is one of the rare cases where CPU overheating might prevent your system from loading Windows.
A distinguishing characteristic of this cause is that you must manually turn the computer back on once it shuts down.
Moreover, the duration that the computer stays on varies every time because it may take slightly longer or shorter for the CPU temp to reach 100 degrees.
A. Reapply Thermal Paste
Thermal paste is the soft conductive material applied on top of the CPU to enhance heat transfer.
It fills the microscopic gaps between the CPU and heatsink because air hinders heat exchange.
This material often deteriorates a few months after being applied, so you need to renew it every few months.
Here’s a short video demonstrating how to reapply thermal paste to a CPU.
Note: Always buy high-quality paste from a reputable store as generic products usually have poor heat conductivity and may damage your components.
Cause 7: BIOS Settings

The Basic Input/Output System is a series of instructions that tell your computer how to load its operating system once it’s powered on.
The software loads from a ROM on your motherboard, but it also has some configurable parts, which sometimes get corrupted.
Restore The Default Settings
If you manage to open the BIOS settings window, you can force your computer to read the default BIOS settings from the ROM on your motherboard.
This way, corrupt settings are resolved, and the system can start as if it was just assembled.
Depending on your motherboard, you can enter the BIOS utility page by pressing F2, F10, F12, or Del multiple times.
Once there, Press F9 and confirm your selection to load the default settings.
Press F10 to save your changes and restart the computer.
Note: Depending on the exact problem, you might not have access to the BIOS page.
In this case, turn off the PSU switch, remove the CMOS battery, and press the power button multiple times.
Wait thirty seconds and insert the battery again.
Although this solution isn’t ideal, it should restore all your BIOS settings to their default.
Cause 8: Motherboard

If all the previous tests and fixes fail, you most likely have a defective motherboard.
Testing and repairing a motherboard requires specialized equipment and some expertise.
You most likely need to contact a technician.
They can pinpoint the exact component causing your issue by checking all the chips and electronic parts on the motherboard.
Once the culprit is identified, they can decide whether it’s repairable.
Sometimes, the faulty chip, transistor, or capacitor is easy to replace.
Other times, a replacement part may be hard to find because the manufacturer used a proprietary component or made it impossible to desolder and resolder the component.
In these cases, you’ll have to consider replacing your motherboard.
NEXT: What Are Motherboards Made Of? (Explained)


