Windows is known for its seamless configuration and connection of external devices to its internal systems.
However, sometimes, this connection may run into problems, affecting your experience with your system.
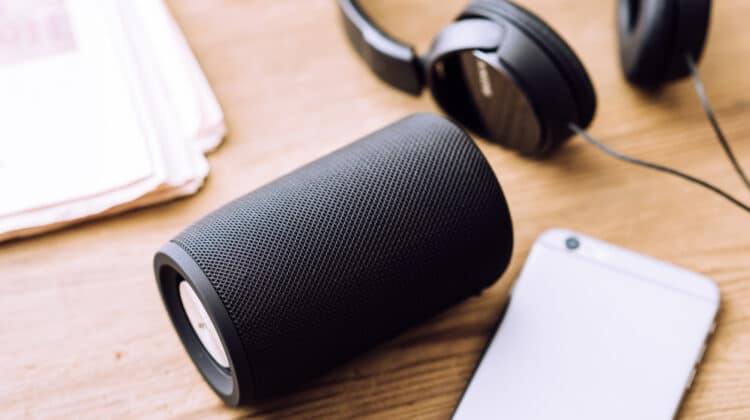
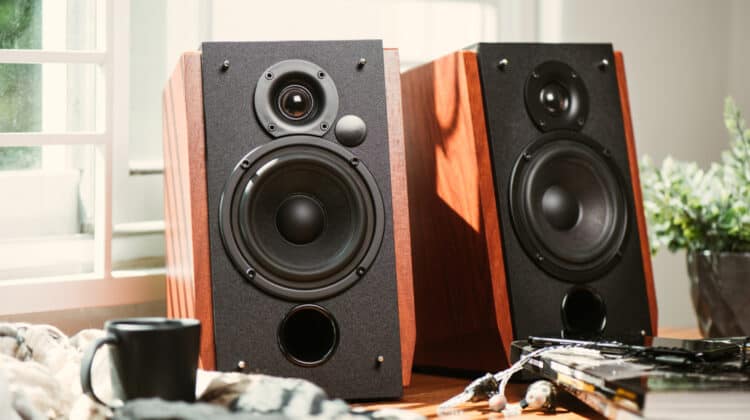
For example, suppose you’re listening to your favorite tunes when you realize the left speaker isn’t working.
That’s enough to kill your groove and leave you wondering what’s wrong with your setup.
This post will cover every possible factor that leads to a faulty left speaker and how you can address it.
Left Speaker Not Working (Causes, Fixes)
1. Make Sure The Speakers Are Okay Physically

The first step in troubleshooting your left speaker problem is to make sure the hardware isn’t faulty.
Check if it works when you connect it to another device like your laptop.
If it works with another device, the problem isn’t the speaker itself.
You could also connect your plugs into different jack ports on your computer and see if it works.
If the left speaker has sound, the female plugs are faulty, and you need to take it to the repair shop to see if you can do anything about it.
You could send it to the manufacturer if it’s still under warranty.
If the left speaker doesn’t have sound, you should detect the physical problems that made the left speaker stop working.
Check the following:
A. You’ve Plugged The Speaker Into The Wrong Jacks
Desktop computers have several jacks for audio devices.
They mainly include a line-in jack, a line-out jack, and a microphone jack.
Check if the speakers are plugged into the line-out jack.
If you’re unsure where every plug should go, fiddle with each plug and jack to see which of them makes sounds.
B. The Wires Are Frayed And Old
Inspect all the wires used in connecting the speakers to the computer.
Check the entire length of all the cables to see if there’s any physical damage.
That’s particularly the case if you have pets that like chewing on things.
Even the slightest wear may make the speaker faulty.
If you can’t see any physical damage, you can test further to ensure the wire isn’t faulty.
Unplug the cables from the left and right speakers and plug the left wire to the right speaker and the right wire to the left speaker.
If the left speaker works and the right speaker doesn’t, the problem is definitely with the cable.
Another way to make sure the wire is the culprit is to replace it with an analog 5.1 connection.
If you have sound in your left speaker, you can change its cable and easily fix your problem.
C. Plugs Aren’t Making Good Contact
When the male or female plugs can’t touch each other properly, your left speaker becomes faulty.
Make sure the plugs are entirely inside the female plugs by gently pushing them inside.
If this doesn’t solve the problem, make sure nothing is preventing complete contact between the plugs.
Clean the plugs with a cotton swab wetted by alcohol or contact spray.
D. Connect Headphones
Another way that helps you find out if the problem is hardware or software-related is to use headphones instead of speakers.
Plug your headphones into the audio-out jack and see if it works.
If you have no sound, you may have software problems.
If you do have sound, the speaker is at fault.
After performing the hardware test and making sure your speaker is okay, you can check for software-related issues.
2. Perform Audio Troubleshooting

One of the first things you can do is get the Windows system to automatically examine your sound system.
This way, you can save time and avoid getting involved in the process of troubleshooting.
Windows 10 has a helpful option for audio troubleshooting that detects any problems in your sound system and automatically resolves any issues.
To run the audio troubleshooter,
Type “Troubleshoot” in the search bar on the lower left-hand corner of the screen and click on “Troubleshoot Settings” in the results.
Click on “Additional Troubleshooters” and find “Playing Audio.”
By clicking on this option, you’ll see a “Run the Troubleshooter” button.
The dialogue box prompts you to choose the specific speaker you want to troubleshoot by clicking on some options.
These choices include built-in speakers, headphones, or external devices that you’ve added.
If you don’t have an external speaker, you want to choose the default speakers.
Otherwise, go with your customized options.
By clicking on “Next,” you let the system start the troubleshooting process.
After the process finishes, the troubleshooter may recommend solutions or detect issues that may be the root cause of your problem.
The best thing to do is try what the system has suggested and see if your left speaker starts working.
3. Check The Audio Volume

This situation may seem too simplistic to cause any problems, but more often than not, the issues in your PC don’t have a serious root cause.
To check the sound volumes,
Press Windows + R to open the run box and type “Control Panel.”
Click OK to go to the Control Panel.
Locate “Sound” and click on it to open the sound settings.
Click on your speaker and hit “Properties.”
Select the “Levels” tab and see if there’s a line cross on the speaker icons.
If so, click on the icon to activate the speakers.
Then, move the slider to increase the speaker’s volume and ensure there’s no problem in the sound settings.
4. Select Your Speaker As Default

If you don’t set your speaker as the default sound output, it won’t work entirely.
This issue will render both of your speakers silent, but it wouldn’t hurt to try it for your left speaker.
Go to “Playback Devices” by right-clicking on the speaker icon on the lower right-hand corner of the taskbar.
Choose the speaker you want to use as your primary audio device to highlight it and select “Set default.”
If your speaker isn’t on the list, it’s not enabled in the first place.
To enable it, right-click on the blank area in the window and hit “Show Disabled Devices.”
When your speaker appears in the list, right-click on it and choose “Enable.”
5. Check For New Updates

Sometimes the problem may be due to a faulty sound driver that prevents both speakers from working properly.
By making sure you have the latest drivers, you can see if your problem goes away.
There are different ways in which you can update your drivers.
The easiest one is to rely on Windows 10’s updates regularly released to address specific bugs and issues.
First, you should make sure your Windows is updated to the latest version.
To make sure, type “Updates” in the search box and click on “Check for Updates” on the result page.
If any new updates are available, your system will automatically get updated, and your problem may get solved.
However, the bug fixes related to the sound problem may not be in the recent updates, so you need to update your sound card driver separately.
The process of updating your sound driver is pretty straightforward.
Go to “Device Manager” by typing it in the search box and find “Sound, video, and game controllers.”
Click on the option to extend the menu under it and find your sound device in the list.
Right-click on the device name and select “Update Driver Software” to open a window that prompts you to choose how to initiate the update.
Select “Search automatically for updated driver software.”
This way, you get Windows to search and install new updates automatically.
Alternatively, you could go to the audio card manufacturer’s website and look for new updates available for your sound card.
That’s especially necessary when you know that Windows doesn’t always find the latest driver updates.
Another thing you could do with your sound card is to avoid updating it and choose a generic audio driver.
To enable this driver, repeat the steps mentioned above for manually updating the driver by finding it in the Device Manager.
Right-click the driver and select “Update Driver.”
Instead of choosing the first option, click on the second option: “Browse my computer for driver software.”
Now, click on “Let me pick from a list of device drivers on my computer” to open a list of options.
Find “High-Definition Audio Device” to set the generic Windows 10 driver as your default driver.
Another way to install new drivers is by uninstalling your existing sound driver.
Instead of choosing “Update” in the above section, choose “Uninstall” and restart your computer.
When the computer turns back on, Windows will automatically search for a new driver and install it for you.
6. Change Your Default Sound Format

Go to your sound settings by right-clicking the sound icon on the bottom-right corner of the taskbar.
Open settings and select “Device Properties.”
Find and click on “Additional device properties” and select the “Advanced” tab.
You can change the sample rate and bit depth under the “Default Format” option.
Keep changing the settings until you can hear the left speaker working.
The best setting is 24-bit, 48000 Hz (studio quality).
Save changes by clicking “Apply” and “OK.”
While you’re in the same window, change some other settings to avoid other sound-related problems.
Go to the “Enhancement” tab and tick the box next to “Disable all enhancements.”
Go back to the “Properties” window, click on the “Spatial Sound,” and make sure the option is off.
In the “Advanced” tab, uncheck the options under “Exclusive Mode.”
Now, play your audio and see if these options have solved your problem.
7. Check The Speakers On The Volume Mixer

Sometimes the settings of your volume mixer change for no apparent reason or after a recent update.
It helps to check if everything is okay in that section.
Right-click on the speaker icon on the bottom left corner of the screen on the taskbar.
Select “Open volume mixer.”
You’ll see different options, including “Speaker,” “System Sound,” and other third-party audio apps, and make sure all their settings are normal.
See if the sliders are balanced to make sure these changes haven’t muted your left speaker.
The most important thing you should check is the sound level of the right and left speakers.
Make sure both of them are balanced.
8. Check If “Mono Audio” Is On

One of the sound settings that prevent speakers from working is the “Mono Audio” setting.
In this case, only one speaker works, and the other one sounds off.
To make sure you have this setting disabled, go to the Control Panel by typing it in the search box.
Select “Audio” and find “Turn on Mono Audio” in the middle of the window.
Make sure the toggle under this option is set to “Off.”
9. Check Your Sound Output Device

Sometimes Windows gets the output device wrong and tries to output your sound to another device, such as headphones or Bluetooth speakers.
That’s especially the case when you have used one of these devices in the past and Windows remembers them as the default device for future use.
If your speaker isn’t set as the playback device, you can’t get any sound from it.
While this issue usually leads to having no sound, it’s helpful to check if your output device is selected correctly.
Right-click on the speaker icon on the bottom-right corner of the taskbar and select “Open sound settings.”
If you can’t find the speaker icon, click on the up arrow in the same spot.
The first entry in the opened window is “Choose your output device.”
Click on the arrow next to it to open a dropdown menu.
It has a list of all sound devices connected to your computer.
Choose your selected device and make sure the volume isn’t set to zero.
10. Check Audio Services

Windows audio service is a Windows functionality that manages your audio devices.
If this service stops working properly, it will affect the function of audio devices and have other effects.
If your left speaker isn’t working, it may be due to an issue with the audio service.
Try rebooting the audio service to see if your left speaker starts working again.
Type “Services” in the search box and click on the “Service” app to open a new window.
In this window, you can see a long list of Windows 10 services.
Scroll down to “Windows Audio”, right-click on it, and select “Restart.”
Repeat the same process for “Windows Audio Endpoint Builder” and “Remote Procedure Call” to fix any issues related to sound settings.
Note: After restarting these services, double-click on each service and check if the startup type is set to automatic.
11. Check The Sound Control Panel Settings

Altered sound Control Panel settings may also cause the left speaker to stop working properly.
Type “Sound Settings” in the search box and select “Sound Settings” in the results window.
Click on “Sound Control Panel” on the right side of the screen.
Click on the “Communications” tab and select “Reduce the volume of other sounds by 50%” and check if it helps with your sound.
If it doesn’t help, choose “Do Nothing.”
12. Update Your BIOS
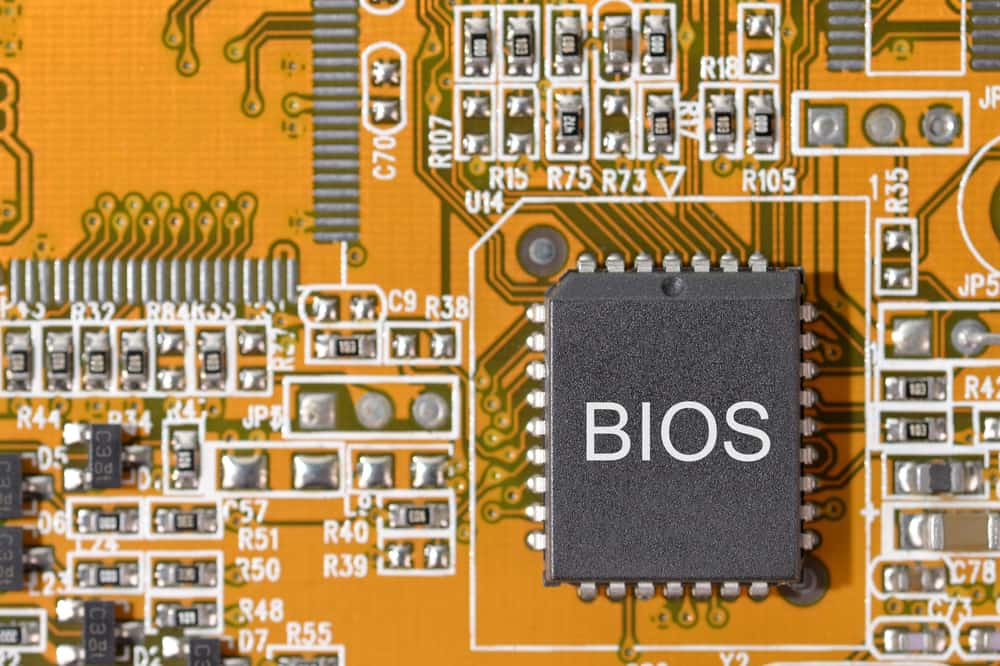
If none of the solutions mentioned earlier work, your BIOS might be the culprit.
That’s because hardware incompatibility, some software updates, or Windows reinstallation may cause your left speaker to stop working.
Updating the BIOS firmware may solve the issue.
Different motherboards have their unique BIOS update processes.
At first, you should find out your motherboard’s version and model using the command prompt.
To do so, open the command prompt by hitting Windows + R and type the following command in the window: wmic baseboard get product, Manufacturer,version,serialnumber
You can find the information you need for updating your BIOS under “Product.”
Now, go to the motherboard manufacturer’s website and search for available BIOS versions.
Pick the newest version if you don’t know what your current version is.
For example, if you have an Intel motherboard, you can find BIOS updates on their Support page.
Download the BIOS update file that comes for your motherboard model and unzip its file.
Remember to get a backup of your existing firmware on a flash drive to protect your data in case things go wrong.
Open the readme file and follow the instructions to install the new updates.
Here’s a useful video that simplifies the process of updating your BIOs:
However, if you don’t have the technical know-how, you may want to skip this solution or leave it to a technically savvy person.
Doing the BIOS update the wrong way can cause serious problems that you may not be able to reverse.
NEXT: Only 2 Speakers Working In A 5.1 System (Causes, Fixes)