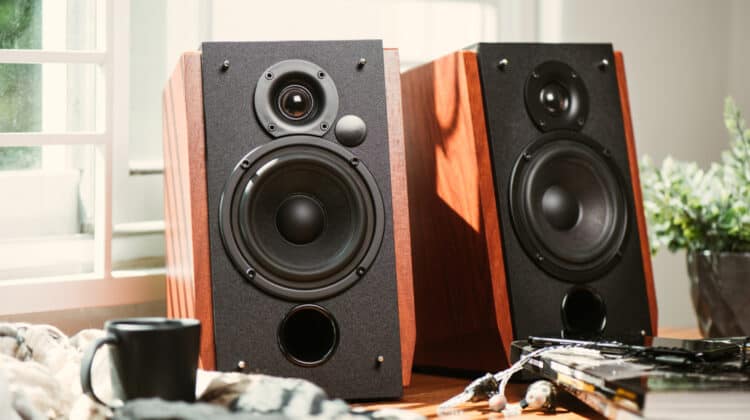
You’ve bought yourself the perfect 5.1 surround sound system to enjoy streaming your favorite Netflix series or play your favorite games.
Just when you’re getting all cozy on the couch to immerse yourself in the perfect surround experience, you realize there’s something wrong.
After inspecting everything, you realize that you’re only getting sound from two speakers.
You wonder what the possible cause might be and how you can fix it.
Only 2 Speakers Working In A 5.1 System (Causes, Fixes)
1. Check Different Sources

One of the first things you should check is whether the problem comes from the unit and not the sound source.
This way, you can narrow down the cause of the problem to the speaker.
Connect the speakers to a different device, such as the DVD player, to see if they are inoperative across all devices.
In this case, you may need to fix the faulty device or the cable that connects them to the speakers.
2. Inspect All Cables And Connections

Sometimes the culprit can be as simple as a broken cable since damage to cables can happen all the time.
Start from one end of the connection cables at the speaker and check every spot to ensure there are no broken parts.
It also helps to check all the HDMI and even optical connectors to ensure nothing is wrong with cable connections.
If you see any visible and irreparable damage to the wire, you should replace it with a new one.
If you have splices, check if the connection is okay and the wires can carry the current correctly.
After making sure all the wires are healthy, check the connections on the source and the speaker at the terminals.
Everything has to be perfectly fixed into place, with no frayed wires or metal parts touching each other because even a tiny little fault can render the speakers inoperable.
3. Swap The Channels

Now, you should verify if the speaker itself is working properly or not.
To do so, connect the right channel to the left speaker and vice versa.
If the speaker doesn’t work with the new channel, it shows that the speaker has a problem.
However, if the speaker works after connecting to the new channel, the problem is somewhere else.
You should check the wires or the amplifier.
4. Check The Source Material

Different source materials, such as games, songs, TV shows, or movies, are mixed for different surround setups.
For example, if you’re listening to a song, it’s highly unlikely that you can get it on 5.1.
In such a case, you can change your receiver settings from 2.1 to 5.1.
Different receivers have different settings, but you may be able to change the settings through DSP settings or something similar to that.
Blu-ray players have this option, and you can choose the multi-channel bitstream for the output.
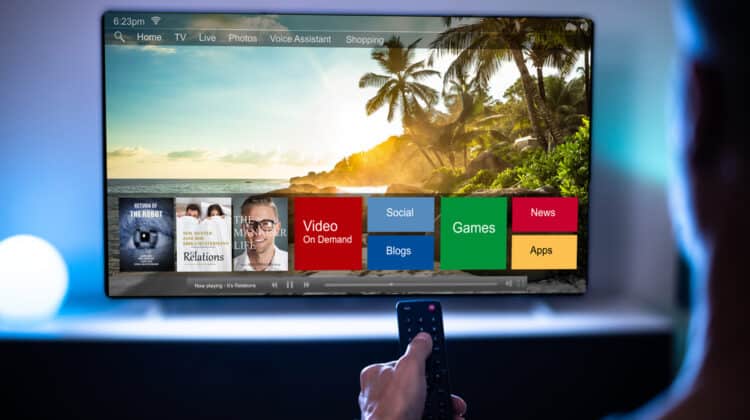
5. Streaming Channels

Some streaming services don’t support 5.1 surround sound or have specific requirements.
For example, Netflix requires a receiver supporting Dolby Digital Plus and a 3MB/s or more connection speed.
Still, they state that some TV shows or specific episodes don’t have 5.1 audio available.
You should look for an icon on the show’s description page that verifies it supports Dolby Digital Plus 5.1, or just 5.1.
If the show supports 5.1, check the Audio & Subtitles menu and make sure the option for 5.1 is selected.
Plus, if you stream the show in another language, it may not support 5.1.
The best thing to do is to check the season dropdown menu on the show’s description page.
In addition, Netflix doesn’t support 5.1 surround for streaming on a computer that runs with Microsoft Silverlight or HTML5.
You can only stream Netflix shows on Windows 8 or 10 and the Netflix app.
And most importantly, if you download a show from the Netflix app and watch it offline, you can’t use the 5.1 option because it’s not supported.
If the title you’re streaming has a Dolby icon, but your speakers aren’t working, you may need to adjust the settings within the Netflix streaming service.
To do so,
- Make sure the speakers are connected properly.
- Go to Netflix and play the title with the Dolby icon.
- Pause the show and wait for the menus to come up.
- Select the “Audio and subtitles” menu, click on audio, and activate 5.1.
To adjust the sound settings in the Amazon Prime Video app,
- Open the Amazon Prime Video app, click on “Settings,” and go to “Sound Settings.”
- Now, select the settings that you prefer for your surround playback.
6. Make Sure Your Device Supports 5.1

Not every device is capable of decoding 5.1 signals in the form of Dolby or Dolby Plus.
Some devices only support stereo sound settings.
For example, if you’re watching Amazon Prime or Netflix videos on your mobile or PC, you should make sure it supports the encoded signal and can decode it.
7. Check That The Streaming Applications Are Updated

If you can’t stream your favorite shows with 5.1, the cause may be as simple as an app that’s not updated.
If you haven’t updated your streaming app, you may have missed some of the new features added to the platform, such as supporting 5.1.
Try to get the latest updates on your streaming app and see if it helps.
Sometimes, it also helps to reinstall your app and get the latest version to ensure you have the optimum functionality.
After reinstalling the app, check if you have the 5.1 option available.
8. Check The Playback Mode

If you haven’t adjusted the mode or sound field to play for 5.1, you may not have all the speakers working.
For example, depending on the device, you may have adjusted it on “Direct” or “Stereo” modes, which aren’t compatible with 5.1.
Some sources, such as DVD players, have more than two audio channels and connect through a digital audio cable.
In this case, the setting is correct.
In other devices, you may need to change the receiver’s mode to mimic the multi-channel audio.
Depending on your unit, you may need to choose “movie,” or “five Ch stereo” or any other field that’s compatible with 5.1.
9. Other Causes

If you’ve checked everything and nothing has worked, you may want to consider other causes.
However, most of the time, things don’t get past faulty cables and connections.
Here are other things you can try:
- Make sure the speaker is on, and its volume is to the maximum.
- Reset the device back to factory settings. (Make sure you follow the instructions in the user manual.)
- If it’s in Bluetooth mode, disconnect the speaker from the Audio IN jack.
- If you’re using the Bluetooth mode, pair the devices again.
- Have a professional service your amplifier because it may be the culprit.
Problems With Windows 10
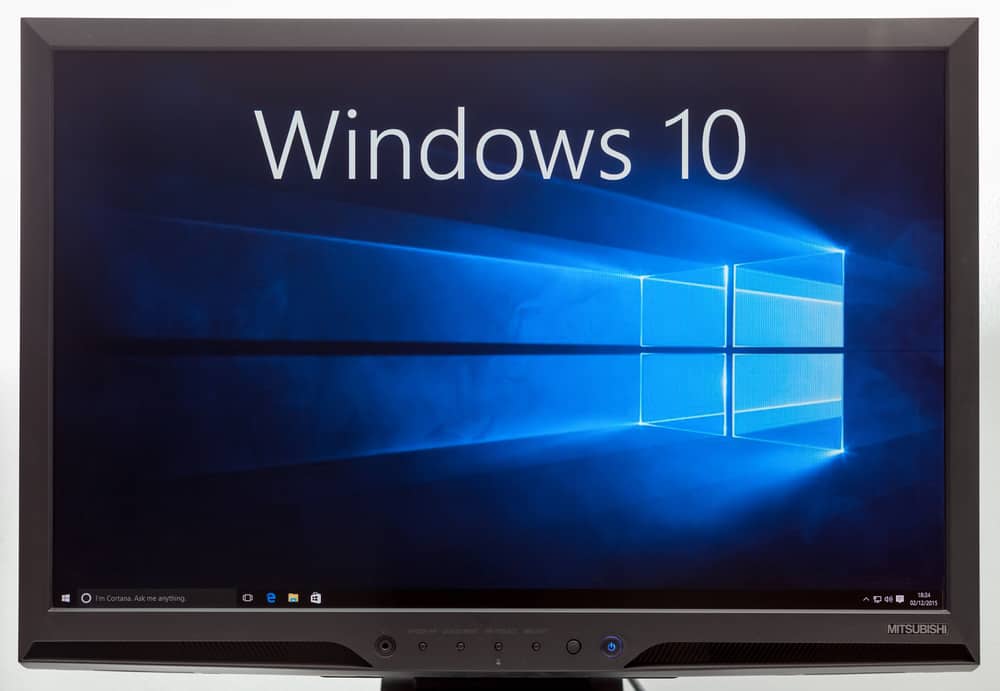
If you’ve connected your 5.1 unit to your PC, chances are Windows 10 may be behind your speaker problems.
Many users have experienced this problem with their 5.1 systems, not being able to get the surround sound they expected due to inactive speakers.
The issues you face with Windows 10 can be due to many issues, which we’ll discuss below.
Before doing anything, though, run a system scan using reliable antivirus software to fix any malware or virus damage and clean junk files from your system.
1. Check Your PC’s Sound Settings

If you’ve had the speaker problem since you first set up your system, it may be due to improper configurations.
Here’s how to configure your sound settings:
- Right-click the speaker icon on the right-hand corner of your screen and select “Sounds.”
- Click on “Playback.”
- Find your 5.1 speakers on the list, right-click on the icon and select “Set as default device.”
- Click on the speaker again and hit “Configure.”
- Select “5.1 Surround” in the dropdown menu and click “Next” under “Audio Channels.”
- Check “Side pair,” “subwoofer,” and “center” options and then hit “Next” and “Finish.”
2. Perform A Sound Test

After configuring your speakers, it’s time to test your sound quality and ensure all your speakers are functional.
Windows has a built-in audio test wizard that performs a basic test to make sure audio channels are okay.
To run the wizard,
- Click on the speaker icon on the screen’s toolbar and select “Sound.”
- Click on the “playback” tab and right-click on your 5.1 speakers.
- Select “test” and check all the speakers for sample sounds.
- Click on “Stop testing.”
3. Turn On Speaker Fill

Speaker Fill is an option in Windows 10 that allows you to use all your speakers.
However, this option may reduce your overall sound quality since you don’t get the full audio spectrum.
Instead, your rear speakers give a surround-like effect through virtualization.
To get the Speaker Fill option enabled,
- Hit Windows key + R to open the Run command.
- Type in “mmsys.cpl” and hit “Enter” to run the Sound dialogue box.
- Open the “Playback” tab, select your speakers, and click on “Properties.”
- In the “Enhancement” tab, uncheck the “Disable all sound effects” option.
- Scroll down and check the “Speaker Fill” option.
- Click on “Apply” to save the changes.
- Reboot your PC and see if the changes have solved your problem.
4. Update The Sound Drivers
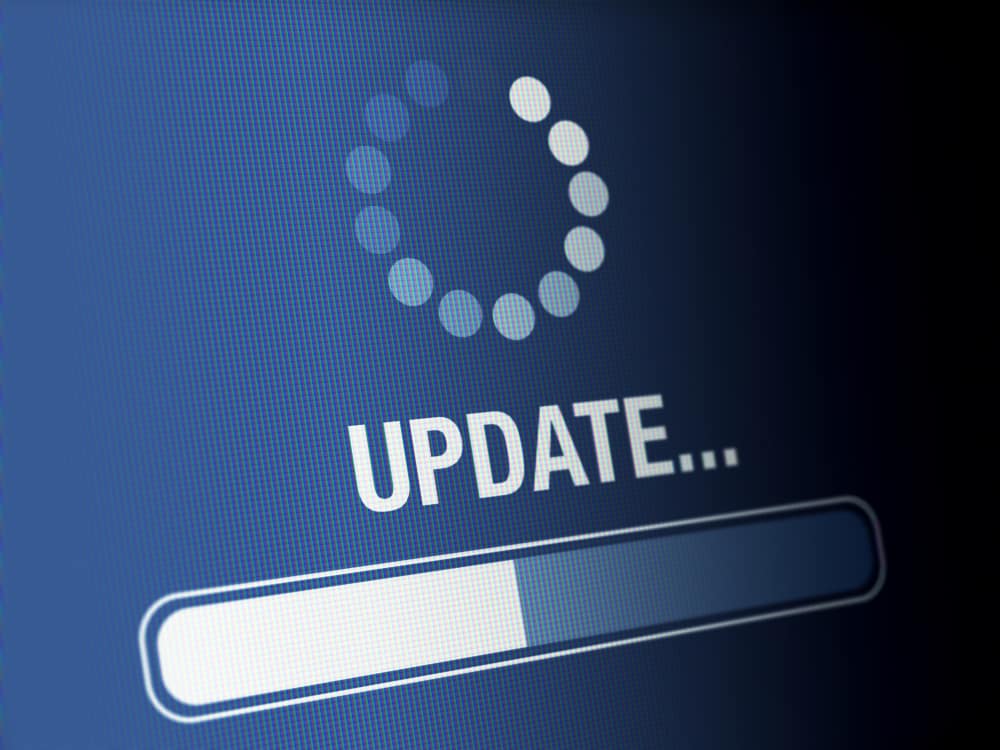
Outdated sound drivers are one of the most common reasons that your speakers don’t work.
This problem mainly occurs after you get Windows updates.
To make sure your sound drivers are the latest version,
- Type “Device Manager” on the Windows search box.
- Click on “Audio inputs and outputs.”
- Right-click on the 5.1 speakers and hit “Update Driver.”
- Choose “Search automatically for drivers.”
- After Windows installs the latest updates, restart your computer.
If the Device Manager doesn’t find any new updates, you can go to the sound card’s manufacturer website and find the latest updates for your sound driver.
Alternatively, you could uninstall your sound drivers and reboot your system.
After the system turns back on, Windows will automatically search for new driver updates and install them for you.
5. Troubleshoot Your Audio

Type “Troubleshoot” in the Windows search box and find “Playing Audio.”
(If you can’t see this option in the list, hit “Additional troubleshooters.”)
Click on “Run the Troubleshooter.”
Click “apply” after the computer makes the fixes.
6. Adjust Sound Frequency

This method particularly works when your audio output is S/PDIF.
Plus, if you have trouble activating Dolby direct Live, you can rely on this method to solve your problem.
To change your audio format,
- Go to your computer’s sound settings by right-clicking on the speaker icon and selecting “sounds.”
- Click on “Playback,” select your 5.1 speakers and then click on “Properties.”
- Select the “Advanced” tab and click on the 24-bit, 96000 Hz (Studio Quality) option.
- Hit “Apply” and “OK.”
7. Roll Back To A Previous Windows Version

If you’re experiencing the 5.1 speaker issue after a Windows update, chances are the new updates are the root cause.
You can roll back the update and see if it solves your problems.
Remember that this option can be risky if it involves uninstalling security updates.
If you choose to take this step, remember to pause updates for seven days to stop Windows from automatically updating your system again.
Go to “Control Panel” by typing the phrase in the Windows search box and pressing “Enter.”
Select Programs > Uninstall a Program > View Installed Updates > Installed On.
Now you can see the updates by date.
Scroll down to “Microsoft Windows.”
Select the updates that created the problem, right-click on them and select “Uninstall.”
To pause updates, type “Updates” in the Windows search box and click “Pause updates for 7 days.”
Restart your computer.
Other Issues With 5.1 Speakers

Since 5.1 sound setups are complicated, it’s very common to run into different problems with them.
Apart from two 5.1 speakers going dead, here are some other things that can go wrong with your surround system.
1. You Don’t Get Any Sound From Any Speakers
Getting no sound from the entire system can’t be due to a system failure as it’s highly unlikely that all your speakers stop working at the same time.
The only misfortune could be a power surge that damages your entire system.
In this case, you’d better prevent the problem by connecting your unit to a surge protector because damages caused by power surges need professional repair.
To solve the issue,
- Unplug the receiver.
- Check the AV receiver and ensure it’s connected properly by carefully inspecting the power cable and speaker wires.
- If you have banana plugs, make sure the speaker wires are firmly in place and properly pushed in.
- If all the connections are okay, check your receiver’s software and try different settings in the on-screen menu.
It would also help to assign speakers to different channels manually to check if the sound comes on.
Fiddling with different settings will most likely solve your problem because it’s not a serious issue.
2. The Sound Has An Annoying Hum
The hum that comes with your sound may be annoying, but it has a simple cause called a ground loop.
When two parts of a single electrical circuit interfere with each other, a 60Hz ground loop occurs, creating that annoying hum while you listen to the music.
To stop the hum, you should identify the root cause by carefully inspecting every single component.
Start with the receiver and work your way up to the speakers, checking one device at a time.
The best test for the receiver is a volume test.
Adjust the volume to see if the hum goes away.
If it does, one of the culprits is the receiver; otherwise, look for the culprit after the receiver.
Next, change the input and see if the hum changes.
If it doesn’t, unplug all the cables from the receiver, only leaving the cables that connect it to the speaker and its power cable.
Now, you should be able to isolate the culprit.
If you can’t, it’s better to ask a qualified electrician because there’s almost certainly a ground loop in your system.
Therefore, it’s better to avoid doing things at your own risk and get professional help.
You could also call the speaker’s customer support line and ask them to guide you through eliminating the hum.
NEXT: How To Tell If HDMI Cable Is 2.0 (Everything To Know)