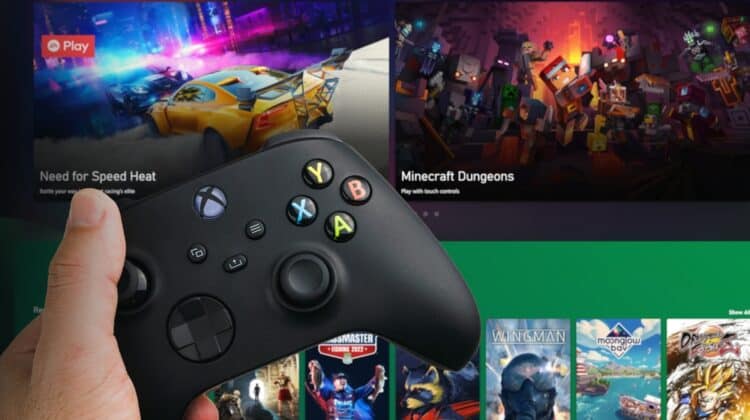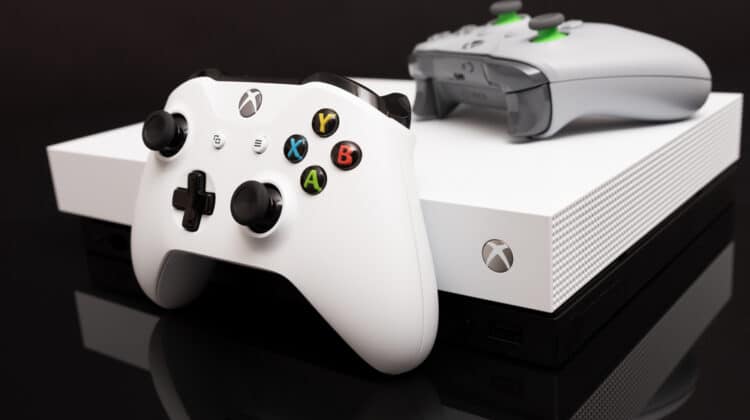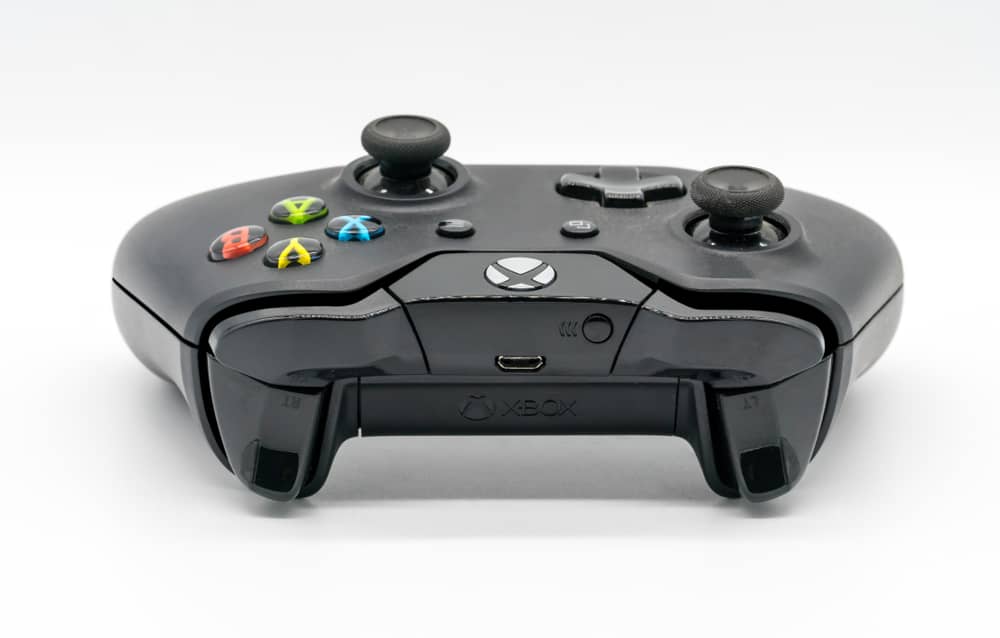
The Xbox One controller is a feature-rich device loved by various gaming enthusiasts.
Xbox says that Windows should download and install the Xbox controller drivers as soon as you connect the device to your computer.
Unfortunately, sometimes Windows doesn’t do its job correctly, and you face errors like: “Device driver software was not successfully installed.”
If you’re stuck in the same situation, not knowing what to do, you’ve arrived at the right place.
This article will help you install the Xbox One controller drivers easily and solve any other connection issues you may face along the way.
How To Install The Xbox Controller Driver

If Windows couldn’t install the controller drivers automatically immediately after you connected the controller, you should do it yourself.
You may have tried some of the following ways to install the controller drivers before.
Look for those you haven’t experimented with, and make sure you test every possible way before moving on to the next section.
1. Driver CD/DVD
The Xbox One controller usually comes with a CD or DVD containing the driver.
Although this might seem like an outdated method, it can sometimes help with downloading and installing the Xbox controller drivers, especially for older Windows versions.
If you still have a CD drive installed on your computer, follow these steps:
- Insert the disk in the computer’s drive.
- Click on This PC or My Computer for older Windows versions and double-click on the CD/DVD icon.
- If it doesn’t run, click on the .exe extension present in the CD directory.
- Follow the on-screen instructions to install the driver.
2. Windows Update
You can trick Windows into installing the Xbox One controller drivers via a Windows update.
Connect the controller to your PC with a USB port and follow these steps to update Windows:
- Open the Settings app and select the Update and Security section.
- Choose Windows Update from the side panel.
- Click on the Check for Updates button.
- If Windows detects any, install the update, and hopefully, the controller drivers will be installed with it.
Reboot your PC afterward.
3. Device Manager
Device manager is where you can handle all your drivers at once.
It’s worth trying to install the latest Xbox controller driver by updating the existing one:
- Right-click on the Windows logo and locate Device Manager in the list.
- Find and double-click on Xbox Peripherals or Microsoft Xbox One controller in the list.
- Right-click on the Microsoft Xbox One controller and choose Update Driver from the drop-down menu.
- Choose the Search automatically for the updated driver software option in the window that pops open.
- Wait for the installation to complete and reboot the PC.
- If you couldn’t find the driver’s name in Device Manager, or if you encountered an error during the installation, move on to the following method.
4. Microsoft Update Catalog Site
You can manually download and install Xbox One controller drivers from the Microsoft Update Catalog Website.
- Head to the Microsoft Update Catalog page.
- Type “Xbox One Controller driver” in the search bar at the top right corner and hit the search button.
- Find the driver you’d like to download, preferably the latest driver, and then hit the Download button next to it.
- Click on the link that shows up on your screen to begin the download.
- Wait for the file to finish downloading, unzip it, and click on it.
- Follow the on-screen instructions to install the driver.
5. Bit Driver Updater
You can use one of the automatic driver updater applications, like the Bit Driver Updater, to download, install, and update not only your Xbox controller drivers but all the other drivers as well.
- Download and open the Bit Driver Updater software.
- Click on the Scan Drivers button.
- Find the Microsoft Xbox One controller driver in the list of drivers and click on the Update Now button next to it.
- If you’d like to update all your outdated or missing drivers, hit the Update All button.
- After the complete auto-installation of the Xbox One controller driver is finished, restart your PC.
How To Install The Xbox One Controller Driver If It Won’t Install

If you’re still receiving errors after trying all the mentioned ways for installing Xbox One controller drivers, something must be causing an issue.
Try the following methods for solving the problem:
1. Uninstall The Drivers First
It could be that the old controller drivers are conflicting with the new installation, causing errors.
It’s best to uninstall them first and try again.
- Right-click on the Windows logo and select Device Manager.
- Find and double-click on Xbox Peripherals or Microsoft Xbox One controller in the list.
- Right-click on the Microsoft Xbox One controller and choose Uninstall.
- Check the box next to the Delete the driver software for this device option and then hit the OK button.
Now, you can either give Windows another chance to download and install the latest drivers or install them yourself manually.
If you want Windows to do it, unplug the controller and restart your PC.
Plug the controller back in, and Windows will hopefully install the latest drivers this time without issues.
If that didn’t work, repeat steps one through four to uninstall the drivers again, and use one of the mentioned methods in the previous section to install the drivers manually.
You can either do it through the CD/DVD, the Microsoft Update Catalog Site, or the Bit Driver Updater.
Just remember not to shut down your PC because Windows will install drivers again.
2. Turn Off Your Antivirus
Some antiviruses tend to interfere with special drivers on your system, causing issues.
If you have your antivirus running and you’re facing errors when trying to install Xbox One controller drivers, turn it off and reinstall the driver, as explained in the previous section.
If this solves the issue, you might have to remove the antivirus because it may keep conflicting with the driver, and you might receive errors like “USB device not recognized” when trying to connect the controller.
Install a different antivirus that doesn’t conflict as much.
3. Use The Driver Easy Tool
If you still haven’t solved the issue, hopefully, the Driver Easy tool will help.
It’s a helpful software capable of recognizing your system and detecting any corrupt, outdated, or troublesome drivers and automatically installing the correct ones for you.
You won’t have to risk choosing the wrong driver or making a mistake when installing it.
All it takes from you is a push of a button:
- Download, install and launch Driver Easy.
- Click on the Scan Now button.
- Find the flagged Xbox controller driver in the list and click Update for the app to download and install the latest driver automatically.
- If you decide to purchase the Pro version of the app, you’ll be able to update all your problematic drivers by hitting the Update All button.
How To Connect An Xbox Controller To A Windows PC

Now that you’ve successfully installed the Xbox controller drivers, you might want to know how to connect it to the PC.
There are generally three ways to connect the latest generations of Xbox controllers to a computer: via a USB cable, a wireless dongle or adaptor, or Bluetooth.
1. USB
Connecting an Xbox controller with a USB cable is as easy as plugging it into the computer.
If you have an Xbox Adaptive Controller, an Xbox Elite Wireless Controller Series 2, or an Xbox Series X|S, you’ll need a USB-C cable.
For all other controllers, use a micro-USB cable.
You can use eight Xbox controllers simultaneously with a USB connection.
If you attach Xbox chat headsets connected to the controllers, you can use four of them at the same time.
If Windows couldn’t detect the controller after connection, press the Xbox button on the controller to solve the issue.
Alternatively, unplug it from the PC and then plug it back in.
2. Wireless
Some PCs have Xbox Wireless built in, and you can connect the controller directly to them.
If yours doesn’t, you’ll need an adaptor to connect Windows 10 to an Xbox controller.
- Turn on your computer and plug in the adaptor if you need one.
- Press the Xbox button to turn on your controller. It should start flashing.
- If you’re using an adaptor, press and hold the pair button on it until a small light flashes for a few seconds. If not, move on to the following step.
- Press the pair button on the controller and hold it until the Xbox button flashes more rapidly, meaning the controller searches for the Adaptor or PC to connect to.
- If you’re an adaptor user, your work is done when the Xbox button on the controller stays lit.
- For those connecting the controller directly to your PC, head to Settings > Devices > Add Bluetooth or other devices, and then choose Everything else.
- Select Xbox Elite Wireless Controller or Xbox Wireless Controller from the list, and the Xbox button will stay lit when the connection is stable.
3. Bluetooth
Some Xbox controllers have a built-in Bluetooth feature.
If you’re not certain whether or not yours does, look at your controller.
If the plastic around the Xbox button is part of the controller’s face, it supports Bluetooth.
Your controller doesn’t have Bluetooth support if the plastic around the Xbox button is part of the top.
Now, before connecting the controller via Bluetooth, remember three factors:
- You need the latest Windows 10 updates.
- Xbox recommends connecting only one controller to the PC using Bluetooth.
- The controller attachments such as headsets, chat pads, and the Xbox Stereo Adaptors won’t function when connected via Bluetooth.
Let’s move on and explain how to connect the controller using Bluetooth:
- Press the Xbox button to turn on your controller.
- Press the pair button and hold it until the Xbox button starts flashing.
- On your computer, head to Settings > Devices > Bluetooth and other devices and turn on Bluetooth.
- Choose Add Bluetooth or other devices > Bluetooth and then select Xbox Wireless Controller or Xbox Elite Wireless Controller once your PC finds them.
What To Do If Windows Doesn’t Recognize The Controller

Another problem that you might run into while setting up your Xbox controller is Windows not recognizing it.
If you haven’t installed the latest drivers as explained in the previous sections of the article, do so.
If the issue continues, try the following fixes:
1. Use A Different USB Cable
If you’re trying to connect the Xbox controller via a USB cable and receive the “USB device not recognized” error message, the USB cable is probably causing the issue.
Firstly, the cable might be broken or faulty.
Secondly, it might be a cable that’s only designed for charging and not transferring data.
In any case, try replacing the USB cable to solve the issue.
The issue might be with the USB port, as well.
Try connecting the controller to another port or the back of your PC.
2. Re-Pair The Controller
The issue can occur with Wireless or Bluetooth controller connections when the devices aren’t correctly paired.
Rebind the controller to the PC by turning it off and on, pressing the pair button, and trying another connection.
If you have an adapter, unplug it, reboot your PC, plug it back into a different port, and hold its pairing button.
Make sure you’re within a range of six meters or less of the adapter.
Once the connection is secure, the LED light on the controller will become solid.
3. Update Windows
Updating your system might help with the connection issues.
Head to Settings > Update and Security and hit the Check for Updates button.
Reboot the PC to install the updates and try connecting the controller again.
4. Update Plug And Play Software Device Enumerator Driver
Some users reported that their problem was with the Plug and Play Software Device Enumerator driver.
Try updating it:
- Head to Device Manager and find the Plug and Play Software Device Enumerator in the list.
- Right-click on it and select Update Driver from the drop-down menu.
- Select Search automatically for updated driver software in the pop-up window.
- Follow the on-screen instructions if necessary.
5. Use Xbox Accessories
Updating the firmware for your Xbox Controller should help Windows automatically detect the controller.
You need the Xbox Accessories app for the update.
- Plug your Xbox controller in.
- Open Microsoft Store and search for the Xbox Accessories app.
- After installing the application, launch it.
- Click on the three dots at the bottom of the screen.
- You can see the Firmware version now. If there’s any update available, click on it.
- Hit the Update Now button and restart your PC after the process is over.
6. Run Hardware Troubleshooter
The culprit for the connection errors might be minor glitches that can happen from time to time.
Windows has a library of troubleshooters available for solving such problems automatically.
- Open the Settings app and choose Update & Security section.
- On the left panel, click on Troubleshoot.
- Choose Hardware and Devices from the right pane and hit the Run the Troubleshooter button.
- Wait for Windows to detect and solve the issues.