![]()
You’re busy with a serious task on your computer, and all of a sudden, a Skype window pops up right in front of the screen.
To make matters worse, it repeats every couple of minutes, and you can’t do anything about it.
It steals your focus, time, and tranquility altogether.
Don’t get upset.
Here’s how to overcome this situation and stop Skype from randomly starting.
Why Does Skype Randomly Start?
![]()
More often than not, the main culprit for an auto-starting app is the software settings.
Skype, like all other tools, has set itself to kick in once you start up the PC.
Unlike other apps, however, Skype lets you disable this feature through its general configurations.
Here’s how:
- Open Skype and go to the main page, where you can see your profile.
- Hit the “More” option represented by three dots at the top.
- Click “Settings” and then go to “General” from the left bar.
- Spot the checkbox that says, “Automatically start Skype,” and unmark it.
- Below the “Startup and Close” division, also disable these two options, if necessary:
- “Launch Skype in the background.”
- “On close, keep Skype running.”
Note: If you don’t disable option a, Skype will keep running in the background, but it won’t disturb you by popping up on the screen.
You’ll only see the app’s logo on the right side of the taskbar.
The same story is true about “b.”
What If You Use “Skype for Business”?

Being integrated with Office apps such as PowerPoint and Word, Skype for Business has a different interface than traditional Skype.
Therefore, you might have to try another way to turn off this feature:
- Open the software.
- Press the expandable arrow at the right of the gear symbol.
- Go to “Tools” and then “Options.”
- Once you transition to a new window, press the “Personal” tab from the left column.
- You’ll see two options with a checkbox:
- “Automatically start the app when I log in to Windows.”
- “Start the app in the foreground.”
- Unmark both and press OK so the changes take effect.
Toggle Your Computer Default Settings
Even if you disable all the above settings, Skype may still show up without your permission.
That’s because your OS has assigned it as a Startup program.
This especially happens with Windows 10 because it includes Skype as a default app.
Undoing this feature may be different depending on whether you’re using Mac or Microsoft Windows:
A. Stop Skype’s Random Starts In Windows
- Press the Windows logo at the bottom left of the screen, and enter “Startup Apps” in the search box.
- Open the result to view a list of background apps.
- Scroll down until you spot Skype and switch it off. (The apps are sorted by name if it helps.)
If you don’t find the “Startup Apps” section, that’s because your Windows version presents it with another name.
The latest Skype version also may not be visible in this section.
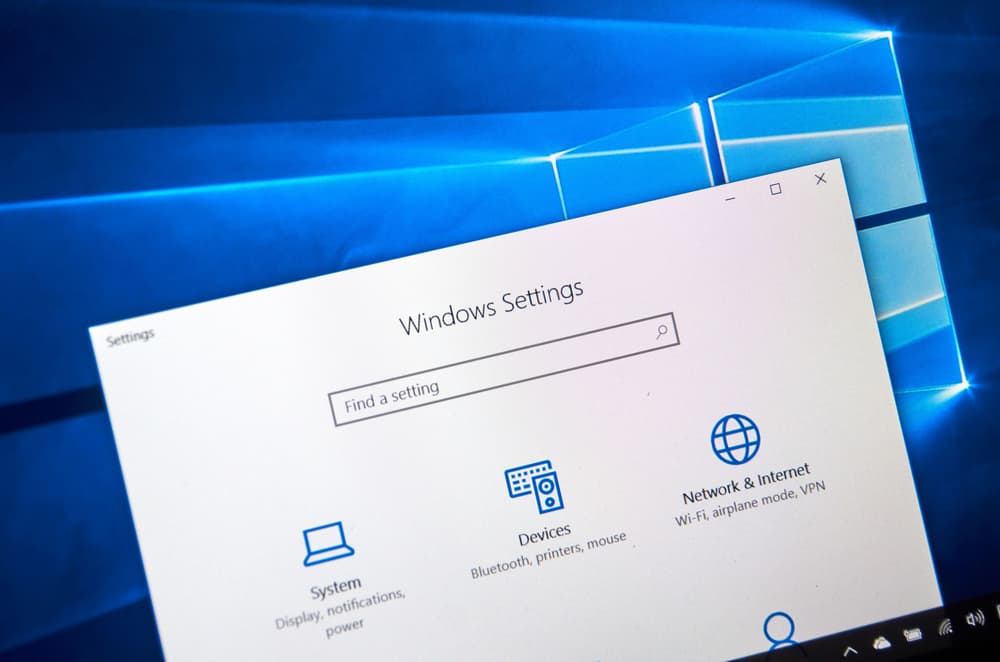
You can reach the settings through this alternative path:
- Search “Settings” in the start menu and open the app.
- Choose “Privacy” and then “Background apps” from the side pane.
- Now, navigate to Skype and click the blue button off.
B. Stop Skype’s Random Starts In Mac:
- Press the Apple symbol at the upper left of the display.
- Click “System Preferences…” to bring up a crisscross menu.
- Navigate to “Users and Groups,” resembled by two black profiles.
- Switch the current tab into “Login items.”
- Select Skype from the list and move the cursor down to click the “–” option.
Note: if you stop another program by mistake, you can undo it by highlighting its name and pressing the “+” button.
Here’s also an easier, alternative way if the former didn’t work:
- Reach Skype through the lower bar on your Mac’s screen (your Dock).
- Right-click on its icon and click “Options” to expand another column.
- If you see a tick next to “Open at Login,” click to remove it.
- Skype is no longer among auto startup apps.
Notice: When you do this, you won’t receive any notifications from Skype unless you open it.
Sign Out Of Your Account

Being continuously logged in to your account is another reason for random auto-starts.
If you don’t use Skype often, log out and re-enter your credential only when you need it.
Just launch the app and go to the Profile section that appears in the lower left.
Then, you can find the “Sign out” button on the right panel.
Uninstall Skype And Use The Web Version

If none of the other solutions works, it’s a good idea to uninstall the app and get rid of any associated headaches.
However, this approach is most helpful for those who don’t use Skype frequently.
You can then reach your account whenever you want via Skype Web.
A. How To Remove Skype From Windows
- Click on the search box on your taskbar and Type “Control Panel.”
- Launch the app and head to “Programs,” “Programs and Features.”
- Locate Skype in the apps list, highlight its name and select “uninstall.”
Some versions of Skype, such as Skype UWP, may not be listed in this section.
In this case, you need to go to the Start Menu and click the gear icon to open your System Settings.
Then, select “Apps & Features,” find Skype, and uninstall it.
Note: If the Uninstall button is deactivated, press the blue link under the app titled “Advanced.”
Then, select “Immediately terminate this app and its related processes.”
Try to uninstall Skype once again.
B. How To Remove Skype From Mac
- Move to your Dock, and press the Finder (the blue smiling impression of a computer).
- Click “Applications” from the left pane.
- Find and open the Skype folder, then run the uninstaller program.
Tip: If you don’t see any, select and drag Skype from the Applications sector to your MacBook Trash at the right end of the Dock.
- Now, use “Go” from the screen’s menu bar to access your “Library.”
- Delete the Skype folder to erase all the remaining caches.
Downgrade To A Lower Version

Some update packages contain bugs, making your system or software act weird after you install them.
The isn’t uncommon with Skype. Many consumers claim their Skype auto-start problem occurred only after an update and was resolved by reverting to the previous version.
Therefore, it’s good to consider this as your next troubleshooting effort:
- Exit the current version if it’s open.
- Uninstall the app through your Control Panel or “Apps & features” or MacBook trash (As I mentioned above).
- Go to the Old Version website and choose Skype to download the older app. (It’s usually listed at the top, but otherwise, you can use the search tool to reach it.)
Tip: You can replace this step by going to the Skype website, choosing your OS, and choosing from available versions.
- Run the installer file and go after the on-screen instructions to set up the app.
A. Turn Off The Auto Update
If running an older Skype solved your issue, don’t forget to stop auto-update to prevent its recurrence:
- On Windows:
- Launch the Skype app.
- Navigate to the “Advanced” option from the “Tools” menu.
- Find “Automatic updates” and turn off the switch.
(Depending on the Skype model, you could also find this checkbox in the three-dots section > Settings.)
- On Mac:
- With the app open, go to the Menu bar and then “Preferences.”
- Select the General tab, and uncheck what says, “Always keep Skype up to date.”
B. Use The Autorun Assistant
Autoruns is a powerful free tool developed by Microsoft that lists your background applications, letting you alter or remove them with the ease of a click.
All you need is to download and install the software, go to the Services category, find Skype, and unmark it.
Turn Off Your VPN

Computer programs, including Skype, can behave strangely in conflict with other apps or services such as VPNs.
Deactivate or uninstall your VPN to see if that solves anything.
You can also run a virus scan to detect potential suspicious malware interfering with Skype.
Be sure to use a reliable antivirus since a bad one can crash your system and worsen the situation.
Heads Up When Using Headphones

Most Skype users use headphones to communicate with each other, and they may keep them on even after ending a call.
There’s a small possibility that they accidentally activate the call button on their headset, forcing Skype to launch itself so you can open the dial pad.
Even if you press the call button intentionally to make a call with another program, Skype—especially Skype for Business—may boot automatically.
To disable this, do these steps:
- Display your Control Panel and select “Hardware and Sound.”
- Find “Manage Audio/Input Devices.”
- Select your headphone from the list, go to its Properties, and press “Advanced.”
- Turn off “Allow applications to take exclusive control of this device.”
Once you deactivate this feature, Skype is likely to ignore the commands from your headphone.
Ask Help From Skype

As a last resort, you can report the problem to the service provider and ask for possible workarounds.
- Open your Skype Desktop application and make sure you’ve signed in.
- Go to your profile page and tap on the “More” option represented by three dots.
- Choose “Settings” and then “Help & Feedback.”
- Talk about your issue and whatever you’ve tried to fix it so far, so the personnel can better identify the root cause.
- Wait until the customer support team responds to you.
Related Issues And Fixes
![]()
1. Skype Logs Me In Automatically
Here are possible solutions to this issue:
- Don’t log in to a single account from various devices.
- Terminate other active devices or Skype sessions to make sure no one has control of your account.
- Change your password and set up two-factor authentication for Skype.
2. Skype Logs Me Out Without Permission
- Reset your login credentials.
- Clear your stored Skype password from Windows Credential Manager.
- Disconnect your Microsoft account from Facebook or other social accounts.
- Update, downgrade, or reinstall the app.
3. I Get An Error Note From Skype When Booting My PC
- Go to your Windows Settings.
- Select Apps and then Startup.
- Navigate to Skype and toggle off the blue switch.
4. I Can’t Launch Skype On My Desktop
- Make sure you have a stable internet connection.
- Reinstall, upgrade, or downgrade Skype.
- Disable VPN, Cloudpaging Player, or any app with interference potential.
- Turn off uPnP using the command prompt.
- Type “cmd” in the Windows search tool.
- Type “sfc /scannow” and hit enter.
- Let the process finish and restart your system.
- Use the System File Checker.
- Head on to the command prompt tool.
- Enter “SFC /scannow” and press confirm.
- Reboot your system.


