Closing a game in Steam is as simple as closing any other application, and it should take only a few seconds.
The issue begins when you launch the game shortly after closing it.
There’s a common bug in Steam games that displays, “Failed to start the game (app already running).”
Many users reported that this error shows up even if they haven’t opened the game in a long while.
The culprit behind this issue is unknown, but this article will help you learn exactly how to troubleshoot this error.
Steam Game Says Running But Isn’t (Fixes)

When Steam tells you that you can’t start a game because it’s already running, you can run into multiple issues.
Aside from not being able to play your game immediately, you won’t be able to start any other VAC-secured game if the previous game was also Valve Anti-Cheat protected.
You might even have trouble closing Steam normally.
It could be frustrating if you lose power or your game crashes in the middle of a multi-player competition, and you aren’t allowed back in the game.
Go through the following troubleshooting steps one by one to solve the issue.
1. Wait Until Steam Cloud Finishes Syncing

If the game you were just playing supports Steam Cloud and stores its progress through that, you should wait for the local data to finish syncing with the cloud servers before you can start the game again.
It should only take about a few seconds, but if the data size is big or your internet connection is slow, it can take longer.
Although improbable, the syncing can get stuck, and you should exit Steam to solve the issue.
2. Restart Steam

Close the game (and Steam, if you can) to restart and hopefully get rid of the glitch causing the error.
If Steam doesn’t allow you to close it, you need to stop it using the next method.
That usually happens when dealing with online services.
Once you’ve managed to close Steam, restart it and run it as Administrator.
3. End Steam Processes In Task Manager

First, you need to find out the name of the game as it’ll appear in Task Manager so you can recognize it.
- Head to the Steam Library and right-click on the game.
- Select Properties and then head to the Local Files tab.
- Hit the Browse Local Files button and check out the executable name.
- Right-click on the Start button and choose Task Manager.
- In the Processes tab, locate any apps, processes, and services associated with the game.
- Click on each one and choose End Task.
- It’s best if you do this for all Steam-related processes, as well.
- Restart Steam afterward and launch the game again.
If you couldn’t find the game or Steam processes in Task Manager or end them properly, you can use a third-party tool for the matter called Process Explorer.
Download and install the software.
Once you launch it, you’ll see a list of running processes.
Find the game, right-click on its name, and select Kill Process.
4. Close Game Launcher

Many popular games, including GTA V, Cyberpunk 2077, Ubisoft titles, and so on, use a dedicated launcher that co-exists along with the Steam client.
When you run the game through Steam, their standalone client will also launch.
You’ll have to manually close the launcher to eliminate the error if that is the case for your game.
5. Update Windows

An outdated version of Windows might be the culprit for the bug, and updating it with the following steps may get rid of it:
- Right-click on the Windows logo and choose Settings
- Select the Update and Security section.
- Choose Windows Update from the left-side menu bar.
- Hit the Check for Updates button.
- If Windows detects any new updates, allow them to download and install them.
- Reboot your PC afterward.
6. Update Your Graphics Card Drivers
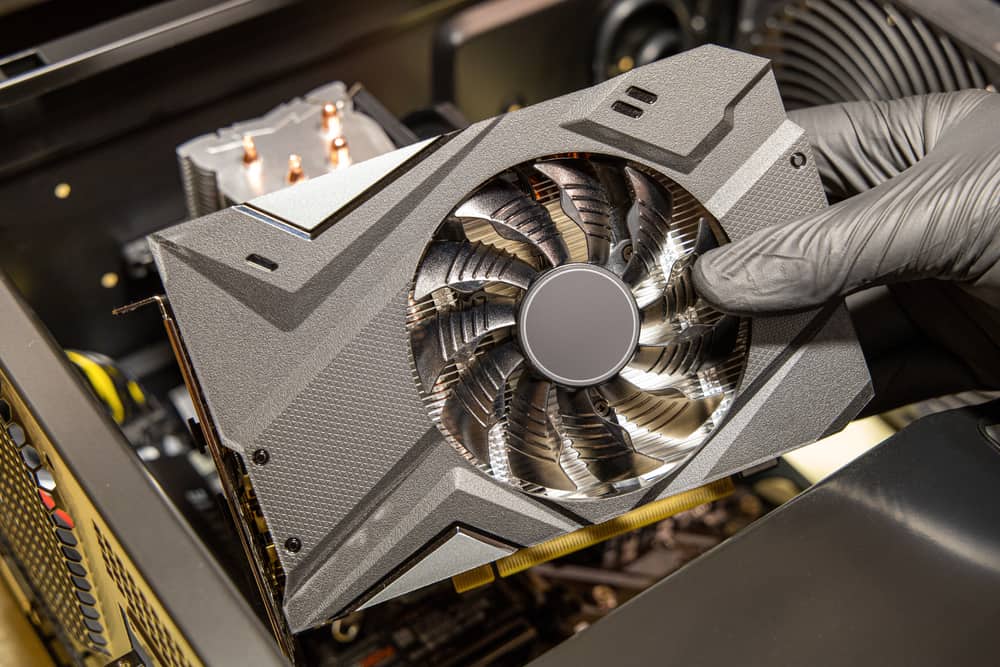
Old or incompatible graphics card drivers can cause all sorts of Windows errors and bugs.
Some users reported that their Steam issue went away after updating the drivers, so that’s what you should try next.
Windows updates usually update the drivers as well.
However, they can’t find and install the latest versions of the drivers in some cases.
It would be better for you to update the drivers yourself using one of the following methods:
Device Manager
- Right-click on the Start button and click on Device Manager.
- You’ll see a list of your installed devices in the window that opens.
- Find the Display Adapter option in the list and double-click on it to expand.
- Right-click on your monitor’s name and choose Update Driver from the drop-down menu.
- Select the Search automatically for the updated driver software option in the new window.
- Follow the instructions to complete the installation and then reboot the PC.
Manufacturer’s Website
Both NVIDIA and AMD have the latest driver versions dedicated to their GPUs on their official websites.
The download and installation processes are easy.
However, before starting, you should uninstall the old graphic drivers using the DDU (Display Driver Uninstaller) utility.
That will remove the remaining driver files that could cause further issues down the road.
Third-Party Driver Updaters
There are helpful tools dedicated to recognizing your system, detecting all outdated or troublesome drivers, and automatically installing the correct ones.
Driver Easy is one of the best tools for the job, and here’s how to use it:
- Install and launch the app.
- Hit the Scan Now button on the main interface.
- Once the scan completes, you’ll see a list of flagged drivers.
- Find the display driver and hit the Update button next to it to start downloading and installing the latest version.
The Bit Driver Updater is another helpful app:
- Download and launch the Bit Driver Updater application.
- Hit the Scan Drivers button.
- Click on the Update Now button sitting next to the corrupt drivers.
- Restart your PC.
7. Delete Problematic Files

According to user reports experiencing the same issue, some problematic files were causing the error.
The file was GameOverlayRenderer64.dll for most cases, and you either have to remove or relocate it.
Also, if you’ve been shutting down your system without properly closing the game or Steam itself, you might have corrupted either some Steam-related files or Windows system files.
Run a system scan to solve the issue:
Type “command prompt” in the Windows search box and open the utility.
You can also right-click on the Start logo and choose the Windows Power Shell (Admin) option if you’re running Windows 10.
Paste the following command and hit Enter:
sfc /scannow
The system will connect to Windows Update servers and download and replace any damaged files, so wait for the process to complete.
Restart your system and check if the game runs normally.
If the issue continues, read this article that Microsoft has provided and learn how to deal with corrupted system files.
8. Check For Problematic Applications

Users have reported that some applications were causing trouble when launching the game, and disabling or removing them did the trick.
Razer Synapse commonly causes the issue, so turn it off before running the game if you use this application.
Once the game starts, you can turn it back on and use it as normal.
Multiple users claimed that RivaTuner Statistics Server was the culprit, which is part of the MSI Afterburner software.
Updating the Afterburner software will also update the RivaTuner Statistics Server, solving the issue in turn.
Another problematic app was the Logitech Joystick Utility.
You’ll either have to disable or remove it.
9. Verify The Integrity Of Game Files

Your game files might be corrupted, preventing the game from running normally.
You’ll have to use the built-in Steam tool to verify and repair the game files.
It can scan all the game files and replace the missing components.
- Open Steam, head to the Library, and right-click on the game’s name.
- Choose Properties and head to the Local files tab.
- Hit the Verify integrity of game files button.
- Wait for the verification process to finish and rerun the game.
10. Run The Game In Compatibility Mode

Running a game in compatibility mode can sometimes solve the error, especially if the game is old.
- Type the game’s name in the Windows search box.
- Right-click on the game’s icon in the results and choose the Open file location option.
- Right-click on the game’s executable (.exe) file and choose Properties.
- Head to the Compatibility tab.
- Check the box dedicated to the Run this program in compatibility mode option.
- Choose the Windows version, hit Apply, and then OK.
- Try rerunning the game.
If this doesn’t solve the issue, go back to the Compatibility tab and uncheck all boxes.
11. Move The Game To A Different Location

First, you have to make a second Steam library folder in a different location, like another drive:
- Open Steam and go to Settings.
- Select Downloads from the left menu bar.
- Hit the Steam Library Folders button.
- Click on the Add Library Folder option, select the location in which you want to create the Library, and choose New Folder.
- Type a name of your choice for the folder and click on OK.
- Now, head to Steam Library.
- Right-click on the name of the troublesome game and select Properties.
- Head to the Local Files tab and click on the Move Install Folder button.
- Select the second Steam library you’ve made, hit the “Move Folder” button.
12. Restart Your PC

If the previously described methods didn’t help get rid of the issue permanently, or if you’re ever in a hurry trying to get back to your game without doing troubleshooting tests, simply restart your PC.
It’ll reboot Steam and end the processes that are causing the error.
13. Reinstall The Game

If other games don’t have any issue when you run them, and the error message is specific to a single game, it’s best to uninstall and reinstall it.
Uninstall Through Steam
- Open up Steam and click on Library located in the top left corner of the screen.
- Find the troublesome game in the list and right-click on it.
- Select Manage from the drop-down menu, and then choose Uninstall.
- Hit Delete when a warning asks you if you want to delete the game file.
Uninstalling Through Control Panel
- Open the Control Panel utility.
- Under Programs, select the Uninstall a Program option.
- Find the game’s name in the list of programs.
- Select the game and choose Uninstall.
- The system will automatically take you to Steam, where you should click on the Uninstall button in the confirmation window.
- Once you’ve uninstalled the game, you need to head back to Steam’s Library, locate the game, and click Install.
Follow the prompts to complete the process and then launch the game.
14. Reinstall Steam

As you must know, Steam is a launcher program, meaning it allows you to launch other programs such as games.
Therefore, uninstalling Steam will remove all the games you’ve installed through the software, along with their saved data.
That’s why uninstalling Steam is at the end of this list, serving as a last resort.
On the plus side, uninstalling Steam will eliminate the corrupted files that are probably causing the issue.
Before uninstalling Steam, you should first check the Steam directory to ensure it’s been installed correctly.
If you find a folder named “C:\Program Files\Steam\,” in File Explorer, you can safely install Steam with the first method mentioned below.
If you’ve downloaded Steam in another directory containing other files and data, such as “C:\Program Files\,” you should uninstall Steam manually using the second method, or else you might damage some essential system files.
First Method
- Close the Steam app.
- Type “Add or Remove Programs” in the Windows search bar.
- Click on the option with a gear icon appearing in the results to open the Settings window.
- Type “Steam” in the search bar or find it in the list of apps.
- Click on it and select Uninstall.
- Go back to the Program Files and check if the computer has removed Steam’s folder.
- On the off chance it’s still there, the installation was corrupt from the beginning.
Now you have to install Steam again and try uninstalling it afterward.
Second Method
- Exit Steam and navigate to your Steam directory that exists in one of the two following locations:
- C:\Program Files\Steam
- C:\Program Files\Valve\Steam
- Delete all the content and data in the folder.
- Hit the Windows + R keys and type in Regedit in the Run dialog box.
- Once the Registry Editor window opens up, navigate to the following directory through the left-side menu:
- For 32-bit Operating Systems: “HKEY_LOCAL_MACHINE\ SOFTWARE\ Valve\.”
- For 64-bit Operating Systems: “HKEY_LOCAL_MACHINE\ SOFTWARE\ Wow6432Node\ Valve\.”
- Right-click on Valve and choose Delete.
- Now navigate to “HKEY_CURRENT_USER\ Software\ Valve\ Steam” in the Registry Editor and delete the Valve folder again.
- Close the window and head to the Steam official website to download Steam again.
- Open the .exe file and follow the instructions to install Steam again.
- Launch Steam and download the game you had problems with before.
Hopefully, there won’t be any more issues with running the app.
NEXT: How To Check GTA V Version (2 Methods)


