When you connect your PS4 controller to your console, it will work fine in most cases without any issues.
However, some underlying issues will lead to problems turning on different color lights on the controller.
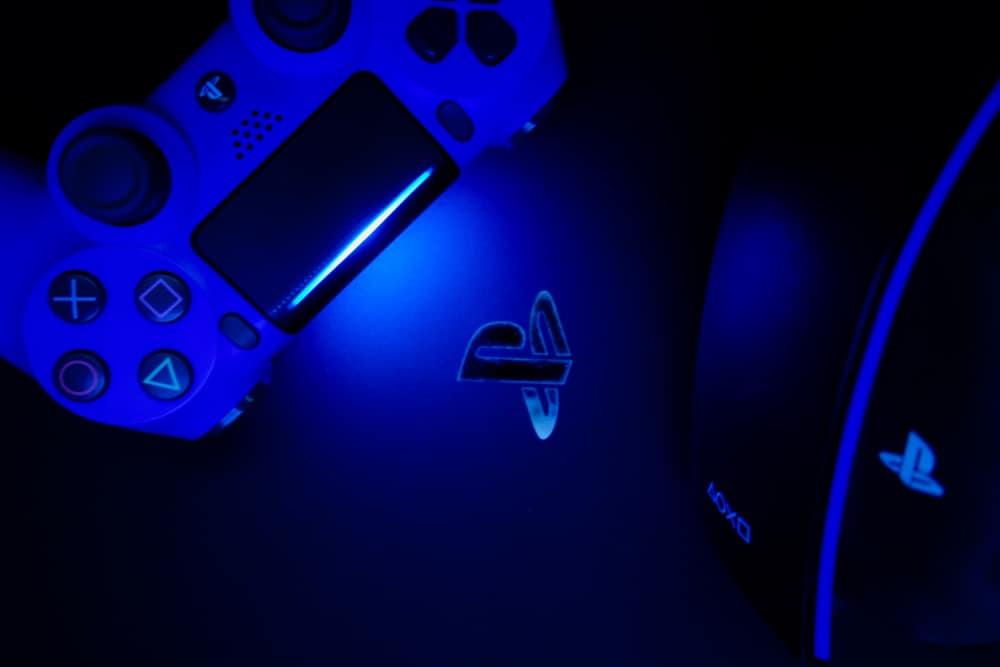
One of these lights is a blinking blue light indicating connectivity issues.
Let’s take a look at the causes and fixes for the flashing blue light on the PS4 controller.
PS4 Controller Flashing Blue (Causes, Fixes)

Generally speaking, the blue light blinking on your PS4 controller is a sign that shows your device is trying to sync with the console.
However, it won’t stop blinking in some cases, indicating some minor issues.
This syncing problem could be between the console and the controller or the controller and the charging station.
1. Software Issues

One of the most common root causes is that the software has bugs or compatibility issues.
These bugs prevent the controller from connecting to the PS4 console or the charging station.
The good news is that software issues are easy to resolve, and you can get rid of them using simple resetting.
How To Fix
You can solve software issues in different ways.
Try the following fixes and if it doesn’t help, move on to the next solution.
A. Reset The Controller

Resetting the controller can help you fix minor bugs without drastic measures.
There are different ways to reset the controller.
All of them involve disconnecting the controller in some way and resyncing it.
Here’s how to do it:
You can reset the controller in two ways: the soft and hard reset.
The soft reset involves selecting the Forget Device option on PS4.
However, you’ll need another controller to connect to the console to perform the soft reset.
If you don’t have one, you should do the hard reset.
If you do have an extra controller, here are the steps to do the soft reset:
- Connect the second controller to the console and log in to your PS4 account.
- Go to Settings, which looks like a suitcase, and select it to open a drop-down menu.
- Select Devices from the options and then choose Bluetooth devices.
- Find the problematic controller on the list and select it.
- Now, you should find the Options button on the right side of the touchpad on the controller and press it.
- You’ll see a new menu, and you should choose Forget Device among the options.
- Now, you should turn off the console.
- Hold down the PS4 button on the connected controller and choose Turn off PS4 under Power.
- Now, connect the problematic controller to the console using its USB cable and turn the console on.
- Log in to your PS4 account and see if the connection issue is solved this time.
Here’s how to perform the hard controller reset:
- Turn off both the PS4 console and the controller and remove all connections.
- If you look at the back of the controller, you’ll see four screws and a tiny hole next to the L2 button.
- This hole contains the reset button.
- You need a sharp object, such as a needle or a toothpick, to push it into the hole.
- Wait for five seconds, reconnect all the cables, connect the controller and PS4 via its dedicated USB cable, and press the PS button.
- Now, the light should turn blue without blinking, which indicates the syncing is complete.
If hard resetting the controller doesn’t work, you could try doing it without an internet connection.
Turn off your modem and go through the hard reset process described above and see if it helps.
B. Power Cycle The Controller

Another way to reset the controller is to power cycle it, which can fix minor bugs and random incompatibility issues.
The process is very straightforward and involves turning off the console and removing all its connections.
Then, you should discharge its remaining power by pressing and holding the PS button for a minute.
Then reconnect all the cables and see if the problem has been resolved.
C. Restart The PS4 Console

If resetting the controller doesn’t help, you can try rebooting the PS4 console to discharge electricity and remove potential bugs.
Follow the below instructions to restart the PS4 console:
- Hold the device’s power buttons for seven seconds.
- You should hear two beeps that indicate the device has entered safe mode.
- Choose the first option, Restart System, to end the Safe mode and reboot the system.
- Alternatively, you could turn off the PS4 console, remove all the cables and connections and press the power button again for a few seconds to discharge any remaining power.
- Reconnect the cables and turn the device back on.
D. Unpair The Devices

If you connect your controller to a mobile device instead of the PS4 console, you may have connectivity issues due to a weak Bluetooth connection.
Therefore, you should unpair the devices and pair them again.
To do so, you should go to your Android device’s Bluetooth settings and unpair the PS4 controller.
Then, press the PS and Share buttons on the controller simultaneously until the blue light turns on.
Go to your Android device and pair it with the controller under its Bluetooth settings.
E. Update The Software
Updating the PS4 console software can also help you eliminate bugs and other potential software issues.
To update the PS4 software, you need to download its reinstallation file on PlayStation’s official page.
Look for a button named PS4 Console Update File and click on it to download the file.
You’ll need a USB drive with at least 6GB of free space and formatted as FAT32 to store this file.
Create a file inside the USB drive and name it PS4.
Then open this folder and create a subfolder inside it named UPDATE.
After downloading the update file, you should save it inside the UPDATE subfolder and name it PS4UPDATE.PUP.
When the download is complete, unplug the USB drive from the computer and plug it into the PS4 device.
Now, you should enter PS4 safe mode by pressing the power button for seven seconds to hear two beeps.
Remember, the console should be turned off.
After the second beep, connect the controller to the device with its USB cable and press the PS button on it.
You’ll enter the Safe Mode, and you should select the 7th option: Reinstall System Software.
Then select Update from USB Storage Device and press Ok.
F. Reinstall The Software

Reinstalling the software will erase all your previously stored data, so you may want to do it as a last resort and only if none of the above solutions work.
Alternatively, you could back up your data on a flash drive or cloud space and restore them after they’re erased for any reason.
To back up your data, get a USB flash drive at least twice the size of the backup file and format it as FAT32.
Since Trophies aren’t included in the backup, you should sync them first.
Go to Trophies > Options > Sync trophies with PSN.
Now you can start the backup process.
Connect the USB flash drive to the console and go to the following path: Settings > System > Back Up and Restore.
Select the Back Up option and choose the data and files you want to back up.
Change the backup file’s name and click Back Up.
After the process is complete, you can remove the USB device.
The steps required to reinstall the console’s software are the same as those for updating it.
The only difference is that after entering the Safe Mode, you should select the third option, Reinstall system software.
After solving the connection issue, you can restore your lost data by connecting the USB device and going to Settings > System > Back Up and Restore.
After clicking on Restore PS4 and selecting the files you want, you can get all your data back.
Note: If you haven’t named the files correctly, the PS4 console won’t recognize them, and the update won’t be complete. Make sure you’ve named the files as stated by the PS support page and with uppercase letters.
The Safe Mode has some other options that may help you erase potential software glitches.
The fourth option on the list of Safe Mode menus is Restore Default Settings.
You can use this option to factory reset the PS4 device, but it doesn’t delete your stored data, including your games, apps, and other saved data.
It only resets the PS4 settings to their original software settings.
G. Update The Display’s Firmware
An outdated display firmware, be it a monitor or TV, can cause incompatibility issues and eventually prevent your devices from syncing.
You should always make sure that you have the latest firmware versions installed.
Every TV brand has a unique process for updating software, so read your user manual or check the manufacturer’s website.
However, you should be able to find the option for updating the software under the TV’s settings.
2. Hardware Issues

Since you’re dealing with different hardware while using your PS4, you may have syncing issues with any of these pieces along the chain.
The console, the controller, and the display can all run into issues that prevent the devices from syncing.
After going through software issues, you need to make sure there’s nothing wrong with the hardware.
However, note that most of the hardware solutions recommended here need a certain level of expertise.
If you haven’t opened a PS4 console before, it’s advisable to take your device to a certified technician to prevent extra damage.
A. Check Cables And Connections

Before going further to detect hardware issues, make sure all the cables and connections are alright.
Check all the cables and ports that connect the PS4 device to the display and also all the power cords.
Look for signs of physical damage, however small, and if you find any, change the cables.
In addition, you should make sure all the ports are dust-free and clean to allow for perfect connections.
You may also want to make sure that your controller has enough juice.
While you’re checking the connections, recharge your controller and see if it helps with the syncing issue.
Connect it to the console using the USB cable and leave it for at least 30 minutes.
The controller may have enough charge to blink, not enough to turn on completely.
B. Check The Hard Drive

The first thing you should check with the hard drive is that it’s seated correctly.
The hard drive’s location is marked on the console, and you can easily see it on the corner.
However, remember that its location is different on different PS4 models.
The primary HDD cover is easy to take out, and you can simply remove it with a push, and it will pop out.
Then, you’ll need to unscrew the single screw that holds the HDD bay in place.
You can easily take out the hard drive by pulling the ribbon on the side attached to the hard drive bay.
After checking all the connections and ensuring the HDD is connected to the bay correctly, you can put it back in and see if it helps.
You should also check for a faulty hard drive as it causes a wide range of issues and may prevent the console and the controller from syncing properly.
The hard drive is a mechanical component subject to wear and tear and can fail after prolonged use.
You may experience issues like constant crashing, excessive heating, lags, unusual noises, or even disappearing data.
If you experienced these problems before the syncing issue appeared, the hard disk may be faulty.
You can check the hard disk’s health on your PC.
To do so, connect the PS4 console to your computer and run a Command Prompt.
Type “command prompt” in the taskbar’s search box and click Open.
Enter the following command to run a basic disk scan and fix errors:
Chkdsk C: /f
After the scan, follow the on-screen instructions to complete the process and see if it has helped with your issue.
C. Reset Resolution

Another issue that may lead to syncing issues and a blinking blue light is that you’re trying to run a game at a different resolution from your display’s resolution.
Therefore, you should reset the resolution settings and see if it helps with the syncing issue.
To change the PS4 resolution, you should enter the Safe Mode through the steps described above.
Reconnect the TV using the HDMI cables to see the Safe Mode options if you’ve disconnected the cables.
Choose option 2, Change Resolution, and press Ok.
This will restart PS4, and when the system turns back on, you should choose the correct resolution.
If you aren’t sure which one to choose, go with “Automatic.”
D. Check The CMOS Battery

A piece of hardware that can cause the blue light error in the PS4 is a dead CMOS battery.
The CMOS battery’s job is to sync the system’s date and time.
If it doesn’t work properly, you’ll run into other syncing issues and experience the blue light error.
To change the CMOS battery, you’ll need to open up the console and access the motherboard.
Again, if you haven’t taken a PS4 apart before, you may want to leave it to an expert because you may damage your device.
However, after opening the console and accessing the motherboard, the CMOS battery is easy to find and replace.
It’s a coin-sized battery located on the corner of the motherboard.
You could reset the battery by taking it out and putting it back in.
If the battery is dead, you should buy a new one and replace it.
After replacing the battery, close the console and plug it back in.
You should wait for ten minutes until the battery is charged.
Then, connect your controller and the display to see if the blinking blue light appears.
E. Try Another Controller

If you can’t find the exact root cause, you could ensure the controller is working properly by replacing it with another one.
You could borrow one from a friend and connect it to the console to see how things go.
If you can successfully connect the two devices and the blue light goes away, it shows that your controller has a hardware issue, and you should have it checked by a professional.
If the second controller doesn’t work with the console, the receiver on the console is most probably the main culprit.
In this case, you should also seek professional help from authorized repair services.
NEXT: How Much Storage Does Minecraft Take Up? (Explained)