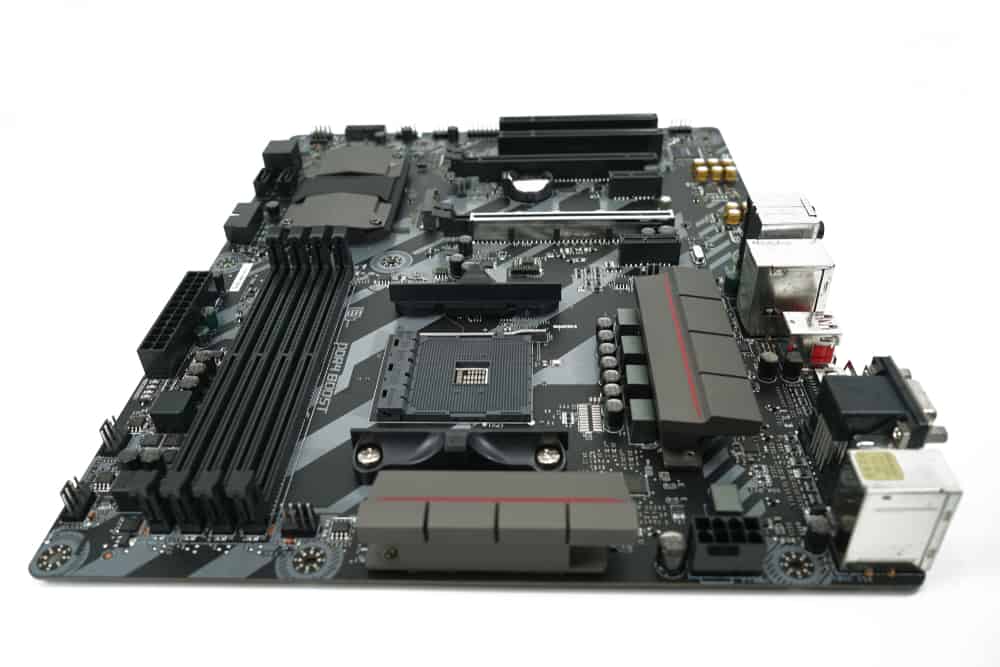
The motherboard is the heart of your computer, where all the PC components come together.
It lets different parts interact with each other to share data, power, and so much more.
Your board could face any number of issues during its life, but overheating is a rather uncommon issue for a motherboard.
CPU and GPU overheating are common, but high temperatures for the motherboard may startle some.
This problem could happen due to several factors, and it has multiple fixes you can try.
Read on to find out what they are.
Why Is It Important To Stop Motherboard Overheating?

When your PC performs tasks and runs apps and programs, it sends several commands to its central circuit board or the motherboard.
As the board processes the commands, it interacts with the PC components, including the CPU, GPU, RAM, Hard Drive, and so on.
The more data flows through the parts, the more electricity runs through the board’s semiconductor channels, and the more heat it produces.
Because of the specific interaction that electrons and semiconductors have, as the temperature increases up to a particular threshold, the material’s conductivity also increases.
However, if the temperature exceeds that point, the electrical conductivity will start to decrease rapidly.
If you keep the motherboard’s temp under the limit, you’ll get maximum performance, and if not, it’ll make the motherboard unstable and fail in unusual ways.
Moreover, if you let the high temperatures continue, the board can lose conductivity completely, cause thermal runaway, and damage the other components.
We all know that materials expand at high temperatures and contract in low temps.
The extent of expansion and contraction varies between different components.
Therefore, rapid fluctuations in temperature can put high mechanical stress on the solder joints that hold the parts of the board together and bind them.
That will bring cracks and fractures in the solder and break electrical connections.
The rate of chemical reactions that happen inside electronic components rises as the temperature increases.
That will increase the pace of corrosion, and the board that can last you several years will become damaged after a few months.
For all these reasons, you need to take high motherboard temps seriously and try to find the culprit and fix it.
How To Find Out The Motherboard Temperature
Some motherboard manufacturers develop their own software for monitoring the board’s temperature.
If your motherboard comes with one, use it.
Another way to monitor the motherboard temperature is by using thermal cameras.
They’ll give you highly accurate results, but they’re expensive for the average user.
That leaves us with using third-party utilities that’ll provide us with the PC component’s temperature.
1. Open Hardware Monitor
Open Hardware Monitor is a handy tool to have, not just for monitoring motherboard, CPU, and GPU temps but also for seeing load and clock speeds, voltages, and fan speeds.
It can monitor all the temperature sensors, supporting Intel, AMD, Nvidia, and ATI brands.
The Open Hardware Monitor is an open-source and free tool that can run on all Windows versions and x86 based Linux OS systems.
It has an excellent user interface with lots of customizable options.
2. HWMonitor
HWMonitor also reads the PC’s main health sensors, including the temperature, fan speeds, and voltages.
It works with most modern CPUs and GPUs, including Intel, AMD, and Nvidia.
The software comes in standalone and installable versions, both of which are free to use.
It has a straightforward presentation of data, and more importantly, it updates and displays its readings in real-time.
There’s also a paid version named HWMonitor Pro which could be helpful for power users with its extra features: remote monitoring, graph generator, and PWM control.
3. Speccy
This article has included Speccy because it’s popular among many users.
It’s available for free download, and there’s also a paid version with more features.
However, many users have reported that Speccy shows very high and unrealistic values for motherboard temperatures, which is what gets them worried in the first place.
Though its other readings may be accurate, be careful with the estimated motherboard temps, as they may sometimes be off the charts.
What’s A Safe Motherboard Temperature?
Generally, the motherboard’s temperature varies between 20°C and 80°C.
If you live in the colder regions of the world or if you’ve installed a very powerful cooling system for your computer’s case, you’ll experience the motherboard temperature staying at 20°C after your PC boots up.
Commonly, when the computer is idle, meaning you start it up but don’t use any active programs, the motherboard temperatures stay between 20°C and 40°C.
When you start doing routine tasks like surfing the web, reading, or writing a document, the temperature will rise to the 40°C to 60°C range.
All PC parts will start to heat up when you put heavy loads on them for prolonged sessions.
Intensive tasks like gaming, video editing, and programming can drive up the motherboard’s temperature to 60°C to 80°C.
However, unless you’ve overclocked your CPU and GPU, the motherboard temperature should never exceed 80°C, or else it’ll start to damage the parts.
Note that these numbers act as estimations and general rules of thumb.
Each motherboard may act a bit differently, but none of them comes with exact temperature specifications.
Also, remember that each one of the components on a motherboard has its specific temperature range.
Why Is The Motherboard Overheating?
1. High Room Temperature

If your computer system sits in a room that’s hot itself, the internal components will get hot as well.
Since most PCs are air-cooled systems, they need the air around them to be cooler than the components inside.
2. Poor Ventilation
Other than the air’s temperature, its availability is just as important.
If you put your PC inside a confined area, like a cabinet with a closed door, not only the motherboard, but all the other PC components, including the CPU, GPU, and power supply unit, are prone to overheating.
Also, the unorganized internal cables and wires can sometimes block the airflow around the motherboard.
3. Dust And Dirt

Dust and dirt buildup that happens over time will eventually clog the heatsinks and air inlets, blocking the available fresh air from circulating correctly and causing overheating.
4. Faulty Fans
A broken exhaust or intake fan that doesn’t spin or spins at a lower rate than necessary can cause overheating.
Depending on how you use your computer, the room temperature, and the ventilation, the number of fans might not be enough to cool your system.
Dirty fans could also cause overheating.
5. Loose Heatsinks
Your motherboard comes with heatsinks preinstalled on its chipsets to prevent overheating.
If they get loose and out of contact with the motherboard over time, they can bring high temperatures.
6. Overclocking

When you plan on overclocking your system, you must make sure that the components can handle the extra work and pressure.
Different parts will start to overheat if your system runs at higher speeds than initially intended, leading to motherboard overheating.
7. Low-Quality Power Supply Unit

The power supply’s quality of build is vital for your computer system’s health.
A cheap PSU can overheat itself and cause the other PC components to overheat as well.
8. Wrong Temperature

The high temperature reading that you received could be a false alarm.
Sometimes the motherboard sensors can report inaccurate data, and as mentioned, some third-party apps like Speccy can give you misleading information.
An indicating clue would be a CPU with average temperatures.
Use reliable software to make sure the motherboard temperature is high before coming to a decision.
You can manually check the heatsink yourself as well.
9. Manufacturing Defect
A manufacturing defect is also a possible culprit.
If you’ve recently bought your PC or installed a new motherboard, it might be broken.
Try all the fixes provided in the next section, and if nothing worked for you, contact your vendor or service system, and get the board repaired or replaced.
How To Lower The Motherboard Temperature
1. Lower Room Temperature

In the hot days of summer, be sure to crank up the air conditioning unit inside the room where you’ve placed your computer.
Don’t put the computer near a window where there’ll be direct sunlight.
In the winter, make sure to move the computer away from the fireplace or the heater.
If you can’t cool down the room, you’ll have to move the computer.
Be careful not to cause damage to the sensitive parts in the process.
Ensure that everything’s unplugged and carry them and set them down carefully.
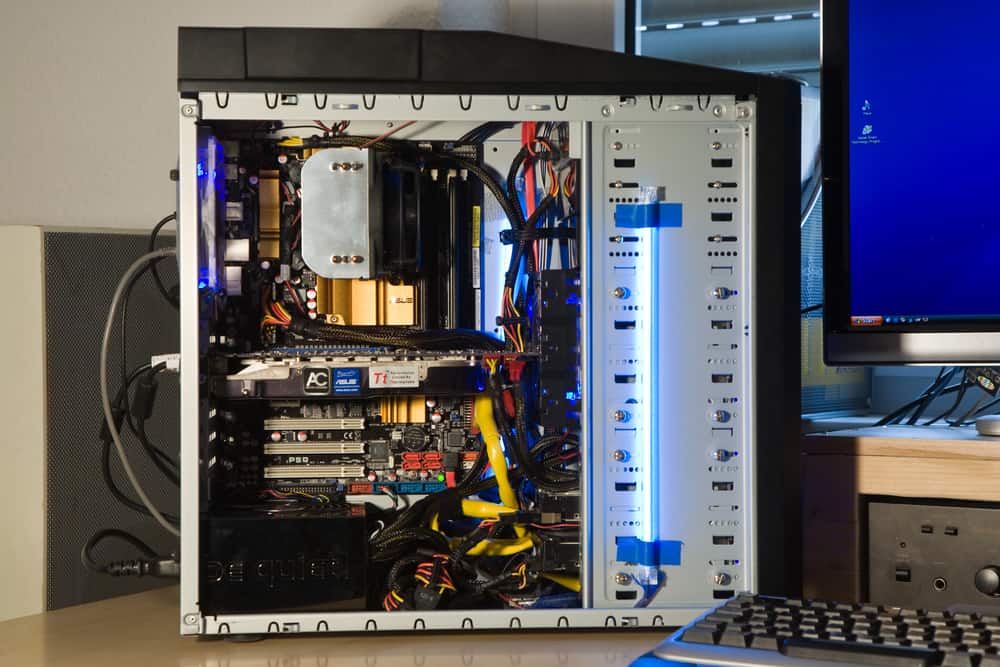
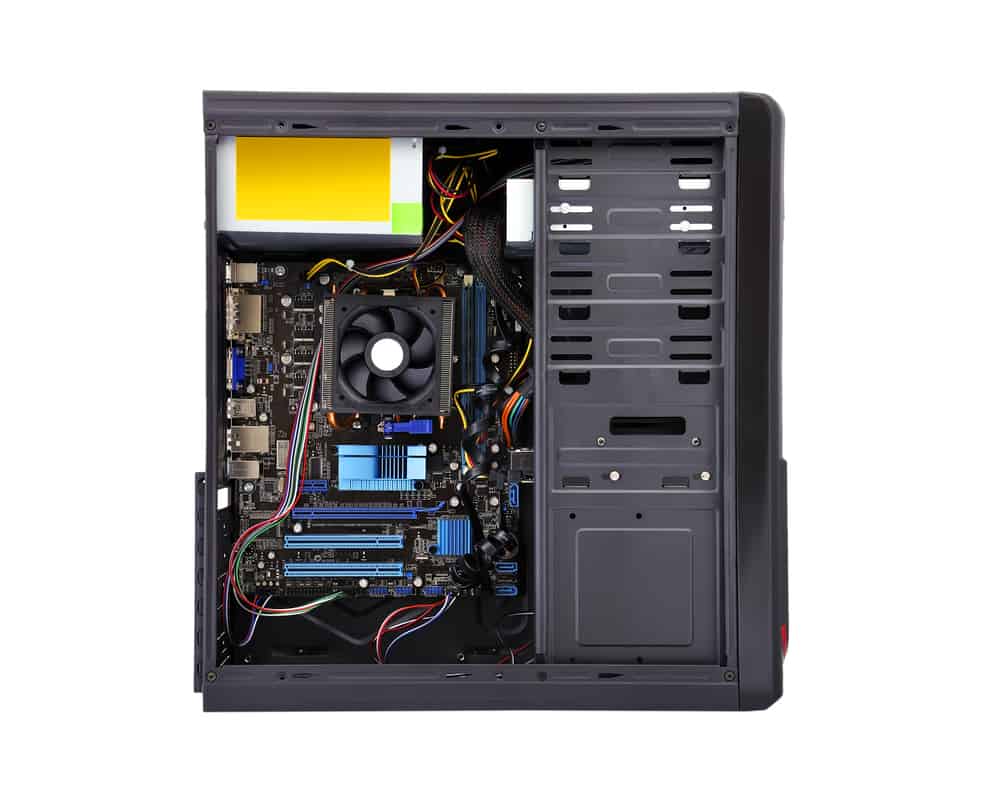
2. Maintain Proper Ventilation

There should always be enough air available around the computer case so the coolers inside can pull in the fresh air.
You shouldn’t keep the case in an enclosed environment, like your desk cabinet.
It should be open from the back because the hot air flows through the back of the case.
There should be at least a couple of inches open on the other sides, and you shouldn’t close the cabinet’s front door while using your computer.
Hot air can get trapped inside and cause overheating.
Make sure the extra cables and wires aren’t blocking the airflow around or inside the case.
Note that some cases have a fan on the bottom instead of the side or top.
You shouldn’t put these cases on a carpet, blanket, or any other soft surface because they won’t be able to draw in the fresh air.
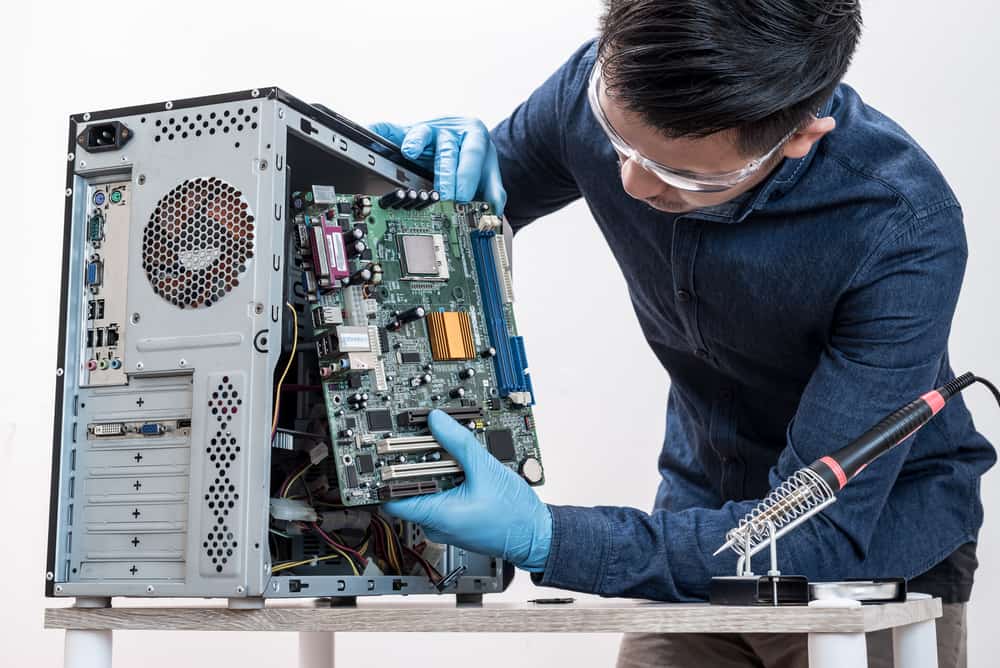
3. Clean The Motherboard And Fans

When dust, debris, and pet hair build up inside your computer, it increases friction, thus decreasing the fan and leading to excess heat.
You need to disconnect your computer, open up the case, and use canned air to blow off the dust from the fans, including the case fans and the CPU fan.
If the power supply fan has gotten dirty, it’s best to replace the PSU altogether.
It would help if you also cleaned the motherboard from dust and debris, so use a clean, soft brush or compressed air to do so.
You can also use motherboard cleaner liquid.
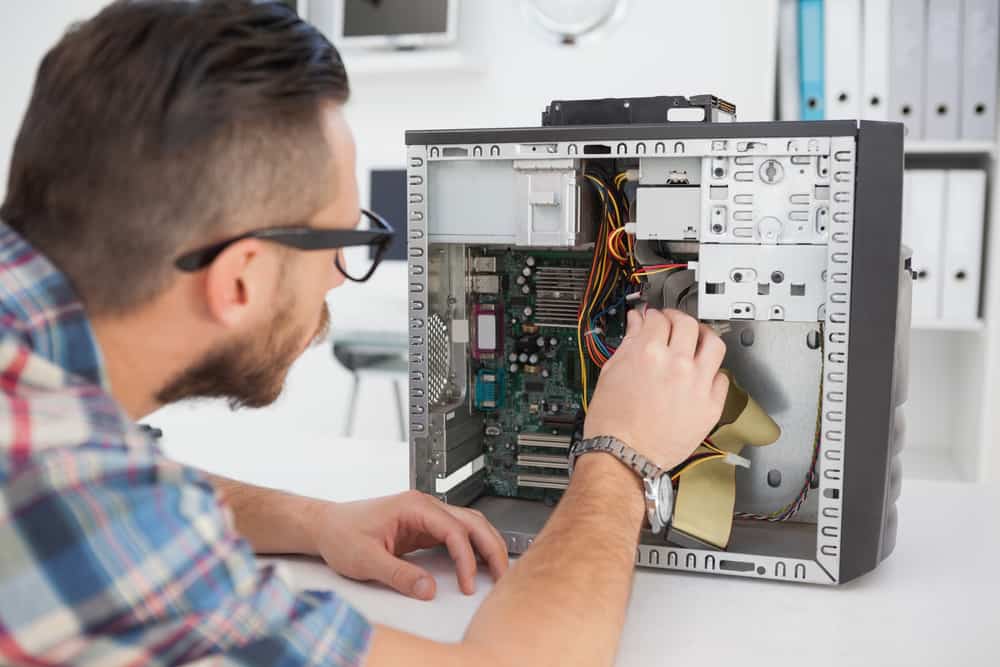
4. Fix Faulty Fans Or Add More Fans

Firstly, check to see if all the PC fans are working correctly.
If any of the case fans or the CPU fan doesn’t spin correctly, replace them.
If the PSU fan is damaged, replace the power supply.
Next, determine if the number of fans is enough for your computer.
A case should have at least two working fans: one at the back within the power supply to push hot air out and another in the front or side to draw fresh and cool air in.
These two should be spinning in the right direction.
Maybe the present fans can’t handle the load you put on the internal components.
In that case, you’ll have to add more fans.
Remember that the number of exhaust and intake fans should be the same.
Note that too many fans could also create an issue, especially if they’re not placed correctly and/or spinning in the wrong direction.
None of the fans should obstruct the airflow of another and create dead spots in the case.
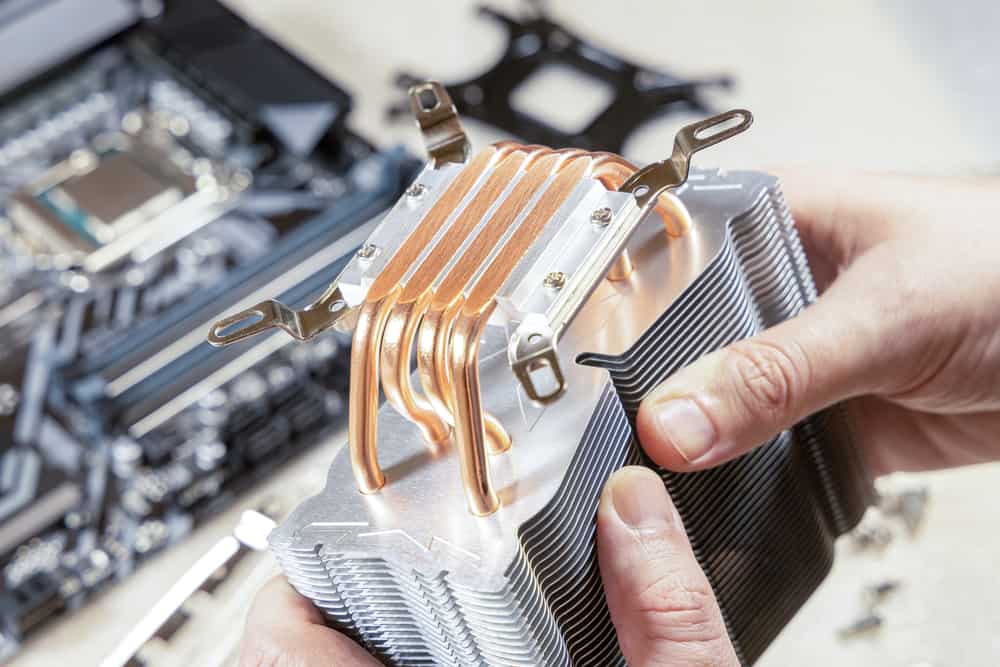
Open up the case, check the motherboard heatsink, and see if it’s fully attached to the board.
If there’s a gap, the heatsink can’t transfer the heat correctly, and that can cause overheating.
You’ll have to fill the void with some thermal paste.
You can also consider replacing the heatsink on the motherboard’s Northbridge chip with a fan.
The Northbridge maintains the connection between the PC’s main components, including the CPU, GPU, and RAM.
It gets heated more than the other parts, so adding a fan to cool it can have a considerable impact.
5. Update BIOS
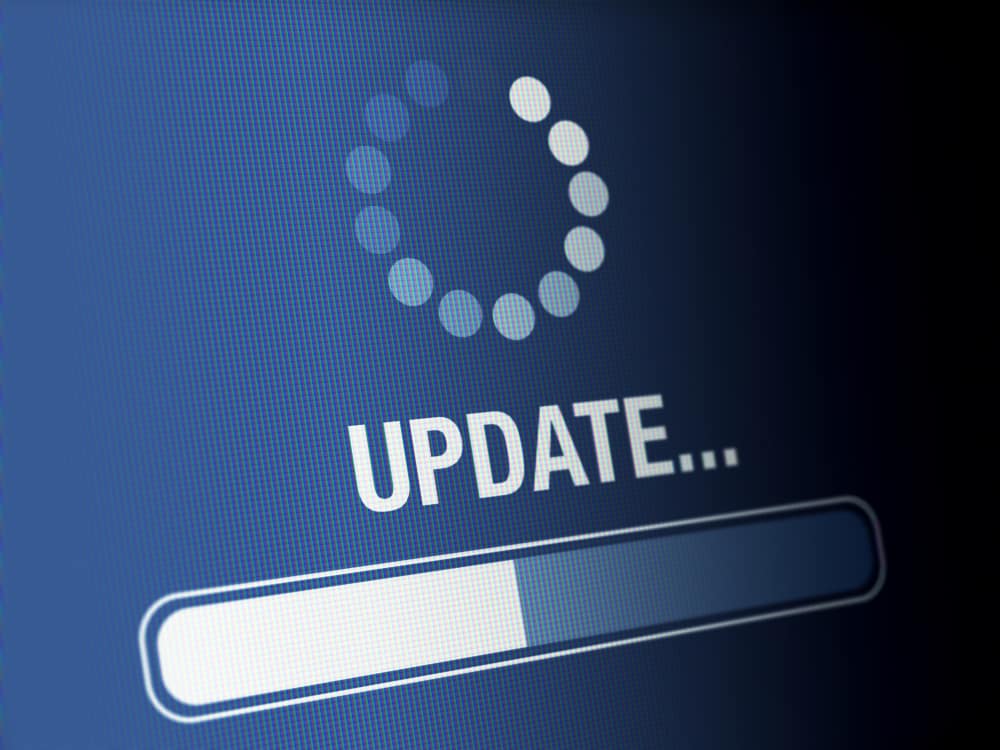
An outdated BIOS driver can be the culprit to the motherboard overheating because it can cause the improper functioning of the temperature controllers.
Head on to your motherboard’s manufacturer website and search for BIOS updates.
The update is essential if you’ve upgraded your OS, for example, from Windows 8 to 10.
6. Execute Background Apps

Don’t run multiple requests and execute the background apps from running when you’re not using them.
That can impact the computer’s performance and push too much pressure on the motherboard, causing overheating.
7. Disable Overclocking

Overclocking pushes the hardware to its limits, and not all motherboards can support overclocking.
You should check the board’s capabilities before purchasing it and plan for a powerful cooling system.
If you haven’t done so, disable overclocking and reconfigure the hardware to their factory settings.
8. Replace Damaged Or Old Parts

Some computer components produce more heat than their newer models.
For example, a hard disk drive or HDD has rotating spindles and disks that perform mechanical work, increasing the temperature.
However, solid-state drives or SSDs are electronic components that reduce the temperature and transfer data more quickly, increasing the overall PC performance.
They’re more expensive than HDDs, but their extra benefits are definitely worth the cost.
Older versions of graphics cards also generate excess amounts of heat as opposed to the newer models.
A cheap power supply unit or a low-quality one that came with your casing can fail to provide power the way it should, thereby causing overheating.
Replace the PSU with a high-quality one from a trusted brand.
Remember that a high-wattage PSU that’s overkill for your system won’t do any good.
It’ll just generate more heat and add to the electric bill.
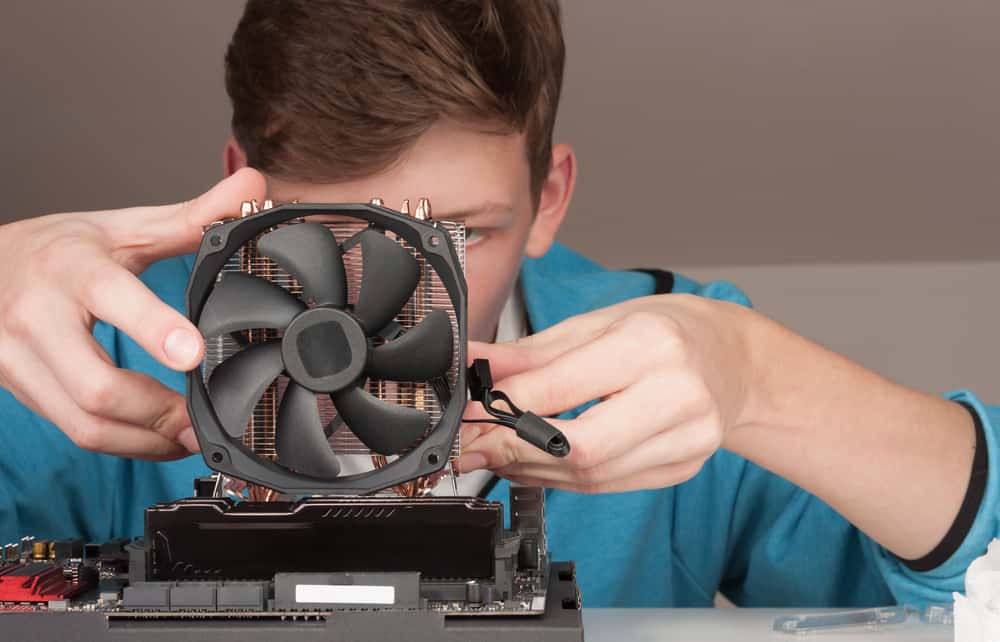
9. Reapply  - Thermal Compound Paste, Carbon Based High Performance, Heatsink Paste, Thermal Compound CPU for All Coolers, Thermal Interface Material")
Thermal paste is responsible for transferring heat from the CPU to the sink pipes.
The paste will dry out after some time.
You’ll need to reapply the paste yourself or have a professional do it for you.
This video can help you learn how.
10. Use Motherboard Standoffs
")
If you’ve assembled your PC yourself, you might have forgotten to use standoffs to prevent the motherboard from touching the metal case, causing electrical discharge and increasing the motherboard temperature.
11. Use Cooling Pads

If you’re having an issue with a laptop’s motherboard overheating, you can buy a cooling pad that’ll help get rid of the excess heat and prevent damage to the internal parts.
What Are The Signs Of Motherboard Failure?

If you think your motherboard might be failing, here are the signs to keep an eye out for:
- Temperatures above 80 degrees.
- Freezing and glitches of the system.
- Decreased system performance.
- System rebooting randomly without your consent.
- Random Blue Screen of Death errors.
- BIOS menu popping up on the screen.
- Not recognizing compatible hardware components.
All these problems might happen because of overheating, power fluctuations, sudden electrical shocks, or an insufficient power supply.
NEXT: How To Clean Thermal Paste Off CPU (Step-By-Step Guide)


