
The internal hard drive is an integral part of any computer that can affect the entire system’s performance if it’s faulty.
Many users have reported that their internal hard drives keep disconnecting for no apparent reason.
When the HDD disconnects, it’s impossible to get anything done until you restart the system, only to see it happen again after a short while.
This article explores the possible factors that make the internal hard drive disconnect.
Internal Hard Drive Keeps Disconnecting (Causes, Fixes)
1. Check All Cables And Connections
The first thing you should do is make sure all cables and connections are firmly and properly in place.
Before doing any inspections, turn off your computer and hold the power button for a few seconds to ensure extra electricity has drained to prevent shocks.
Then check all sockets and cables for any stress, pressure, or physical damage
If you don’t put the cables inside the sockets in a straight line, the fragile sockets will break easily and cause different problems for you.
After making sure no connection is loose, or there aren’t any broken or frayed wires, the next step is to try different connections.
For example, if you’ve connected the hard drive using a USB cable, replace it with a SATA cable and see if things change.
Next, clean all plugs and sockets using a contact cleaner and a cotton swab.
It would also be helpful to check all the connections on the motherboard because the slightest misconnection can create problems for which you can’t find any apparent reason.
2. Check If The Hard Drive Is Spinning

One indicator of insufficient or no power supply to the hard drive is when the hard drive doesn’t spin.
To check for this issue, perform the following steps.
Turn off your computer, open the case, and disconnect the data cable from the internal HDD to prevent Windows from sending power-saving commands.
Turn your PC back on and touch the drive to see if you feel any vibration.
If you feel this vibration, it shows that the hard drive is spinning and getting enough power.
If you’re sure the hard drive isn’t spinning, change the cables and see if things change.
If not, you may need to contact the manufacturer and ask them to help you.
3. Check The Hard Drive

You also need to make sure the problem isn’t with the hard drive itself.
Connect it to another PC, if possible, and check its performance.
If it doesn’t work on the second computer, the issue is the hard drive, not your system.
If the hard drive is faulty, you may want to take it to a technician and get it fixed.
Otherwise, check the solutions given in the rest of the article.
Before taking the HDD to the technician, you could format it as there may be some corrupted file that makes it keep disconnecting.
To ensure you don’t lose any data, get a backup of all the files you have on your HDD and then format the hard disk.
Now check if your problem has gone away.
4. Run A System BIOS

Entering the BIOS state will help you see if the hard disk is activated or not.
To boot in the BIOS state, restart your computer and press one of the following keys: F2, F8, or F11, or the “Delete” key.
Go to “System Startup” and find the internal hard drive.
Check if it’s turned on or off.
If it’s turned off, turn it on, reboot your PC, and check if your problem has been solved.
5. Update Your HDD’s Drivers

Although Windows regularly installs the latest driver updates, you may want to install the latest drivers manually.
That’s because, sometimes, Windows doesn’t install the updates properly.
To update the internal HDD’s drivers, type “Device Manager” in the taskbar search box on the screen’s bottom-left corner.
By clicking on “Device Manager,” you’ll open a list of all the drives in the computer that you can update.
The driver for your internal hard drive is usually under the SATA/ATA controller.
Scroll down to this option, right-click it and hit “Update driver.”
When Windows automatically installs the updates, you may need to restart your computer.
After turning your PC back on, check if your HDD stops disconnecting.
Alternatively, you could uninstall the driver and install the latest drivers by downloading them from the manufacturer’s website.
If your system doesn’t detect the hard drive, you can’t update its drivers through regular driver updates within Windows.
That’s because you can’t find the driver in the list of drivers under Device Manager.
Instead, go to HDD’s manufacturer website and search for the latest updates for your drive.
6. Updates Windows
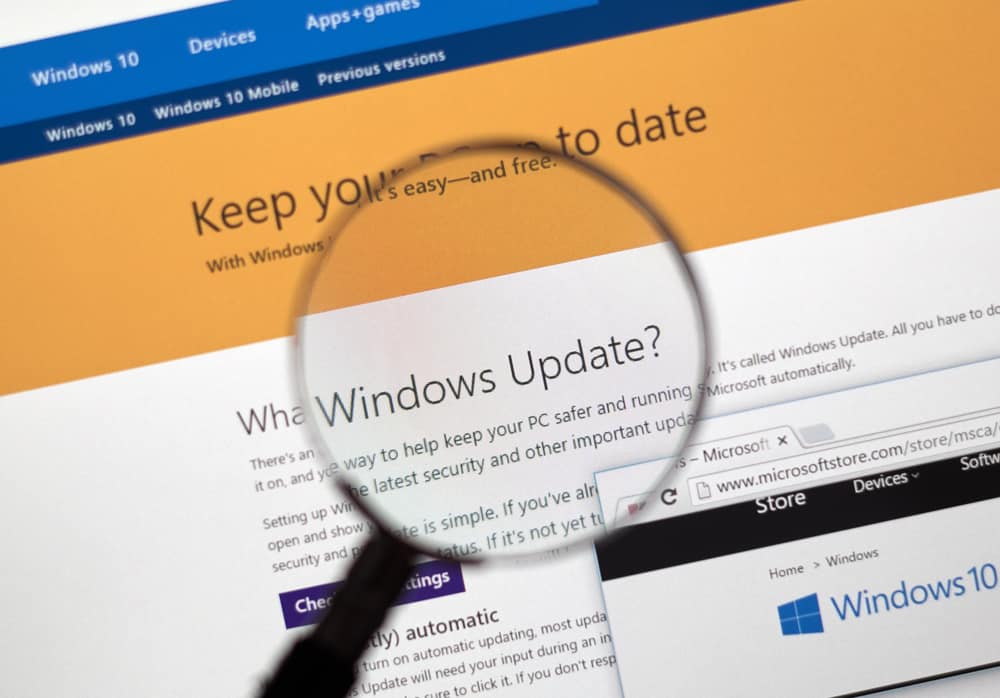
If you don’t have the latest version of Windows, your hardware and software won’t work properly.
Windows tries to fix any bugs or issues that prevent hardware and software from working to their fullest by regular updates.
Therefore, it’s best to make sure you have the latest updates of Windows installed on your computer.
To search for the latest Windows updates, type “Settings” in the search bar and click on the first result.
You’ll see the settings app window opened with a list of items.
Locate “Updates and Security” and click on it.
In the new window, you’ll see a notice on top of the window that shows you if your Windows is updated or not.
You could click on the “Check for Updates” button, getting Windows to look for updates and install them if there are any.
This way, you’ll see if any particular part can’t install properly and cause the HDD to disconnect repeatedly.
7. Check Your Power Plan

Some users have reported that the main culprit behind the internal hard disk getting disconnected was a faulty power source.
When your power source doesn’t work properly, it doesn’t supply enough power to the HDD, making it disconnect repeatedly.
It’s a good idea to check your PC’s power supply and make sure everything is okay.
Here’s a useful video that shows you how to test a power supply using a paper clip.
Another thing you can check is the PC’s power plan.
Go to the control panel, locate “Power Options,” and click on it.
Click on “Choose when the computer sleeps.”
In the new window, click on the “Change advanced power settings” link.
Select “Hard disk” and check the values under “Turn off hard disk after.”
If it’s set on any values, change it to zero or “Never.”
You could also disable this option using the command prompt.
Type “command prompt” in the search box and click the Command Prompt app in the search results.
Now, enter the following commands in the box individually and press “Enter” for each.
powercfg -change -disk-timeout-dc 0
powercfg -change-disk-timeout-ac-0
One command is for when the PC is on battery, and one is for the plugged-in state.
8. Run A Troubleshooter

If you can’t find a reason for your problem, you can get Windows to try and automatically locate the culprit.
If your hard drive has a problem, you can rely on the Windows built-in troubleshooter to detect and solve the problem.
Start the troubleshooter by typing “Troubleshoot” in the search box.
Now, click on additional troubleshooting to see a list of the components that you can troubleshoot.
The option for troubleshooting hardware doesn’t exist in Windows 10.
You should run the troubleshooter for sections that you think may have caused the issue.
9. Run A Clean Boot

Sometimes there’s a conflicting program in your system that doesn’t allow your internal hard drive to work properly.
In this case, you can identify this program using a clean boot.
Clean boot is another diagnostic method to troubleshoot your software and hardware issues in a more advanced way.
Clean boot starts your computer with very few drivers and startup programs.
The first thing you should do to run a clean boot is sign in to your computer as an administrator.
Type “msconfig” in the search box and click on “System Configuration.”
Click on the “Services” tab and choose “Hide all Microsoft services,” and click on “Disable all.”
Now go to the “Startup” tab and hit “Open Task Manager.”
Click on “Startup” to open a list of items.
Select each item individually and choose “Disable.”
Close the Task Manager window.
Click “OK” on the startup tab in System Configuration.
Now, you should restart your computer to run it in the clean boot.
Next, check if the hard drive works properly in the clean boot state.
If you still have the problem, you need to isolate the item that causes the problem.
Repeat the above steps, but instead of selecting all the items, select programs in the upper half of the list.
Then repeat the processes to start the clean boot and see if you still have the problem.
If the problem persists, you should do the same with the items in the lower half of the list.
If your hard drive works properly, you should continue the elimination process by disabling one program at a time until you find the problematic program.
When you find the program, you should either disable it or contact the manufacturer to inform them they’re conflicting with your hard disk.
10. Check If the HTDD Is Visible

Sometimes the internal hard drive keeps disconnecting because of improper partitioning.
As a result, you may not see it in file explorer or the list of disks.
To make sure it’s visible, right-click on “This PC” and click on “Manage.”
Choose “Disk Management” and see if the hard drive is in the list of disks.
If the hard drive is invisible, changing the assigned letter is the first and most straightforward solution.
As you know, when you create a drive, you have to assign a letter by which it’s identified.
Some of the most commonly used letters for drives are C, D, or F.
Sometimes, the problem can be solved by simply changing this identifying letter.
To do so, go to “Disk Management,” right-click on the hard disk, and choose “Change drive letter and paths.”
Select “Change” in the opened window and choose a new letter for the hard drive.
After you click “OK,” the system will assign the new letter, and you can check if your problem goes away.
How To Take Care Of Your Internal HDD

Losing your data due to a hard drive failure can be frustrating, especially if you know that’s entirely avoidable.
You can take some simple preventative actions to make your hard drive well-maintained and risk-free.
1. Control The PC’s Internal Temperature
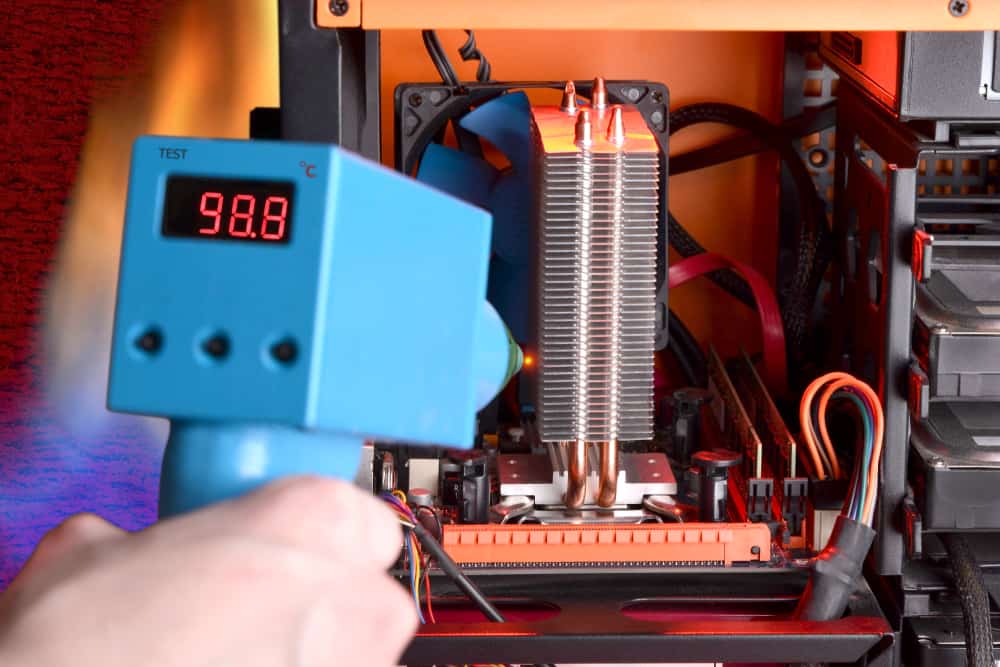
One of the most common causes of internal hard drive failure is overheating.
Since a functioning hard drive is constantly spinning to write data on its platters, it naturally gets hot.
While heating is a natural by-product of physical movement, you can manage it with proper ventilation.
If you don’t control the heat produced in the hard drive, it can cause the platters to expand, leading to HDD failure.
Make sure your fan is strong enough to cool down the interior of the computer and place your PC in a well-ventilated part of your room.
2. Control The Outside Temperature

In addition to the internal temperature, you should be careful about where you put your computer.
For example, if you take your computer from an extremely cold environment to a hot place, condensation may occur.
If there’s no way for the produced humidity to get out or dry out, it can damage the HDD.
Avoid extreme and fast temperature changes to prevent such damage.
3. Keep Everything Clean

Keeping your computer in a dusty place with lots of particles in the air can damage your system.
The dust particles can easily get into the system, build up over time, and form an insulating layer that traps the heat inside.
This problem is easily avoidable by cleaning the computer components regularly, especially If you live in a high-dust area.
4. Minimize Vibration

Powerful vibration or movement can seriously damage the platters on your mechanical hard drive.
Speakers, subwoofers, and other sound-producing equipment should be away from your computer to minimize vibration.
You could also put them on stands near the computer to limit their vibration.
In addition, moving your computer when it’s on or sudden movements even when it’s off can damage your HDD.
Put your computer in a safe place that doesn’t allow it to fall over or get run into.
5. Control Magnetic And Electrical Fields
Keep your computer away from objects that produce magnetic fields as they can harm your internal hard drive.
That’s because mechanical hard drives store data on their platters using magnetism.
If this magnetic field gets disrupted, it can be problematic.
Similarly, any power fluctuations can cause significant damage to HDDs, just like any electronic device.
Surge protectors or power conditioners are essential in protecting your hard drive.
What’s more, electrostatic charge can also prove harmful to the internal HDD because of the circuitry inside it that makes electrostatic charge as harmful as lightning.
Make sure you’re properly grounded whenever you touch the HDD and store it in an antistatic bag if it’s outside the computer.
Touching surfaces and devices that create static electricity, such as TVs or stereo speakers, can charge your body with static electricity.
Remember to touch something metal before handling the hard drive or any computer component.
6. Utilize Sleep Modes

As we mentioned earlier, setting the hard drive on sleep mode can be one of the reasons that the internal hard drive keeps disconnecting.
However, if turning it off didn’t solve your problem, remember to turn it back on.
That’s essential for adding to the lifetime of your hard drive.
The less time an internal hard drive keeps running, the greater its longevity.
You can also use the sleep mode on your whole computer.
Whenever you’re not using your system, even if it’s five minutes, put it on sleep mode to give it time to power off.
7. Install Software Wisely

A hard drive is a piece of hardware that may seem unrelated to the software you install on your computer.
As we have noted in this article, some problematic startup programs can prevent your HDD from working properly and even make it unrecognizable.
In addition, every software that you download or install on your system requires hard drive space to decrease the load times.
Don’t just install or download any software program that seems attractive to you.
If you don’t have enough space on your hard drive, your computer will slow down.
Plus, you may infect your system with viruses or malware by downloading programs from untrusted sources.
NEXT: How To Move Files From SSD To HDD (4 Methods)


