
If your computer has run into an unfixable issue regarding the integrity of your file system, you may use the chkdsk utility to fix it.
Sometimes Windows automatically runs the utility if it detects a problem.
Either way, you may notice that the utility doesn’t progress as fast as it should, and you’re worried it may be stuck.
Plus, interrupting the process may damage your files worse than before.
You may be wondering how long the utility takes and when you should be worried.
How Long Does Chkdsk Take?

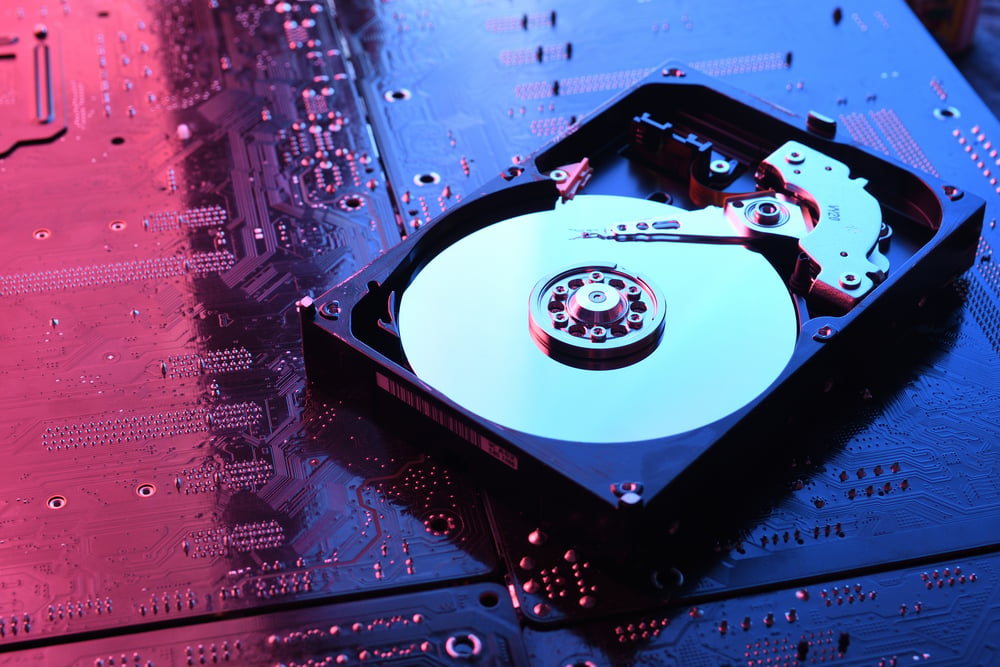
The scan by chkdsk can take anywhere from 20 minutes to 6 hours.
The size of the drive, number of damaged files, and bad sectors will influence how long chkdsk takes.
A 1 TB hard drive can take 4-6 hours, while a 128GB or less may take less than one hour.
You may want to plan your work and leave the scan overnight to avoid using your computer during chkdsk.
Several factors affect the length and success of chkdsk, which we’ll discuss below.
Why Does Chkdsk Take So Long?

If you do a quick search over the internet, you’ll find different answers as to how long chkdsk can take.
Different users have talked about their experiences with the chkdsk scan, taking anywhere from a few minutes to several days.
As a result, there’s no definite answer to this question.
The main reason is that the scan’s speed depends on many factors, in addition to the fact that HDDs generally have low read/write speeds.
Performing a chkdsk scan on an SSD doesn’t take that long.
Here are the main factors that affect the speed of the chkdsk scan.
1. Processor Speed
Your CPU has a central role in doing the chkdsk scan.
The more powerful your processor is, the faster it can perform the scan.
Older machines with old hardware and software can take longer than powerful computers with high-end components.
2. Interface Type
Although hard disks are generally slow, the way they’re connected to the computer affects their speed.
External, USB-connected hard disks take much longer than internal HDDs soldered onto the mobo.
3. Size
The size of your hard disk naturally affects the length of the scan.
A 1TB hard disk will take half of a 2TB disk under the same conditions.
4. The Number Of Files
The most important factor that affects the scan speed is the number of files inside the hard drive.
The utility checks every single file separately from others and moves from one file to another only after it has scanned it.
Even if two hard disks are the same size, the one with more files will take longer to scan.
However, the size of the files isn’t as important as the number.
If you have 100 small files, it will take longer than ten large files.
5. The Number Of Bad Sectors
While scanning the disk contents, the utility has an easier job if all the files are healthy.
The damaged files and bad sectors take longer to identify, and the larger the number, the longer it can take to scan them.
6. Degree Of Fragmentation
Fragmentation is a natural process as you use, alter, or delete files on the hard disk.
When you save the files, they may be divided into pieces to fit the empty spaces inside the hard disk.
The chkdsk scan will have to find different parts of the same file to ensure its integrity and health.
Therefore, it’ll take longer if the degree of fragmentation is high.
7. Command Parameter
When you run a chkdsk scan, you can use different command parameters to make the utility perform different tasks.
Here are the main command flags:
Chkdsk /f will scan the disk and fixes errors with the file system overhead information.
It ensures the information about entries and their matching files and folders are correct, and Windows can find them without issues.
Chkdsk /r will scan the drive, fix errors, and look for bad sectors.
It starts with what /f does but ensures all the files are readable and not physically damaged.
Since it scans the entire disk surface, /r can take longer than /f, which only checks the entries.
Chkdsk /b will do the same job as /r, but it also clears and double-checks for bad sectors
As you can see, each command parameter does a different job, which can take longer than the others.
For example, the /x flag will dismount the volume first, taking longer than /scan, for instance, which performs an online scan.
You can also use a specific parameter, /perf, to perform the scan faster.
It uses more system resources to accelerate the process but may affect the performance of other processes.
You can also make the scan faster by using /c or /i because they skip some tasks to scan the disk faster.
The /c flag skips cycles inside the folder, and the /i parameter doesn’t check index entries as strictly as others.
Still, performing the scan in the read-only mode is recommended because it takes less while still being thorough.
Stages Of Chkdsk

As mentioned, chkdsk scans the hard disk in five stages.
Each stage can take different amounts of time depending on the hard disk issues.
The system will notify you when each stage starts and finishes and the percentage of its progress.
It will run the read-only mode if you don’t use any parameters in the check disk command.
Only the first three stages will be completed.
Here are these stages:
Stage 1
The first stage of chkdsk involves file verification.
It shouldn’t take long, but your system may get stuck in this stage if there are a lot of bad sectors or corrupted files.
At the end of this stage, you’ll get the message “File verification completed.”
Stage 2
The system will verify indexes and examine all the directories at this stage.
It checks the file’s size information and whether they’re updated and match their indexes.
It also looks for “orphaned” files, those listed in the file record segment but not found in directories.
It’s like looking through a book’s table of contents and ensuring it has a corresponding section inside the book.
In such cases, the tool may decide to remove the directory.
You’ll get the message “Index verification completed” when this stage is over.
Stage 3
This stage involves checking the security descriptors.
It checks the security information and permissions associated with each file and ensures they work properly.
At the end of this stage, you’ll get the message, “Security descriptor verification completed.”
Stage 4
This stage is optional and can only occur with the /r parameter.
At this stage, the utility detects bad sectors and recovers readable data.
This stage finishes with the message “File data verification completed.”
Stage 5
Like the previous stage, stage five is optional and takes place in the /r switch.
While stage four verifies the files that are used, this stage deals with the free and unused space.
At the end of this stage, you’ll get the message “Free space verification completed.”
Can I Interrupt Chkdsk?

If you’ve ever run the chkdsk utility, you may have noticed that it’s running slow and may get stuck at a specific stage and percentage.
You may get impatient and try to abort the process in the middle and start all over.
However, as mentioned, the chkdsk scan may take several hours, depending on the conditions of your hard disk.
In addition, experts strongly warn against interrupting the hard disk scan since you may never know what will happen to the disk.
Some users believe that if your disk is already damaged and contains many corrupted files, interrupting the scan process may not make it more corrupted than before.
While some users have reported safely interrupting the process by turning off the computer or using some command lines, others may damage their files.
These interruptions depend on the stage, the type of scan, and sometimes pure luck.
For example, if the scan is in the early stages of checking files, killing the process may not have severe consequences.
However, if it’s fixing the errors and corrupted files, you may worsen the damage by interrupting the scan.
In addition, stages one to three involve rewriting the file structure, so killing the process may lead to a corrupted file system.
Stage five may also be safe to abort because it’s just checking the empty space on the hard disk.
However, since the hard disk platter spins so fast during the scan, suddenly stopping the process by turning off the PC may lead to physical damage.
What To Do If Chkdsk Is Stuck

As mentioned, it’s better to wait until the utility finishes its job.
You may even want to schedule the task and leave your PC on overnight if you don’t want to stop working on your PC.
If the process has taken unusually long, you can try the following solutions to restart the process.
First, you’ll need to stop the process through the following commands.
- If you opened the command prompt window to run the utility, you could simply close it to abort it.
- Pause the process by pressing Ctrl + C and then restart the PC to kill the process.
- Press Alt + F4 in the command window.
- Run the chkntfs /x c: command.
Now, use the following solutions to help the utility run more smoothly.
1. Use The Clean Boot

The clean boot helps you run your system using minimal startup programs and drivers.
This way, if a background process prevents the utility from running properly, you can end it.
To do so, type msconfig in the taskbar’s search box and press Enter.
Click System Configuration and go to the Service tab in the new window.
Enable Hide all Microsoft services > disable all > Apply.
Now, go to the Startup tab and click Open Task Manager.
Look at the Status column and find the services with the Enabled status.
Change all of them to Disabled.
Click Ok, restart the computer, and rerun the utility.
2. Use The Disk Cleanup Utility
You can help the chkdsk utility run more smoothly by cleaning the temporary files first.
This way, the utility doesn’t have to scan these files, which can get corrupted and cause issues.
The disk cleanup utility will help you remove these files.
Type “disk cleanup” in the taskbar’s search box and press Enter.
The tool allows you to select the drive you want to clean and press Ok.
You can run the utility for all the drives or use it only for your system drive.
The utility will ask you to select which files you want to remove.
You can choose all of them or just the temporary files.
After pressing Ok, the system will start deleting these files, and you can resume running the chkdsk utility.
3. Use The SFC Scan

In most cases, the chkdsk utility gets stuck at a specific stage and percentage since there are too many corrupt and damaged files it can’t fix.
You can make its job easier by running Windows built-in tools that target these files.
One of them is the System File Checker.
However, before running the SFC utility, you can run the Deployment Image Servicing and Management (DSIM) tool to help it run more smoothly by repairing other files.
Here’s how to do it:
Open an elevated command prompt by typing “command prompt” in the search box and selecting “Run as administrator.”
Copy and paste the following command into the window:
DISM.exe /Online /Cleanup-image /Restorehealth
The process may take several minutes.
After it’s complete, you can run the FSC tool.
Open an elevated command prompt again and type in sfc /scannow.
This tool may take several minutes to complete its job, so don’t interrupt it until the scan is 100% complete.
After the scan is over, you can see a message either telling you the scan was saucerful or failed.
If you get the message, “Windows Resource Protection could not perform the requested operation,” you can do other things to fix corrupted files.
The best thing is to run the utility in Safe mode, to run your system with minimal programs and drivers, and fix your corrupted files.
To enter safe mode, restart your computer and press the F8 key repeatedly until you see the advanced boot options screen.
Select the Safe mode with the command prompt and run the scan again.
Note. If the chkdsk scan starts whenever you boot your computer but can’t complete it, you may want to go around it and stop it before it starts.
To do so, you must be quick and press any key before the utility starts.
NEXT: How Much Should I Charge To Build A PC? (2023 Updated)


