
External hard drives are useful storage tools, but they may frequently run into issues that cut your access to your data.
That’s why you should always have a backup copy of all your data stored on the HDD.
One of the most common issues is that you can hear it spinning when you connect it to the PC, but the computer doesn’t recognize it.
Here’s how to pin down the possible causes.
Hard Drive Spins But Not Recognized (Causes, Fixes)
1. Plug It Into Another USB Port

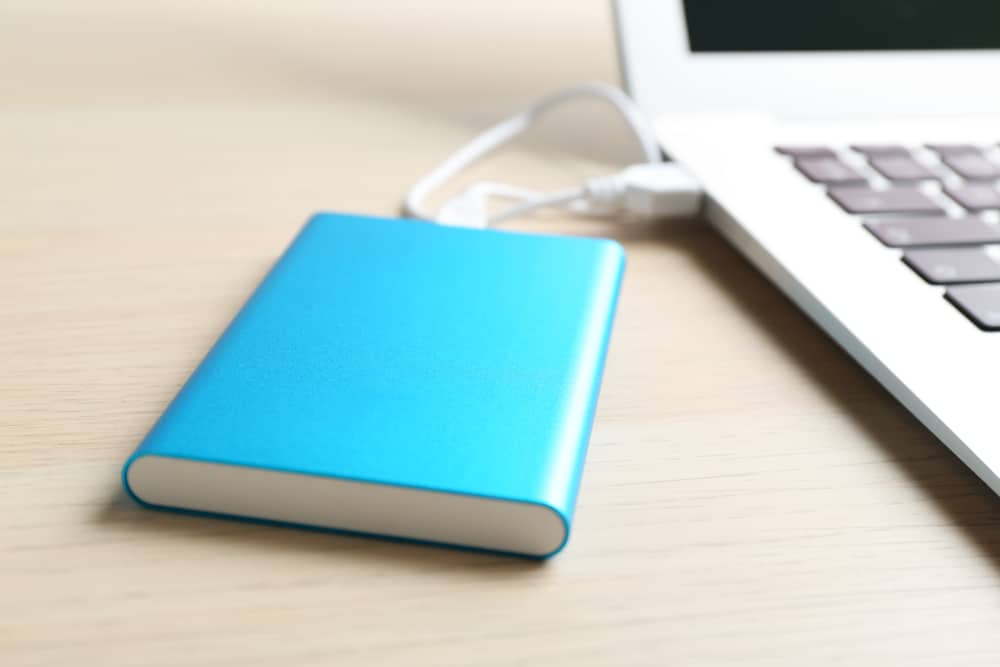
If your hard drive is spinning, but your computer doesn’t recognize it, it’s most likely connected to the PC properly, but the USB port may be faulty or incompatible with the hard drive.
Try to unplug the hard drive from whatever USB port you’ve connected it to and plug it into another one.
If you’re using a USB hub, connect it directly to the USB port on your PC, and try both USB 2.0 and USB 3.0.
USB hubs may sometimes cause compatibility issues that prevent the computer from recognizing the drive.
2. Try Another Computer

If the USB swapping method doesn’t work, you should make sure it’s not the entire system at fault.
The first option is to restart your computer after unplugging the hard drive to see if the problem goes away.
If it doesn’t, try connecting it to another computer.
It may even be the operating system that doesn’t allow the drive to be recognized.
Plus, your system may be operating properly, but the drive’s format isn’t compatible with what the computer can read.
Try connecting the drive to another PC with a different OS and see if it works.
3. Make Sure It’s A Supported Format

If it’s the first time you connect your hard drive to the computer, but it doesn’t appear in the File Explorer, it may be the wrong format.
Each operating system supports different file formats, so you should change it if your hard drive isn’t in the correct format.
However, you should note that changing the file format will erase all the data.
Therefore, you may want to consider another option if you have valuable data on your drive.
If you decide to change the file format, here’s how to go about it:
First, you should decide what file formats your OS supports and then check your drive’s current format.
- Type Create and format hard disk partitions in the Windows search box and click on the first result.
- Open Disk Management and right-click on your hard drive.
- Click on Format.
- Click Volume label and select a name for your hard drive.
- You could use the default settings recommended for Windows 10.
- Select NTFS for File system and Default for allocation unit size.
- Click Perform a quick format and hit Ok.
4. Update The Hard Disk Drivers

If your hard drive used to work fine in the past and you’ve just run into this issue recently, it may be a driver issue.
These issues mostly come up after a recent driver update or if there’s been a driver update, but you haven’t received it yet.
In either case, you can easily install or uninstall new updates to see how things go.
To install new driver updates, type Device Manager in the Windows search box in the taskbar.
Press Enter to open the Device Manager.
Scroll down to the Disk Drive menu and expand it.
Look for your hard drive in this menu or the Universal Serial Bus menu.
Right-click on the name of your drive and select Update.
Windows automatically searches for new updates and installs them.
If you want to uninstall the driver, select Uninstall instead of the Update option.
After uninstalling and rebooting your computer, go to the hard drive manufacturer’s website, look for new driver updates, and install them on your computer following the instructions.
Alternatively, you could leave it to Windows to look for driver updates and install them.
After rebooting your system, plug the hard drive into the USB port, and Windows will install the latest drivers.
5. Run A Virus Scan

Virus infection can be a common cause that prevents Windows from recognizing your hard drive.
It can lead to many different problems inside the hard drive itself.
Performing a virus and malware scan can help you eliminate the root cause.
You could use Windows Defender or any third-party antivirus software that’s powerful enough to detect hidden viruses.
6. Initialize The Device In Disk Management

If the above methods don’t work, it’s time for more specialized measures.
You should make sure the drive is initialized in Disk Management.
You may experience this problem if you’re using the drive on another computer, or it’s not formatted or initialized.
Type Create and Format Hard Disk Partitions and click on the first result.
Open Disk Management and look for the name of your hard drive.
After finding your hard disk, right-click on it and see if it’s offline or online.
If it’s offline, make it online.
You should also check if it’s formatted by looking for Allocated.
If not, you need to format it, but it will erase all the data you have on the hard drive.
If you have valuable data on your drive, you may want to consider getting professional help to save your data.
If you’re sure you can continue, right-click on the unallocated space and then on New Simple Volume.
Click Next and then Assign the following drive letter.
After selecting the drive letter, select the file format, and then proceed to the Perform a quick format option.
Click Next and then Finish.
7. Change The Drive Letter
Sometimes the issue is as simple as a conflicting drive letter created by automatic letter assignments.
After making sure the drive is both online and formatted, try changing the drive letter, whether you see a drive letter next to it or not.
To do so, while you’re in the Disk Management window, right-click on the drive and select Change drive letter and paths.
Click Change.
Choose Select the following drive letter to open a dropdown menu.
You may want to choose the last letter available to avoid any potential conflicting issues in the future.
Choose one from the available letters and hit Ok.
If the computer gives you a warning, click Yes to continue.
After changing the drive letter, you should be able to see the hard drive in File Explorer.
8. Check For Corrupted Firmware

Corrupted or damaged firmware is a serious issue that can cause different problems in your hard drive.
If you can hear clicking noises inside the hard drive, in addition to not being recognized, you can be sure that it’s a firmware issue.
Firmware is like the hard drive’s operating system and involves complicated hardware and software components.
Since it’s so complex, fixing firmware problems requires advanced technical knowledge.
You should leave your hard drive with a knowledgeable technician to fix the firmware issues and recover your data.
9. Check For Bad Sectors

Bad sectors are very common among hard drives, and since they’re caused by software issues, your hard drive may not show up in the File Explorer.
For example, if your computer suddenly turns off while you’re using the hard drive, it may develop bad sectors because writing to a sector wasn’t completed.
Another reason for developing bad sectors is poor manufacturing processes that leave them defective.
You could use the Windows built-in tool for disk checking to check for bad sectors.
This tool, known as chkdsk, scans the hard drive and looks for bad sectors.
Windows always automatically runs this tool to fix bad sectors, but it also helps to run it manually if it doesn’t show up in File Explorer.
There are different ways to access and run chkdsk, but one of the best ways is to use Windows PowerShell in Windows 10.
That’s because chkdsk requires administrative privileges to talk to drive hardware directly.
To run this utility,
Right-click the Windows start menu and click on Windows PowerShell (Admin).
You’ll see a window as User Account Control that asks you to give permission to open the “Windows Command Processor,” which makes changes to your PC.
Click Yes to give it permission.
There are different commands for chkdsk, each doing a different thing like checking and fixing.
To perform all these actions, type chkdsk c: /x /r by scanning the disk, finding and repairing any bad sectors.
Here, “C” is the drive’s name to be scanned by the utility.
You should replace it with the name assigned to your hard drive.
10. Run The “Clean” Command

Windows clean command is another way to make Windows recognize it by returning it to the unformatted state.
Note that this command will erase all the data on your drive, so you may use it as a last resort.
Type diskpart in the Windows search box and hit “Enter” to run the command.
Type list disk in the prompt and hit “Enter” to see your hard drive.
Pay attention to the name allocated to your hard drive and type select disk (number allocated to it).
Type Clean and hit Enter to start erasing the disk.
Then format it via Disk Management.
11. Check For Hardware Issues

If any of the above solutions didn’t work, you should make sure there are no hardware issues.
However, this option requires technical know-how, and you should leave it to experts if you don’t have that knowledge.
To do so, you should remove the drive’s external case and connect it to the PC directly.
That’s because the components responsible for changing the SATA drive to USB may be faulty, and the hard drive needs another way to connect to the PC.
However, you can’t connect it to the usual ports on the PC, so you need to connect it directly to the motherboard.
That’s why you shouldn’t do it if you haven’t done these things before.
Alternatively, you could get an adapter dock that converts SATA to USB and plug the drive into it.
Then, connect the dock to the USB port of your PC.
If this solution doesn’t work, you may have hardware issues inside the hard drive, and you’ll likely need a new one.
12. Enable The Hard Drive In BIOS

In some cases, the PC’s hard drive isn’t recognizable because it’s turned off in BIOS.
That’s particularly the case when you’ve connected the HDD as a second drive in your PC.
To turn on the HDD in BIOS:
Restart the PC and press F2 or other keys specific to your PC to enter BIOS.
Go to the BIOS Utility dialog and select Advance > IDE configuration.
In the menu that opens, find and select Configure SATA as…
Press Enter.
13. Run The System Troubleshooter

If you can’t detect the problem yourself, you can get help from Windows built-in troubleshooter.
Go to Settings > Update and Security > Troubleshoot > Hardware and Devices > Run the Troubleshooter.
Wait for the system to complete the scan and see if it finds any issues.
Click on the issue and then hit Next to start the fixing process.
14. Damaged Platters

In severe cases, damaged or scratched platters can prevent Windows from recognizing your device even if you hear the platters moving.
Over time, dirt and debris can build up on HDD platters, and when they spin, they come into contact with debris, leaving them scratched.
Unfortunately, this issue doesn’t have a solution, and you need to replace your hard drive.
15. Hard Drive Not Recognizable On Mac

When you can hear the drive spinning, most probably, you don’t have connection issues.
It wouldn’t hurt to check different connectivity solutions to rule out this cause.
After making sure all the physical connections are okay, you should check if the hard drive is a format readable by macOS.
For example, it doesn’t support NTFS, unlike Windows.
If you’ve formatted your hard drive with another OS like Windows, you should reformat it.
If these solutions don’t work, try the below solutions:
Mount The Hard Disk On Disk Utility
Sometimes when you connect your hard drive to your Mac, you can hear it working, your OS may even recognize it, but you can’t access your data.
That’s because it’s not mounted, which could be due to corrupt disk formatting or lack of support by Mac.
You can see the list of mounted and unmounted drives in Disk Utility.
To mount the hard drive:
Go to Applications > Utilities > Disk Utility.
Look for your hard drive on the left pane and right-click on it.
Choose Mount and check if your hard drive is recognized.
Mount The Hard Drive Using The Terminal
Another reason that makes your hard drive unrecognizable on Mac is it’s not mounted on Terminal.
You can use the diskutil command on Terminal because sometimes the drives may be hidden from the Disk Utility.
Go to Applications > Utilities > Terminal
Type diskutil list without quotation marks to see a list of all the mounted or unmounted drives visible to the computer.
If your hard drive is in the list, you can mount it with the Terminal to see if it becomes visible in Finder.
Enter diskutil mountDisk disk3 in Terminal but remember to replace disk3 with the correct name of your hard drive.
NEXT: Why Is My WiFi So Inconsistent? (Reasons, Fixes)


