Modern graphics cards are powerful gadgets that are always busy dealing with a massive load of work, especially when you’re gaming or doing graphics-intensive tasks.
Sometimes, the graphics card starts to make a high-pitched buzzing noise.
The noise can come from problematic GPU fans, or it could be coil whine.
It’s an intolerable and annoying sound that can irritate you very much.
Let’s find out what coil whine is first and how you can determine where it’s coming from, and then we will learn how to fix the buzzing sound coming from your graphics card.
What Is Coil Whine And What Causes It?
Coil Whine is a high-pitched noise that any device with a power source, including a graphics card, can produce.
It usually sounds like a high-frequency electronic buzzing.
Some people describe it as a hissing sound like a tea kettle, and some say it’s more like a squealing or scratching noise, like when you grind something together.
How do computer components produce this sound?
Coil whine is usually produced by an electrical current going through a power-regulating component like an inductor or a transformer.
An inductor is a component that consists of a core and a coil of copper wire wrapped around it.
The core is mostly made of iron or ferrite.
Inductors are bound to transform and store the electrical energy into a magnetic field.
Their purpose is to filter out any irregularities and smooth out the power deliveries to the components.
Inductors exist in different PC components, and they get various names depending on their place, including reactor, choke, coil, or solenoid.
Now, when current passes through the coils of an inductor, it can start to vibrate.
On occasions when the coil vibrates against the inductor’s core with a frequency that is within our hearing range, we hear the coil whine.
The current that runs through the coil can have different frequencies depending on the system’s load, causing the vibrations to change in amplitude and frequency.
Therefore, the volume and pitch of the coil whine can change.
Sometimes, we can’t even hear it, and sometimes only younger people can hear the sound.
It’s also possible for a bad solder connection between the inductor and the circuit board to cause the coil to whine, but it’s less common.
Does Coil Whine And Buzzing Indicate Damage?

Coil whine isn’t a new phenomenon, and it’s always been part of numerous electronic components.
However, the sound has become more noticeable since the systems are getting quieter and quieter, and there are no more roaring fan blowers.
As mentioned before, coil whine is usually inaudible, but it can also sound quite dramatic and unhealthy in some situations.
The only important thing to remember when dealing with coil whine is that it’s not harmful and not a sign for a dying PC.
It indicates that the inductors are working correctly, and the current is going through them.
It’s even possible for coil whine to decrease in intensity or even disappear within a few days of getting a new GPU or other components.
Although some people can’t stand the sound and want to fix it one way or another, it’s not a damaging factor.
However, you need to make sure the sound you’re hearing is, in fact, a coil whine.
Sometimes, faulty GPU fans can start buzzing and sound like coil whine.
Moreover, you shouldn’t mistake Capacitor Squeal with coil whine because it’s extremely dangerous.
We’ll discuss these phenomena in the following sections.
Which PC Components Can Cause Coil Whine And How Does One Locate The Sound?
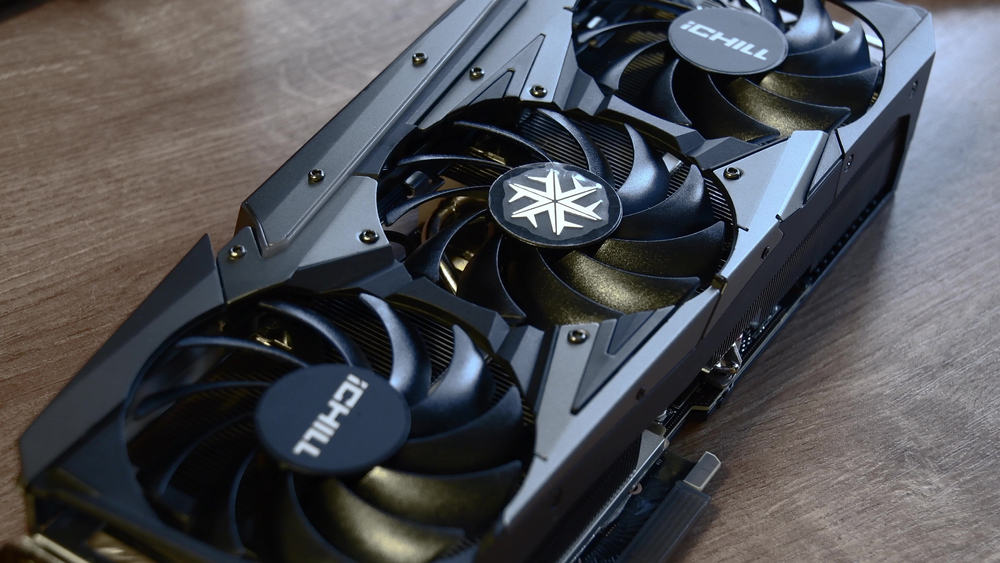
The first culprit for coil whine is the graphics card.
Other components that can cause such a sound are the power supply unit and the motherboard.
These specific components are under a constant high load, and that’s why they have more problems with coil whine.
The inductors that cause coil whine in the PSU are open-style and larger, whereas the ones in the GPU and motherboard are smaller and encapsulated in little boxes.
Some GPU models often experience coil whine, especially under heavy loads, like the Nvidia GTX 1080/1070 and RTX 2080/2070 series.
However, any GPU can have coil whine, and one can’t narrow the issue down to specific brands and models.
Now, if you’re still not sure about whether or not your GPU is making the sound, here’s how you can find out:
1. Listen For It
The easiest way of locating the source of the sound is by listening closely to it.
The loud sounds coming from the case fans, CPU heatsink fans, and GPU fans can make it hard to locate.
Your first option is to use a third-party utility to turn off the fans.
One of the best apps around is the MSI Afterburner.
Another option is to block out the background noise using a funnel-shaped device, like rolled-up paper.
Listen to the graphics card first, then the PSU, and lastly, the motherboard.
2. Swap Out The Parts
If you’re a part collector or have old parts from your last system at hand, you can swap out the components to find the faulty one.
First, swap out the GPU with a working one, and if the coil whine disappears, you’ve found the culprit.
Do the same with the power supply.
If it’s not one of the two of them, you’ll know the problem lies with the motherboard.
3. Install The Parts In Different Systems
Lastly, if you have another system around, you can take the GPU and PSU out of your computer and install them in turn into the other system.
If you hear whining, the replaced part is causing it.
How To Fix Graphics Card Buzzing And Coil Whine?

Now that you’ve determined it’s your GPU making the noise, let’s find out about the fixes that can help reduce or eliminate it.
The following solutions cover both coil whine and fan buzzing issues.
1. Wait A While

As mentioned before, new graphics cards tend to produce coil whine at first, and it’s highly likely for it to disappear or reduce in intensity over time.
If you’ve recently installed your GPU, give it at least a couple of days before trying any of the time-consuming and expensive fixes.
It won’t damage anything because there’s nothing physically wrong with a GPU that causes coil whine.
In the meantime, you can use active noise-canceling or sound-dampening headphones.
Simple foam cushioning can go a long way in absorbing high-frequency sounds.
Also, you can try moving the case further away from where you sit because the volume of high-pitched sounds decreases rapidly over distance.
2. Change The Power Draw Of The GPU

To change the frequency that the inductor coil vibrates at and move it from the audible range, you have to change the amount of current that runs through it.
Changing the amount of power that the GPU draws will achieve that, and here’s how to do it:
A. Limit The Framerate
Lowering the number of frames per second that the GPU outputs means less current passing through the coils and hearing less coil whine.
That is especially helpful if you hear the noise when gaming intensely.
Firstly, you can limit the frame rate using the Nvidia Control panel or AMD Radeon Settings.
Secondly, some third-party apps can reduce the frame rate, such as the RTSS FPS limiter and the MSI Afterburner.
Another option is to turn on one of the V-sync, G-sync, or FreeSync tools, depending on your computer model.
These programs automatically limit the game’s FPS to your monitor’s refresh rate.
This method can cause lags and stutters for the game, so it’s not recommended for competitive occasions.
Moreover, some games have integrated FPS limiters you can use to your advantage.
B. Disable Overclocking
As you must know, overclocking the graphics card puts more stress on it and its inductors, making them vibrate very fast when under load and creating disturbing coil whine.
If you’ve overclocked the GPU, turn it back to normal.
C. Underclock
If your GPU is at default clock speed and frequency and still generating coil whine, you can try under-volting or underclocking it, which works wonders in user experiences.
This way, the GPU draws in less power.
If that’s something you don’t want to do, you can limit the card’s power target to under 100%.
These methods will impact the GPU’s performance, but the impacts won’t be noticeable if you have a powerful graphics card.
You can under-volt, underclock, and limit the card’s power target using the MSI Afterburner app.
3. Change The Video Card’s Fan Speed

Some users successfully reduced the coil whine by changing the default fan speed of their GPU, so it’s worth a try.
It’ll change the temperature of the inductor, causing it to expand or shrink at a microscopic level, and stop the noise that the vibrations are causing.
Using the MSI Afterburner, RivaTuner, or similar software, first try increasing the fan speed a bit.
If that doesn’t help with the noise, try lowering the speed and simultaneously monitor the graphics card temperature.
If the GPU reaches over 80°C when the fan is spinning at its fastest, leave the speed to its default.
Keep monitoring the situation until you find the sweet spot.
4. Troubleshoot The GPU Fans

A graphics card that’s making buzzing noises may be experiencing issues with its fans or heatsink.
Let’s troubleshoot the fans in four easy steps and solve any existing problems.
A. Update The GPU Drivers
Outdated or corrupted GPU drivers might be conflicting with the fans somehow, so try updating them before moving on to more complex fixes.
- Type Device Manager in the Windows search box.
- Find the Display Adapter, click on it, and locate your driver underneath.
- Right-click on the driver’s name and choose Properties.
- Open the Driver menu and click on Update Driver.
- In the window that pops open, choose Search automatically for updated driver software.
You can also update the drivers by launching your OEM graphics card software.
B. Alter The GPU Fan Curve
The default fan curve of the GPU may be the culprit of the noise, and altering it might help solve the issue.
- Download and install the MSI Afterburner application.
- Launch the app and click on the Gear icon.
- Once Settings is open, head to the Fan tab and check the box next to Enable user-defined software automatic fan control.
- You can slightly change the fan curve so that the GPU has a lower fan speed at higher fan temperatures. Don’t make drastic changes because your graphics card will overheat.
- If the noise doesn’t stop, run some games and use the MSI Afterburner app to monitor the fan speed and temperature.
- If the parameters aren’t the same as what you’ve set, it’s possible that the GPU’s fan speed sensor is broken, and you’ll have to get it fixed.
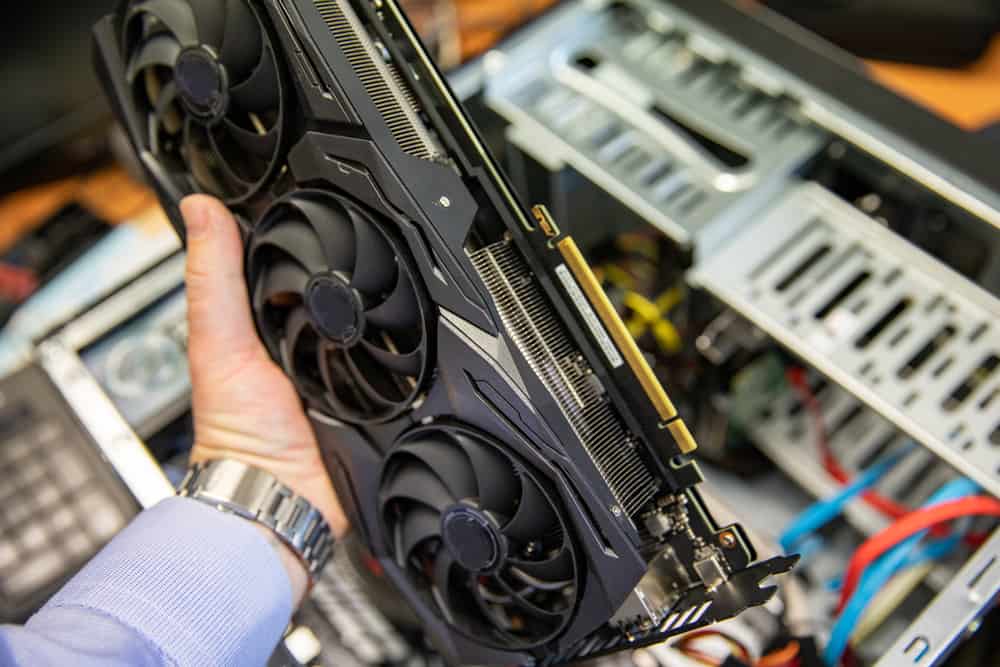
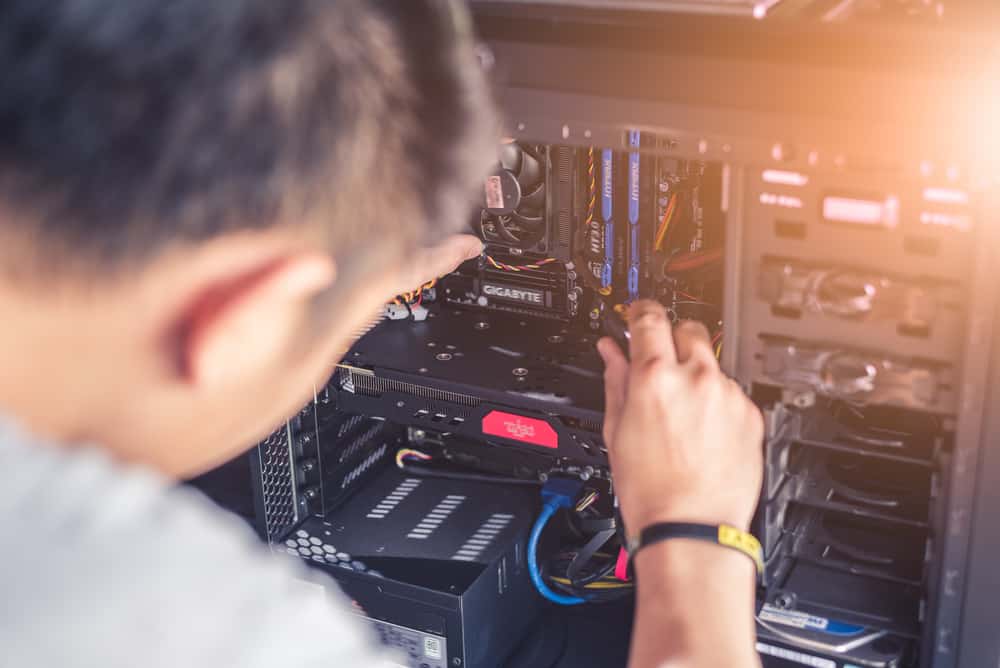
C. Check The GPU Physically
The next step needs you to get your hands dirty and check the GPU physically for any faults.
- Turn off your computer and unplug the power cable.
- Open the case’s side panel and locate your GPU.
- Inspect the GPU for any loose or damaged cables. If you find one, fix it and try again.
- Look for any objects that may be caught in the fan blades, causing the noise.
- Spin the GPU fans with your finger, and if their motions are inconsistent, or if one of them moves differently from the others, then the fan bearing might be broken.
You’ll have to replace the GPU fan.
D. Clean The GPU
Too much dust and debris building up inside the GPU fans and heatsink can cause the fans to spin abnormally and project a buzzing noise.
Disconnect your GPU from the motherboard and clean it with a brush or some compressed air.
5. Clear The Heatsink Fans

If your GPU is experiencing fan problems and its fans are spinning very fast all the time, it may be because the case’s heatsink fans can’t cool the inside of the case and your graphics card as they should.
One of the reasons for that is built-up dust and debris blocking the fans.
If you haven’t cleaned the case fans in a while, blow some compressed air on the fans.
You can use a brush, as well.
If you notice that the fans aren’t spinning as fast even after cleaning, maybe they need some servicing.
Remove any covers to access their bearings and then pour some oil on them.
6. Secure The Inductor Coils In Place
Another option is to prevent the inductor coil from vibrating altogether by coating the whole thing in a non-conductive material.
You can use any liquid that dries up after a while, such as hot glue, epoxy, or insulating varnish.
This method can work well for older GPUs, but it’s not optimal for newer generations because their inductors are enclosed in small boxes.
You’ll have to open up the inductors to add hot glue to them, making it a sensitive task.
Remember that this method voids the GPU’s warranty, so think twice if yours is still under warranty.
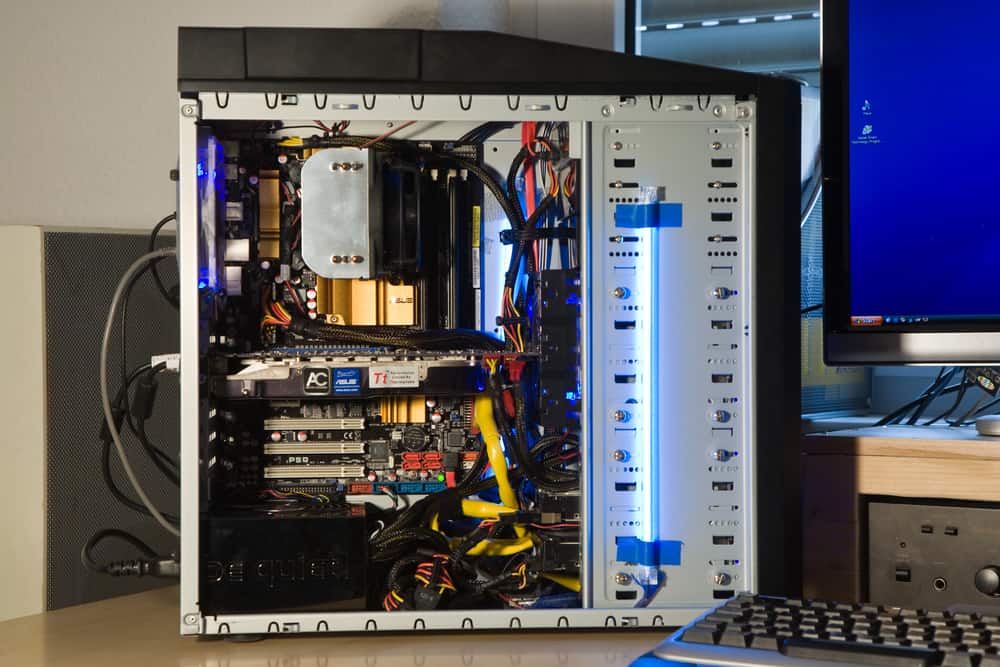
7. Insulate The Computer With Sound Dampening Foam

If you didn’t have much luck eliminating the coil whine, you could trap it inside the case by soundproofing it.
First, inspect your case and make sure all the panels are snapped together correctly and all the edges meet where they should.
You can purchase some high-density sound dampening foam that helps absorb a good deal of the high-frequency sound waves.
Don’t overdo it with the foam and leave some room for airflow.
You can also consider replacing your case with a silent one.
Fractal Design silent Define R5 case or Phanteks Eclipse P600S Hybrid silent chassis are good options.
8. Replace The Power Supply

An old or cheap power supply unit can send dirty power to the internal components, including the graphics card, causing the inductors to behave abnormally and creating further problems further down the chain.
Maybe it’s time to replace your PSU with a high-quality one to get rid of the coil whine for good.
9. Replace The GPU Under Warranty
Although not most manufacturers cover coil whine under their warranties, some do.
If your graphics card is still under warranty, you could return it through RMA.
Be sure to check the manufacturer’s website to see if they cover coil whine first.
Replacing the GPU with the same model won’t necessarily give you the same issue with coil whine, so it’s worth a try.
Can The Problem Be Capacitor Squeal?

A capacitor squeal is a high-pitched whistling sound that may be similar to coil whine in some cases.
Although not common in modern PCs, capacitors can go bad from time to time and expel toxic gas through their top, causing the kettle-like whistling sound.
The sound is consistent, and it doesn’t become less or more audible through time like coil whine.
The only way to make sure you’re not dealing with capacitor squeal is to open the case and look for any bulging capacitors or one with liquid coming out of its top.
If you spot one, replace it as soon as possible.
NEXT: My Book Vs. My Passport (Pros, Cons, Differences)


