
It must be one of the most annoying incidents when your computer suddenly shuts off in the middle of your work.
It gets worse when it doesn’t turn back on afterward.
Then, when it does, you’ll be walking on eggshells and always waiting for it to shut down again with no warning.
Read on to do step-by-step troubleshooting to find the culprit and solve it before something terrible happens.
Computer Shuts Off And Won’t Turn Back On Until I Unplug It (Causes, Fixes)

The fact that you’ve discovered your PC will turn back on when you unplug it means it’s most probably a power-related issue.
Something could be wrong with the cables and wiring, built-up electricity, capacitors, or ultimately, the Power Supply Unit.
Most people experiencing this issue will find the fix in one of the mentioned areas, but some still found the culprit with other hardware, overheating, or the motherboard.
Let’s cover every possibility one by one until you find the fix.
1. Faulty Cables Or Outlet

The most basic culprit, a faulty outlet or power cable, is a common reason behind a computer that switches off randomly.
When the system can’t draw enough power to operate consistently, it’ll shut itself off.
First, test the wall outlet that your computer plugs into.
Plug in a simple device like a lamp and see if it functions properly.
Second, check the surge protector or power strip if you’re using one.
Plug the lamp into the surge protector and make sure its switch is on.
Lastly, you need to check the power cable.
Inspect it for any sign of damage.
Ensure that it’s correctly plugged into the power supply, and it hasn’t gotten loose over time.
Then, use a multimeter to test the cable for a potential open circuit.
If the multimeter beeps, it means that there’s sufficient electrical connection.
If not, you’ll have to replace the power cord with a similar gauge.
2. Faulty Wiring
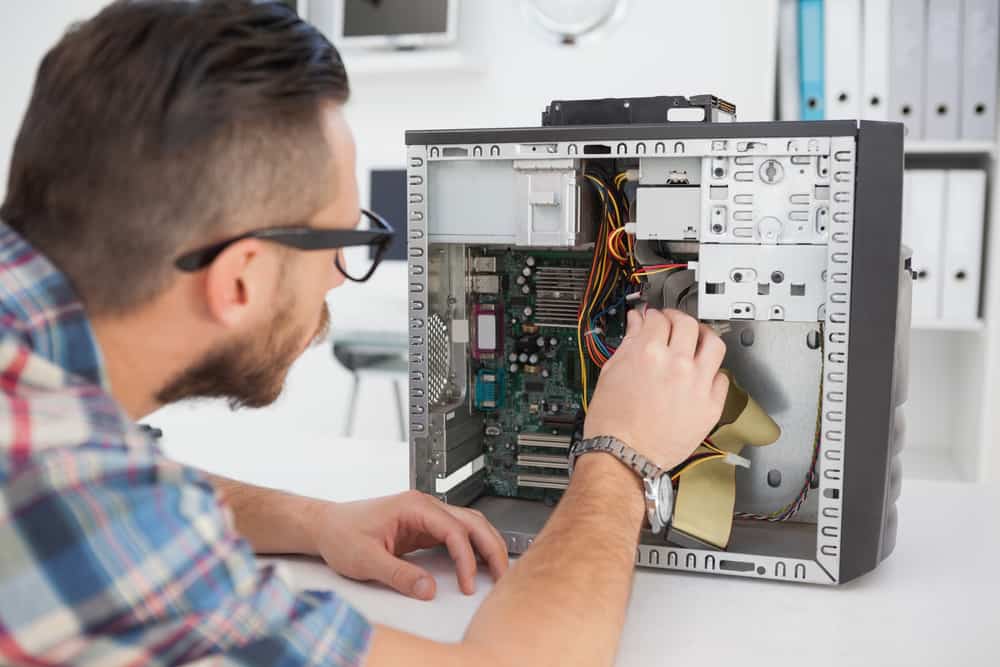
If you’ve successfully ruled out power cord issues, it’s time to take a look at the cabling inside your case.
For this, you’ll have to open up your PC’s case.
If you’re dealing with a prebuilt PC that is still covered by a warranty, it’s best to contact the manufacturer for a repair.
Before proceeding to open the case, disconnect the power cable from the wall outlet.
Also, it is best to disconnect the external peripherals like the monitor, keyboard, mouse, and so on.
Once you get the case open, check all the wires that go from your power supply to the components and reseat them if they’re loose.
In case you have a modular power supply unit, check that the cables are correctly connected to the PSU side.
Search inside the case for anything that could be causing an electrical short.
Although this issue rarely happens with prebuilt PCs, it’s a common culprit for the problem you’re facing.
A typical cause of a short is when a motherboard is directly screwed to the case, and the required standoffs are missing.
Another instance would be Molex connectors that are in contact with the case because of errant pins.
Move the cables around and tidy them up neatly and properly to get rid of any possible shorts and see if the problem is solved.
3. Built-Up Electricity

Sometimes the static charge or flea power running around in your computer could be causing the issue.
Draining the built-up power may help solve it.
Unplug all the cables from your computer.
Push the power button and hold it for at least 30 seconds.
Release the key and reconnect the wires.
Turn on your computer and check if the issue persists.
4. Overcharged Capacitors
If your computer shuts off constantly and leaving it unplugged fixes it, the capacitors could be overcharged.
Capacitors are the components responsible for getting rid of residual charge, and the method you tested in the previous section was an alternative solution for the matter.
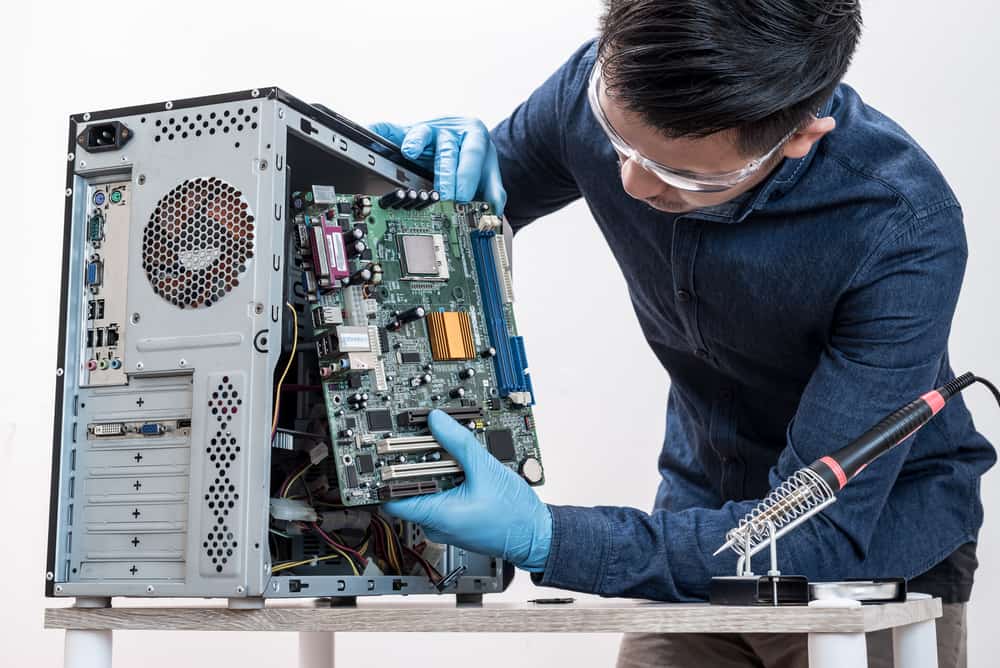
If it doesn’t work and the problem happens again, you need to check the capacitors on the motherboard and power supply unit.
Capacitors have a cross-shaped seam on top of them.
Normally, the top should be smooth and flat.
If you notice electrolyte crusted on it or the top is swollen, the capacitor has gone bad.
If you know how to solder, you can replace the capacitor yourself.
Remember, you should get one with the same value.
If you don’t know how to do it yourself, take your computer to a professional.
5. Dirty Power Source Or Components

The issue with your PC may be dust accumulation, which can prevent connections from getting adequate electricity and shutting the whole system down.
If it has been a while since you first got your PC or since you last cleaned it, you could have dust, hair, and other debris that may have built upon the components.
The best way to do so is by using a compressed air duster.
Turn off your PC and unplug it first.
Open up the case’s side panel and blow the air on components to clean them.
After you’re done, close the case and turn on your system to test it out.
6. POST Codes And Hardware Issues

Computers can shut down because of hardware malfunctions, as well.
There have been a few reports from the people facing the same issue you’re facing, and they found out that a hardware defect was causing it.
You can figure out if one of the components is malfunctioning in two ways: POST and beep code.
POST (or Power On Self Test) codes are visual codes that motherboards display to let you know about the errors.
Some motherboards have a hexadecimal display that shows the POST code.
If yours doesn’t, you can use a POST test card.
You’ll have to install it into a PCIe slot, and it’ll display the code.
Beep codes are audio codes you hear when your computer powers up.
Every motherboard manufacturer incorporates a different system of POST and beep codes to communicate with their users.
You’ll have to search for the code you see or the series of beeps you hear in your motherboard documentation or online and find out their meanings.
7. Overheating
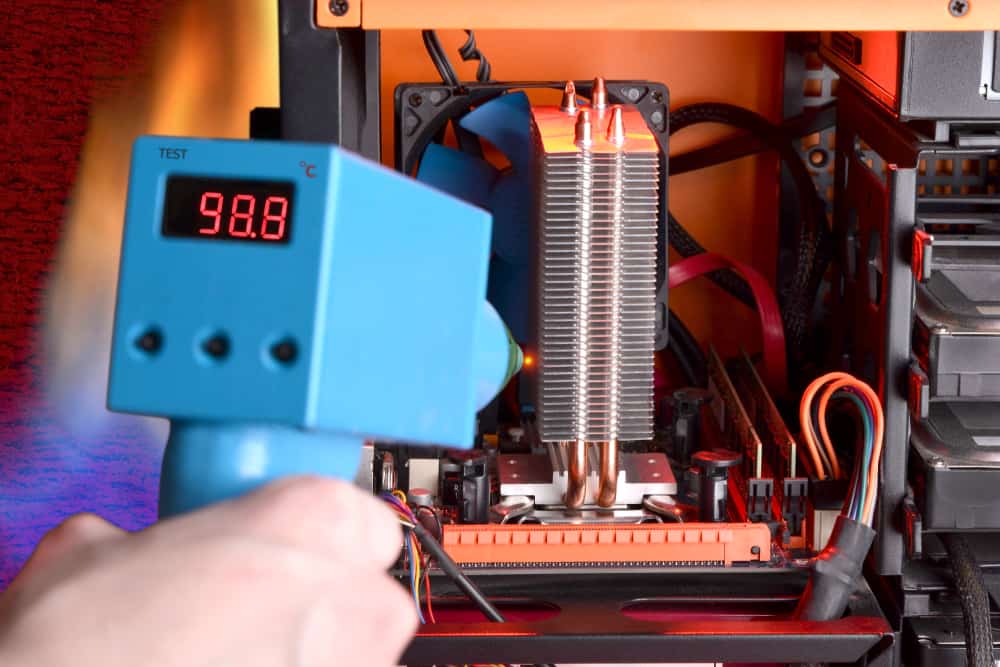
Many times, PCs switch off randomly due to overheating.
If you’re not overusing your computer, maybe one of the fans has stopped working, or dirt and debris are causing the components to heat up.
Open the case and turn on your PC to check out the fans and ensure they’re working.
Also, clean up the parts with compressed air if you haven’t already.
Make sure there’s plenty of room for air around the case.
It shouldn’t sit on a carpet or similar surfaces.
If you’re pushing your system to its limits by using heavy programs or overclocking, your cooling system may not be capable of keeping the temperature down.
You can monitor the internal components’ heat levels with dedicated software like Open Hardware Monitor, HWMonitor, or Core Temp.
If you find out that the CPU, RAM, or other components are overheating, you’ll either have to install a more powerful cooling unit or stop overclocking the system.
8. Faulty PSU

If you’ve tried every fix up until now and still had no luck solving the issue, you should be almost sure that the Power Supply Unit is causing the problem.
It’s become pretty common for PSU failures to exhibit themselves in this manner.
A voltage regulator inside the PSU might fail, and the system shuts down when it does.
When you remove the voltage by unplugging the computer and then reapply it, it’ll be reenergized, and it’ll work fine for a while.
However, the fault remains, and it’ll fail again.
If your PSU isn’t under warranty, you’ll have to change it yourself.
They’re relatively cheap and easy to replace, but you’ll have to be careful with what you buy.
The power supply should meet specific standards and be compatible with your system’s needs so it won’t get damaged again.
If you need help choosing the right PSU, refer to the last section of this article.
9. Damaged Motherboard

It’s improbable, but if changing the Power Supply Unit didn’t help either, and all else has failed, something might be wrong with your motherboard.
Since diagnosing motherboard issues isn’t easy, it’s best if you take your computer to a technician or a computer repair shop.
How To Buy A Good PSU?

Many people don’t consider the PSU as an important computer component, and the necessity of its quality is usually overlooked.
The Power Supply Unit is what gives all the components electricity and brings them to life.
If it can’t provide enough power or malfunctions due to low quality, all the sensitive components will be at risk for damage.
You must know how to choose a suitable unit.
1. Wattage
When purchasing a Power Supply, the first question that comes to mind is how many watts is enough to feed your system?
Since every PC system is set up differently, the answer varies widely, and it’s not possible to give an exact recommendation.
If you’re swapping an old and damaged PSU for a new one, you can look at its casing or labels and determine its wattage.
You can also search for its model and figure it out that way.
However, if you’re building a computer, you’ll have to know how much power each component needs and get a PSU that can support all of them.
There are two ways of doing that.
First, you can find each component’s power draw from their specs sheet or by searching online on their manufacturer’s website.
You have to do this for the CPU, GPU, motherboard, RAMs, cooling units, fans, and so on.
Then add them all up and get the total PSU wattage you’ll need.
Your second option is to use the PSU wattage calculators like OuterVision’s power supply calculator, Cooler Master’s Power Supply Calculator, or Newegg’s power supply calculator.
You’ll have to select the brand and model of your PC components from a drop-down list, and they’ll calculate the approximate range of the PSU’s wattage.
It’s always wise to get a PSU with a bit more power than what your system needs to allow for potential upgrades.
However, you don’t want to get a vastly overpowered PSU either.
2. Efficiency
Efficiency is the next important feature that your chosen PSU should have.
Power Supplies draw in a certain amount of power.
They send a percentage of it to the PC components, and the rest is lost primarily to heat.
The more efficient your PSU is, the less power it uses and the less heat it generates.
There’s an independent rating system for PSU efficiency called “80 Plus.” It’s a certification program that PSU manufacturers utilize to assure you that their products will meet specific efficiency requirements.
For instance, if you see an 80 Plus label next to a PSU’s name, you know that it’s 80 percent efficient, meaning it only loses 20 percent of the power it draws as heat.
There are various efficiency levels in the system:
- 80 PLUS: 80%
- 80 PLUS Bronze: 82%
- 80 PLUS Silver: 85%
- 80 PLUS Gold: 87%
- 80 PLUS Platinum: 90%
- 80 PLUS Titanium: 92%
The higher the PSU’s efficiency, the greater its price will be.
However, remember that you’ll save some cash on your monthly power bill with a more efficient power supply.
3. Protection
Since the PSU is directly connected to almost every PC component and deals with a large amount of power, safety is a valid concern.
The built-in protections that some PSUs have may add a bit of cost to the unit, but they’ll keep your components safe from power-related issues and give you peace of mind.
Look for OVP or Over Voltage Protection in a PSU.
It’s a mechanism that shuts down the PSU if it detects the output voltage exceeding the voltage limit.
High voltages can cause damage to the PC components connected to the PSU.
Moreover, consider units with overload and overcurrent protection, which shut down the PSU if they detect excessive current, power load, or short circuit currents.
4. Form Factor
The form factor or the physical size of the Power Supply Unit determines whether it’ll fit into your case or not.
Around 90% of all cases support an ATX PSU and 90% of PSUs are ATX.
There are other form factors like SFX, TFX, and CFX types, so ensure your Power Supply Unit will fit in your case by checking the appropriate clearances.
Another physical attribute you’ll have to consider is if the PSU you want should be modular or non-modular.
Non-modular PSUs have cables that connect to different components soldered onto them.
Since all the wires come already attached, you won’t get to choose what cables to use, and you’ll have to store the ones you don’t use into the case.
Modular PSUs don’t have cables attached to them.
There are also semi-modular PSUs available where some of the most frequently used cables are attached, and the others you’ll have to attach yourself.
There’s not much difference between these types.
You’ll only have to be careful with cable management when it comes to non-modular PSUs to prevent airflow blockage.
NEXT: Windows 8.1 Won’t Shut Down (Causes, Fixes)


Excellent and useful article.