
You’re probably tired of working in a hot room because of the excess heat that your computer system produces.
This would especially be an issue in the hot days of summer and if you have multiple systems set up in a room for gaming, working, video editing, and so on.
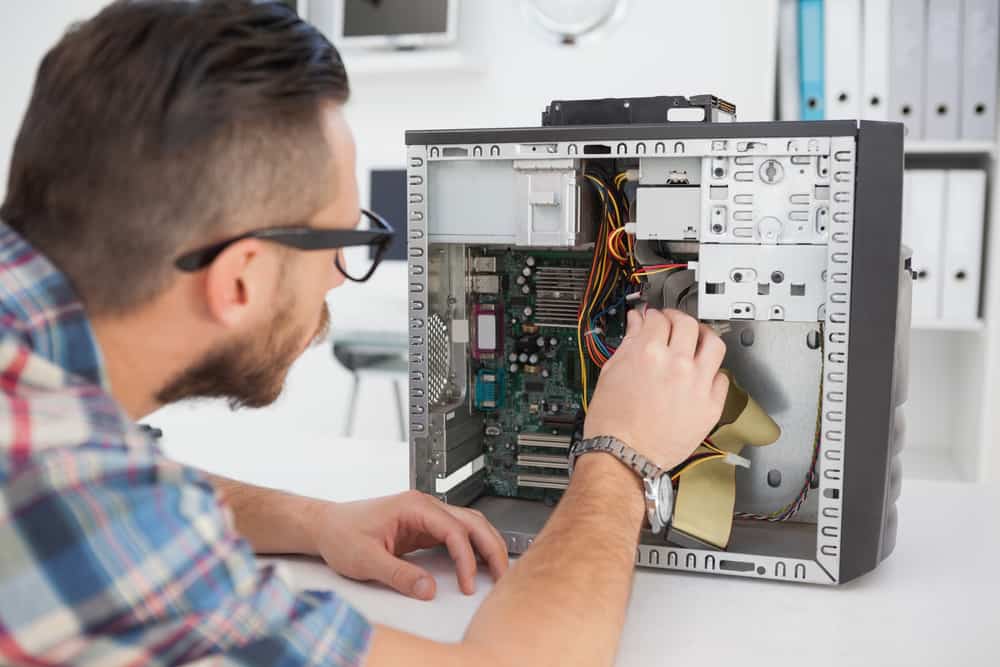
Firstly, you need to find out the internal PC component’s temperature to determine if your PC is overheating or just hot.
If you realize the PC parts are hotter than they should be, you’ll need to fix their issues to cool them down, so the room cools down in turn.
If the components’ temperatures stay below the safe limit, try to cool the room down using the methods in this article.
Check The PC Components’ Temperatures

The first and probably most accurate way of finding out the temperature of PC components is to download your motherboard’s utility software for monitoring the parts.
For example, Gigabyte offers an App Center with a System Information Viewer for checking the parts temperature and other details.
MSI and many other brands offer their specific utilities, as well.
Your second option is to use your processor’s specific utility to observe its temperature.
Intel offers the Intel Extreme Tuning Utility for its CPUs, and AMD has developed the AMD System Monitor for its CPUs and GPUs.
Your last option is to use reliable third-party utilities to monitor the PC’s temperature.
There are multiple tools out there, but here are the most popular ones:
1. HWMonitor
HWMonitor comes in standalone and installable versions, both of which are free to use.
The software can read the system’s main health sensors, including the temperature, fan speeds, and voltages.
It works with most modern CPUs and GPUs, including Intel, AMD, and Nvidia.
It has a straightforward presentation of data, and more importantly, it updates and displays its readings in real time.
It runs on all Windows versions.
2. Open Hardware Monitor
Open Hardware Monitor will help you monitor the motherboard, CPU, and GPU temps, as well as load and clock speeds, voltages, and fan speeds.
It can monitor all the temperature sensors, supporting Intel, AMD, Nvidia, and ATI brands.
The software is an open-source and free tool that can run on all Windows versions and x86 based Linux OS systems.
It has an excellent user interface with lots of customizable options.
3. Core Temp
Core temp will show you average temperature readings of the CPU, and if you need more details, it’ll present a temperature listing for every CPU core.
4. NZXT’s Cam
NZXT’s cam is another in-depth tool with a very friendly interface.
It provides information about the CPU, GPU, RAM, and storage, along with overclocking tools and in-game FPS overlay.
Some of the mentioned utilities will show you a warning limit or a safe zone for the temperature next to their readings.
Also, you can check the specifications for each component and the model you have.
Find this information on the manufacturer’s website.
You can also rely on the general rules of thumb, which say that if your PC components’ temp is under 60°C, there’s nothing to worry about.
If you run at 70°C to 80°C, then you have a problem, unless you’ve overclocked your system.
This temperature is also normal for intense gaming sessions, video editors, or programmers.
You leave the safety zone at 80°C, and this is when you realize you’re pushing your hardware too much.
Dial back your settings if you’ve overclocked them.
If not, try to find the issue and fix it, as described in the next section.
Find The Reason Why Your Computer Is Overheating And Solve It
1. Poor Ventilation
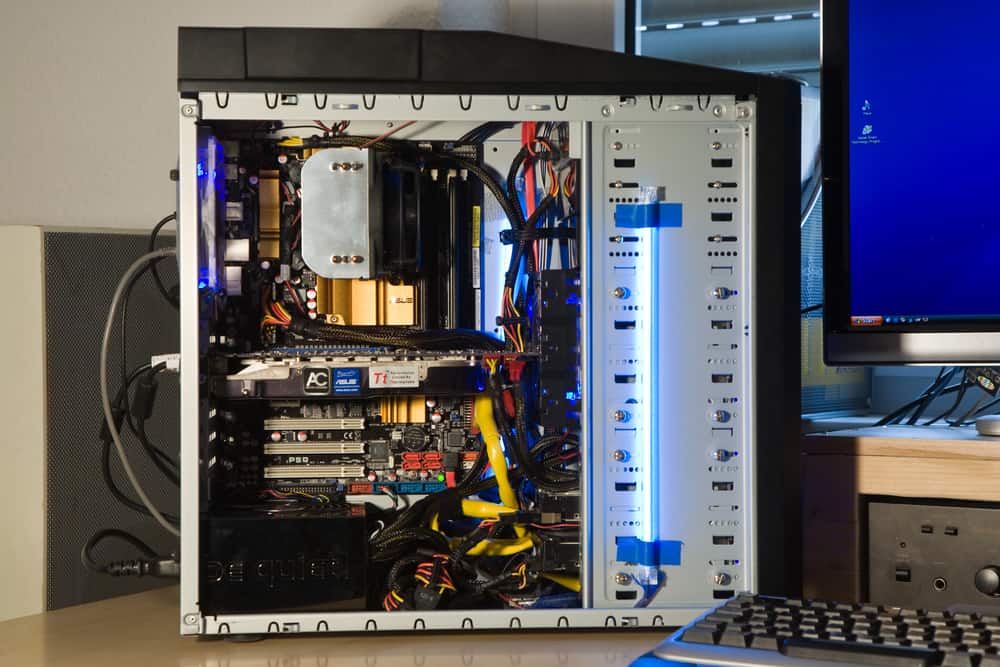
The fans and coolers inside the computer’s case pull fresh air from the surrounding environment and push out hot air.
If your computers sit in an enclosed cabinet, there won’t be enough fresh air around them, and the air inside the cabinet will get hotter and hotter.
The back of the case should be utterly unobstructed because the hot air flows out through the back.
There should be a wide enough gap between the other sides and the desk walls.
If your case has a fan at the bottom rather than the top or side, you need to keep it on a hard, flat surface.
Avoid carpeted areas.
The same goes for your laptop.
Putting your laptop on a carpet or blanket will result in overheating issues.
Ensure the cables inside and outside the PC case are neat and tied, so they don’t block the airflow.
Use a laptop stand for your laptop to lift it off the desk and provide decent airflow.

You can even use cooling pads under your laptops.
, Black/Blue")
They have cooling fans, and once you plug them into the laptop’s USB port or the wall socket (depending on the model), the fans will start spinning to cool down the laptop.
2. Open Case
You might think that if your internal PC components need fresh air to cool down, why put them in an enclosed case in the first place?
Running an open case system might work well at first, but it’ll have a terrible impact on your parts in the long run, and the reason is dust and dirt.
If the parts aren’t protected inside the case, dust and debris will build up on them and the cooling fans much quicker and cause them to clog up and slow down.
After some time, the fans will quit working altogether.
If you’re running an open case, reconsider your choice.
3. Dust And Debris

Packing your components inside a case doesn’t completely protect them from dust and dirt.
Dust will build up on the pieces after some time and cause overheating.
It’ll increase the fan’s friction, causing the fan to stop spinning as fast as it should and preventing it from cooling down the components correctly.
Every once in a while, open up your case and clean the fans with compressed air, including the CPU fan, PSU fan, and case fans.
If the computer is very dirty, take it outside for cleaning, or else the blown dust will settle down in your room and eventually find its way back inside the case.
4. Faulty Fans

Firstly, check if all of your installed fans are working.
This includes the CPU fan, the PSU fan, and any additional intake and exhaust case fans.
If one of them is spinning slowly or not spinning at all, try oiling the bearings carefully after cleaning the fan.
If that doesn’t solve the problem, replace the fan.
If the faulty fan is inside the power supply, it’ll be better to replace the PSU altogether.
Next, you need to consider that your existing fans may not be enough to cool down your system.
Start with the CPU because that’s the most sensitive part and prone to excess heat.
If it’s overheating, upgrade the cooling system.
If you’re not using a CPU cooling fan yet, install one.
If you’ve installed the lower-end fan that came with the CPU, consider replacing it with a better, more powerful one.
The CPU isn’t the only PC part that can overheat.
If you found out that your RAM or GPU temperatures are high, install a component-specific fan to cool them down.
Another component prone to overheating is the Northbridge on the motherboard, which controls the CPU, GPU, and RAM communications.
The Northbridge chip has a heatsink for keeping it cool, but in some cases, that’s not enough.
You can replace the heatsink with a cooling fan.
Moving on to the case fans, there should always be an equal number of intake and exhaust fans installed.
Also, their levels and power should match to prevent dead spots inside the case.
If you think your current fan setup can’t handle the energy inside the case, upgrade them in pairs or install bigger fans.
Be aware of the fan placement and the correct spinning direction.
If you’ve overclocked your components, even the fastest fans may not be enough.
Installing a water-cooling kit would be essential in such cases.
However, this solution won’t affect the room temperature because the excess heat will remain in the room.
It will protect your components and increase the system’s performance.
5. Faulty Power Supply

The low-quality power supply unit that came with your case or a cheap one that you installed yourself may be the culprit in overheating issues.
Replace the unit with one from a reputable brand.
Also, if your system doesn’t need a high-wattage power supply and you install one, it’ll just generate more heat without adding any benefits.
Your energy bill will also increase, so get a suitable PSU.
6. Damaged Thermal Paste
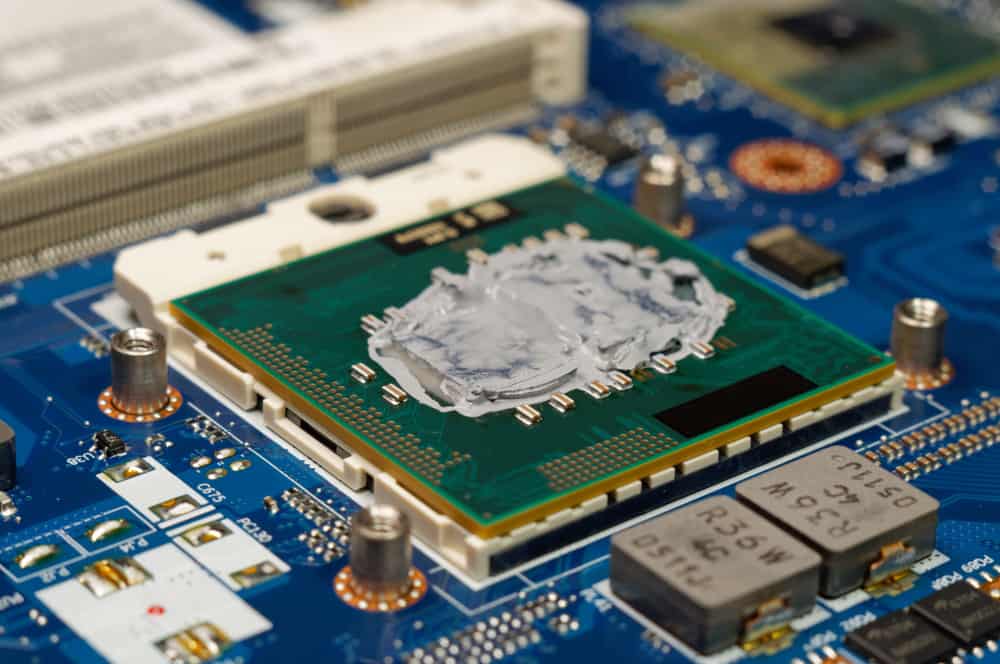
Unless you’ve built your PC yourself, the heatsinks come preinstalled on the motherboard chipsets to transfer and distribute heat from them.
Overheating or old age might have caused the heatsink to dry out or get loose.
You’ll need to reapply thermal paste in between to solve the issue.
This video will help you do the task yourself.
If you’re not comfortable enough, have a professional do it for you.
7. Overclocking

If you haven’t overclocked your system, but you’re experiencing overheating, it could be because of running several requests and processes at a time.
Many computers can’t handle too much load on the CPU and memory.
Kill the background apps when you’re not using them, and disconnect USB-powered devices.
Pushing the hardware like CPU or GPU to their limits will have a direct impact on their temperature.
If you have overclocked your system but haven’t taken additional precautions to keep your system cool, you’ll have to reconfigure the system to its factory settings.
8. Old Or Damaged Components

If your computer is old and the parts are outdated, they’ll generate excess heat when performing modern tasks.
For instance, old graphics cards will produce so much more heat as opposed to the newer models.
Also, Hard Disk Drives or HDDs produce more heat than Solid State Drives or SSDs because of their mechanical motors.
9. Outdated Software

Occasionally, outdated drivers like the BIOS driver can cause overheating, especially after a Windows update.
Look for the latest versions of your drivers on the part manufacturer’s website and install them.
10. Power Settings

Adjusting your computer’s power settings might help reduce the pressure on the internal components.
You can configure the settings, so the system doesn’t use its maximum processing speed all the time and instead use enough power to run the necessary programs.
The settings may be different for different computer models, so research the best power-saving configurations that suit your system.
Cool Down The Computer’s Room
1. Move The Computer Away From Heat Sources

If your computer sits next to a window that gets direct sunlight during the hot days of summer, you need to move it.
Also, close the drapes during the day so that the room doesn’t heat up, either.
Move your computer away from heat sources such as radiators, fireplaces, or the kitchen.
2. Move The Computer Near The AC Vent

Some parts of your room will always be colder than the others, depending on where the air conditioning vent is.
The area around the windows will also be colder around wintertime.
It makes sense to relocate your computer to these areas to help the fresh and cold air blow away the hot air coming out of the case vents.
3. Replace The AC Filters

When the air conditioning filters get filled with dust and debris over time, cool air won’t pass through them properly.
You need to change these filters every three to six months, so if you haven’t done that in a while, now’s the right time.
4. Clear Out The Room

Take a look at your room and see if any obstacles restrict the airflow around the computer system.
Clear out your room of unnecessary furniture and clutter to create abundant space for the air to flow around and cool down the environment.
5. Turn Off Other Electronics

If you keep other electronics that generate heat in the same room as your computer, it’s a good idea to turn them off when possible.
That includes TVs, extra monitors, and so on.
6. Use LED Lightbulbs

Older lightbulbs generate a lot more excess heat than their LED counterparts.
Replacing the lightbulbs with newer models will chill down your room and save you money on electricity bills in the long run.
7. Install Thermal Curtains
")
If you’re having problems keeping the sunlight out of your computer room during summertime, you can install thermal curtains instead of regular ones and shut them during the day.
These curtains are made of several different layers that can help block different types of light and keep out the heat.
8. Install Energy-Efficient Windows

If you’re living in an old house, you’re probably losing a lot of cool air through the window cracks and even glass, and the hot air is leaching in from the outside.
Installing energy-efficient windows is something you can consider to keep the cool air inside the computer room.
It’s an expensive option and only logical for those who own a house.
If you rent your place or don’t want to spend that much, you can install reflective window film on your computer room windows.
It’ll look like tinted windows in cars where you can see the view from the inside, but no one can see through from the outside.
They add a mirror effect and block light from coming through the window.
9. Install A Ceiling Or Floor Fan

Adding fans to your computer room can help cool it down a couple of degrees when the AC isn’t enough to do the job.
This will keep the air moving and help out the internal case fans to do their jobs better.
If you have the budget and space, install a ceiling fan.
If not, purchase one or two floor fans.
10. Use An Ice Box

This is more of an instant solution for those who want to reduce the room temperature quickly.
Fill a bowl or bucket with ice and put the container right in front of the AC vent or fan.
The air they blow will get cool instantly and cool down the room as a result.
11. Let The Computer Rest

Some people have the terrible habit of leaving their computers on all day long.
If you’re one of those people, it’s time to kick that habit because it’s causing the room to overheat.
When you go on a coffee or lunch break, go for a walk, or take a nap, shut down the system completely.
Let it rest and turn it back on when you get back.
Doing this won’t hurt the PC in any way.
NEXT: PSU Making Clicking Noise (Causes, Fixes)


