
When a computer freezes in the middle of a task or playing a game, it can be frustrating and even worrying.
That’s even worse when the freezing comes with a buzz from the speakers, which could be alarming.
While a wide range of factors may be the root cause of this problem, there’s no need to worry as you can easily identify the main cause using this guide.
Computer Freezes With Buzzing Sound From Speakers (Causes, Fixes)
Cause 1: Update BIOS
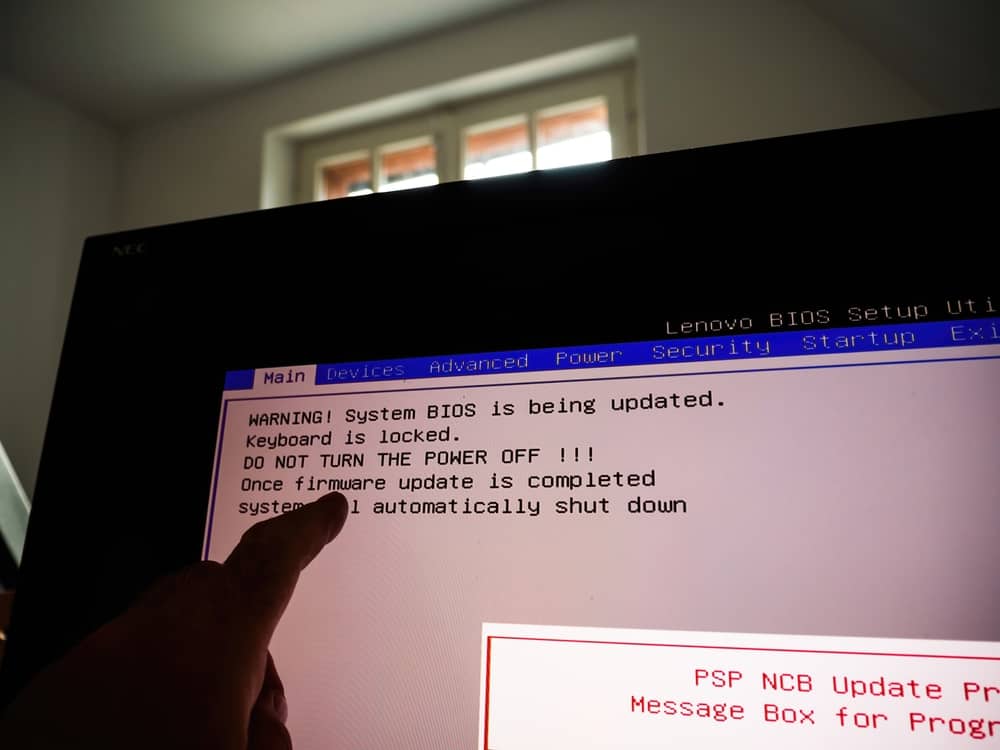
One of the most frequently mentioned causes of computer freezing is an outdated BIOS, which can cause other problems such as security issues or compatibility problems with the other updates.
In addition, some BIOS settings may have changed that you’re not aware of, causing different issues in your system.
That’s particularly the case when you’re overclocking.
The good news is that you could resolve this issue by updating your BIOS to fix problems created by bugs or make your system compatible with overclocking or hyperthreading.
However, you should note that updating the BIOS won’t add any new features.
It may just contain hardware updates or bug fixes.
That said, updating the BIOS is tricky and causes several issues if it fails.
For example, your motherboard, and the entire system, may become unusable, and in severe cases, you’ll have to replace the BIOS chip or the whole motherboard.
That’s why we only recommend updating the BIOS if you have the technical skills.
Otherwise, it’s better to ask a technician to do the update for you.
If you decide to perform the update yourself, you need to check the BIOS version first.
To check your BIOS version on Windows 10 and 11, right-click on the “Start” menu and select “Run.”
Type msinfo32 in the box to see a dialog box showing your system information.
Click on the “System Summary” section on the left side of the window and look for “Bios Version/Date.”
You could also check the BIOS version using the command prompt.
Press the Windows key and X simultaneously and type in the following command:
wmic bios get smbiosbiosversion
This command will tell you pretty much everything you need to know about the BIOS version.
Now, you should refer to the manufacturer’s website and check the latest BIOS version offered by the company.
Then download the update file and save it on a bootable flash drive or your desktop.
After the download completes, you can start the update by clicking on the file, which reboots the system and opens the update page.
However, depending on your PC or laptop brand, you may need to go through different processes to update your BIOS.
It’s better to read the manufacturer’s support page and see what you should do exactly.
After updating the BIOS, check if you run into the same issue and if the problem still exists, try the following solutions.
Cause 2: Check CPU Temperatures

Another major factor that causes the computer to freeze is high CPU temperatures.
The CPU is a sensitive component of every PC, and if it gets too hot, the system will experience random shutdowns and other issues.
The ideal CPU temperature is 30–40°C but experiencing temperatures up to 70 degrees is also expected.
However, you should constantly monitor your CPU temps, especially if you frequently experience restarting, shutdowns, or freezing.
You can monitor your CPU temp using third-party apps, such as Core Temp, which is simple to use and doesn’t take up too much space or resources.
If you make sure the CPU temps are high, you should look for possible reasons.
Here are some of the main reasons that you should watch out for:
A. Old Thermal Paste
Thermal paste is a crucial factor in keeping your core temps in check.
Most thermal pastes last up to two or three years, so if it’s been a long time since you haven’t checked your thermal paste, it’s time to change it.
Changing thermal paste is straightforward and doesn’t require specific technical know-how.
However, you should be careful while applying the thermal paste to avoid spills as it can damage other CPU components.
Here’s a helpful video that shows how to apply thermal paste to the CPU.
Make sure to place the heatsink correctly.
Otherwise, you’ll continue experiencing high CPU temps even after changing the thermal paste.
Check if the heatsink is properly aligned with the processor’s mounting points.
Note: You should also make sure the GPU isn’t heating up by checking its thermal paste and reapplying it if necessary.
B. Clean The Internal Components
Dust buildup is another major factor that leads to increased CPU temps because it works like an insulator trapping heat inside.
It’s essential to make sure the internal parts of your PC are always clean and dust-free by cleaning them regularly.
If you haven’t cleaned inside the case for a while, the freezing problem could be due to dusty components.
To clean the computer, turn it off and unplug all wired connections.
Press the power button for a few seconds to release the electric charge inside the components.
You could clean the internal parts using either a microfiber cloth dampened with isopropyl alcohol or canned air.
Make sure to clean all fans and hard-to-access areas, anything that could collect dust and lead to high temps.
C. Check CPU Voltage
Another factor that may cause the CPU—or GPU—temps to increase is high voltages going into these components.
When high voltages enter the CPU, its conductivity goes up, allowing more current in and making it hotter.
It’s crucial to keep the CPU voltage within its recommended limit, especially while overclocking.
Therefore, you need first to check the safe voltage limit specified by the manufacturer and use third-party apps to monitor your core voltage.
HWMonitor is a reliable tool that checks your CPU temps, voltages, GPU, operating frequency, and fan speed, among others, to make sure everything is working in the recommended range.
If the tool shows too high a voltage, try to bring it down and see if it solves the issue.
D. Stop Overclocking
Overclocking puts a lot of pressure on your system, either by eating up resources or even heating the system.
As mentioned, excess heat can be a possible issue giving rise to the freezing issue.
You may want to stop overclocking and see if it solves your problem.
If the problem doesn’t go away, you could start overclocking again, although it’s recommended to avoid it as much as you can.
You need to start your computer in the BIOS settings to turn off overclocking.
To do so, restart your computer and press F12 (or any other key depending on your system) upon boot up.
Find “Performance” and then “Overclocking.”
Disable the feature, save changes, and restart your computer.
E. Check For Malware Infection
Viruses and other malware can cause the CPU temps to go up or lead to crashes and screen freezes.
They eat up system resources and create a wide range of problems that you couldn’t think of.
It’s always recommended to have a reliable and powerful anti-malware tool installed on your computer.
In addition, you could use the Windows built-in security tool, Windows Defender, to make sure your system is safe and secure.
You could also use third-party malware-protection tools if you want to have more layers of protection.
Cause 3: Update Display And Sound Drivers

If your screen freezes, outdated display drivers may be the culprit, and if you can hear buzzing noises in the speakers, your audio drivers may need updating.
It’s a good idea to update these drivers and see if it helps.
You could update these drivers directly from Windows or download them from the manufacturer’s website.
To update these drivers from Windows, type “Device Manager” in the search box and click on the first result.
In the new window, scroll down to “Display adapters,” expand it, and right-click on your graphics card.
Select “Update driver” to make Windows look for and install new updates.
You’ll be prompted to restart the computer and see if it has solved the issue.
To update the audio driver, follow the above steps and click on “sound, video, and game controllers.”
Cause 4: Look For Drive Issues

In addition to the temperature of your internal components, making sure every piece of hardware is working properly can also help solve the freezing issue.
One of the most critical parts of the system is the hard disk, which can create many issues if it’s not healthy.
You could easily check that it’s working properly via Windows built-in utility, chkdsk.
This utility can find any issues with your hard disk, including bad sectors, errors, corrupted files, or others, and fix them after detection.
To run the utility, make sure you’re signed in to your Windows with an account that has administrative rights.
Right-click on the start menu and choose “Windows PowerShell (Admin).”
This will open a window that asks you for permission to let the Windows Command processor run and make changes to your system.
Click “Yes” to continue.
In the next box that opens, type chkdsk c: /x /r to get the system to scan the disk for bad sectors and recover the readable data.
Note: You can replace “C” in the command with the name of other disks that you wish to scan.
You could also check the disk health and scan it for file system errors with another method.
Open “This PC” and right-click on the disk you want to scan.
Click on “Properties” and go to the “Tools” tab.
Under the “Error-checking” option, select “Check.”
If Windows doesn’t find any issues with the disk, it will prompt you that it doesn’t need scanning, but you can select the scan option anyway.
If the system finds any problems, it will fix them automatically, so you can check if it solves the freezing issue.
Cause 5: Run The Computer In Safe Mode

If you can’t pin down the main cause, you can use the Safe Mode.
In this mode, your system runs with the most basic components, allowing you to see where the problem comes from.
To enter the Safe Mode:
- Right-click on the start menu and select “Settings.”
- Click Update & security > Recovery > Advanced Startup > Restart now.
- After the PC boots up, you’ll see a “choose an option” screen on which you should go Troubleshoot > Advanced options > Startup Settings > Restart.
- The PC restarts again, and after it starts back up, select F4 or 4 from the list of options to run the PC in Safe Mode.
Note: You could also start the PC in the “Safe Mode with Networking,” which includes the services or network drivers that connect the PC to the Internet.
If you want to have access to the Internet, select 5 or F5 instead.
Now, you should work with your computer to see if it freezes and produces a buzzing sound.
If it does, the culprit is a hardware issue, so you may want to upgrade your hardware.
If you don’t experience the problem, it’s a software-related issue, so you need to look for a program or update that you recently installed and caused the freezing issue.
Cause 6: Check For Faulty Hardware

As mentioned, after running the system in Safe Mode, you may find that you still have the issue, which shows the root cause is a hardware malfunction.
To identify the source of the problem, start with unplugging all connected devices and peripherals one by one and checking the system’s performance.
You may be surprised to hear that even a frayed wire can cause your system to crash or freeze.
Inspect all the wires and connections, especially the speaker wires, to ensure everything is okay.
Then, open the case and check all the connection points on the motherboard.
Some users have reported weak connections between RAM and the motherboard as the culprit, so make sure the connection is firm by reseating the RAM.
You may also want to check all the outlets and circuit breakers in the room, especially those your computer is plugged into.
A faulty RAM is one of the most important pieces of hardware that you should check, especially if your computer freezes while playing games.
However, other problems with RAM can cause crashes and freezes too.
Run a RAM health check through the Windows Memory Diagnostic tool.
Type “Windows Memory Diagnostic” in the taskbar’s search box and click on the first result.
Click “Restart now and check for problems” to get Windows to start the scanning process.
After the computer boots up, you’ll see a window that shows the process, which may take a while.
If you receive errors, it shows that your RAM is faulty, and you may need to replace it.
Cause 7: Delete Temp Files

Another issue that may cause crashing or freezing is not having enough place to store temp files.
When your memory is loaded, it can’t spare enough space for other programs, especially games, and it may lead the system to freeze.
Make sure to delete your temp files to free up space for heavier programs.
Here’s how to do it:
Open the run box by pressing the Windows key and R.
Type in “temp” and hit Ok.
In the “temp” folder that opens, select all the files and remove them.
Cause 8: End Background Processes

When you’re working on a specific task on your PC, there may be some programs or processes running in the background that you’re not aware of but take up huge chunks of CPU.
These processes can slow down your computer, increase CPU temps, and even lead to freezes.
Try to end these processes by hitting Alt + Ctrl + ESC to open the Task Manager.
Under the “Processes” tab, find the programs that seem to be using many CPU resources and end them if you’re sure you don’t use them.
Cause 9: Check For Windows Updates

If you can’t find any specific cause for this problem, check if any Windows updates are available that you haven’t installed yet.
More often than not, outdated Windows versions can create issues due to glitches or other software issues.
Microsoft addresses these issues by releasing regular updates.
To check for new updates, type “Updates” in the search box on the left corner of the taskbar.
Click on “Check for updates” and select “Windows Update” on the left pane.
Click on “Check for updates” and install the update if they’re available.
Restart your PC and see if you still have the freezing issue.
NEXT: Computer Not Turning On, Power Supply Okay (Causes, Fixes)


