Our Wi-Fi connections are typically reliable, and we can connect to them so quickly and easily that we often take them for granted.
It can be frustrating to come home and see your PC can’t connect to the Wi-Fi.
You may be tempted to contact your ISP before trying any fixes.
However, the underlying issue may be with your hardware or software.
Fortunately, these issues are easy to find and fix.
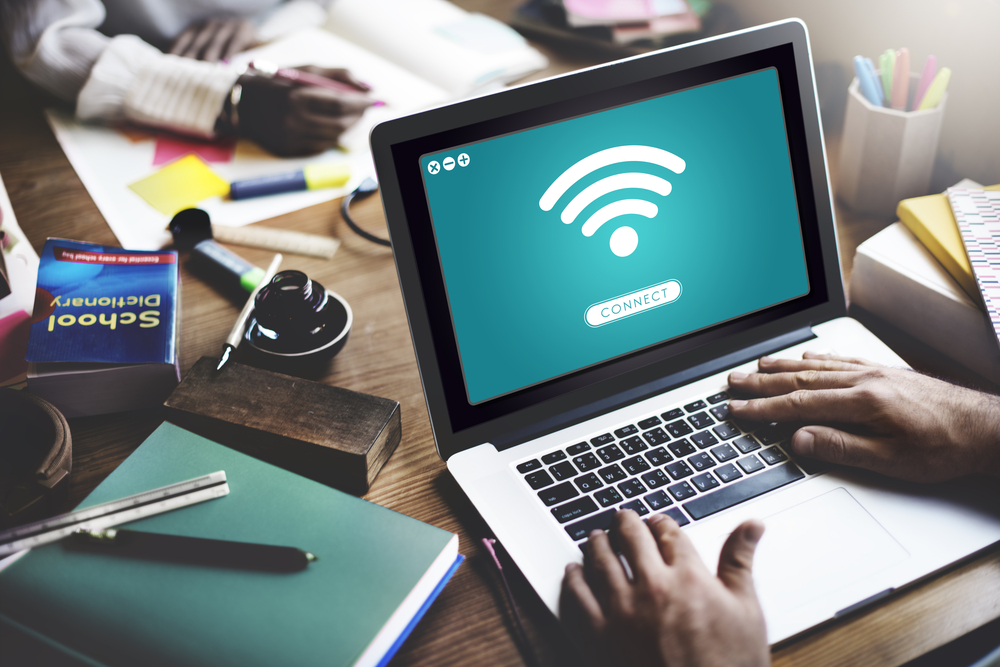
Computer Can’t Connect To Wi-Fi (Causes, Fixes)
1. Detect The Source Of The Problem

Since two devices are involved in a Wi-Fi connection, you need to ascertain which device is responsible for the faulty connection.
Does the modem fail to send Wi-Fi signals, or is it the computer that can’t receive them?
Detecting the problematic device is pretty simple.
You need to try other devices and see if they have the same connection issues.
To ensure your computer doesn’t have connection problems, you can connect another device, such as your smartphone, to the Wi-Fi.
If the second device can’t connect to the Wi-Fi, you can be certain that the issue is with your modem or connection.
You could also use your smartphone as a hotspot and connect your computer to its internet.
If the computer can’t connect to the smartphone’s internet, it has software or hardware issues that you need to detect.
After finding the problematic device, you can try the following solutions depending on the issue.
2. Check Wi-Fi Credentials

Before looking for serious issues with your hardware or software, you need to ensure you’re connecting to the right Wi-Fi network and have the right credentials.
Start by rebooting your computer to remove any glitches that may prevent Wi-Fi connections.
Then, see if the computer can detect the Wi-Fi network.
If it does, make sure you’ve entered the right Wi-Fi password.
Perhaps somebody has changed the password, and you’re not aware of it.
You can check the Wi-Fi password via the modem’s web interface.
Before using the web interface, you’ll need to know your router’s IP address via the command prompt.
Type “command prompt” in the taskbar’s search box and press Enter.
Select the first result and type “ipconfig” in the window.
You’ll see a list of information under the command, and you can find the router’s IP address in front of Default Gateway.
Copy and paste the IP address into your web browser’s address bar.
Connect to the internet via a hotspot and go to the modem’s web interface.
You’ll need to enter the router’s username and password, which are both “admin” if you haven’t changed them before.
You can find the Wi-Fi password under Wireless > Security > WPA Pre-Shared Key.
Copy the password and paste it into the password box for connecting to the network.
3. Look For Physical Issues

If you’re certain that the computer can’t connect to Wi-Fi because of an internet issue, you should check the modem.
Wi-Fi connections rely on many factors linking the source of internet signals to the computer.
While you can’t control these links outside your home, you need to ensure the physical connections inside your building are working properly.
These include wires and sockets that carry the Wi-Fi signals and enable connections.
You should first check the router or modem and ensure they’re turned on and working properly.
You could turn off the modem and turn it back on to eliminate any possible glitches that may block the connection.
Ensure the lights for the Internet and LAN are on.
If they’re flickering, there may be an issue with the hardware or from your ISP.
Next, you should physically check the wires and cables running from the wall socket to the modem to the router.
If the connections are loose or the cables are frayed, you may experience a cut-off connection, preventing the computer from connecting to Wi-Fi.
Another physical thing you should check is the computer’s Wi-Fi and whether it’s turned on or off.
Different laptops have their Wi-Fi switches in different locations.
For example, it may be in the shape of a slider on either side of the laptop or as one of the keyboard’s F keys.
You can check your user’s manual or search the internet for your specific model to find the Wi-Fi key.
Press this key or move the slider to turn on the Wi-Fi on your computer and see if it helps.
4. Reset The Modem

Another solution you could try is resetting the router to resolve temporary issues inside the device.
One way of resetting the router is simply turning it off, unplugging it, and turning it back on.
If this doesn’t work, you can try the hard reset.
The router has a reset button on the back, which looks like a tiny hole labeled “Reset.”
Since it’s not like a regular button that you push, you need a sharp object like a needle or a paperclip to reset the router.
While the router is plugged in, push the paperclip inside the reset hole and hold it for 30 seconds.
After taking out the paperclip, the router will turn back on.
You can also reset the router via its web interface if it doesn’t have a physical reset button.
Depending on the model of the router, you can find the reset options under System or System Tools and then Factory Default or Restore.
Click the option to reset the router and wait for the device to reboot.
You can also reset your modem using the reset button on the back of the device (like the router).
Remember not to open web browsers or click on any links while the router and modem are being reset, or you’ll corrupt the firmware.
5. Network Issues

If your computer can’t connect to another internet connection, it has software or hardware issues that you must detect.
The software issues can encompass a wide range of factors, which you need to check to detect the culprit.
You may have accidentally disabled some settings or have the wrong configurations.
Before checking or changing the network settings, you must ensure you have the basic requirements for a Wi-Fi connection.
Although these settings may seem obvious, it’s easy to neglect them.
A. Flight Mode
Check if your laptop is in the Flight Mode or Airplane Mode since it prevents the device from connecting to the internet.
Look at the system tray on the bottom left corner of your screen and check if you can see an airplane-shaped icon.
Alternatively, you can access the airplane mode option via System Settings.
Right-click the Start menu and select Settings.
Go to Network & Internet > Airplane mode.
If the airplane mode is on, move the toggle to disable it.
Even if the airplane mode isn’t activated, you can enable it for a short time and then disable it.
By doing so, you’ll reset your Wi-Fi settings and eliminate any temporary glitches that may be blocking the connection.
B. Enable The Network
In some cases, the computer can’t connect to Wi-Fi because it can’t detect the Wi-Fi network.
In such situations, you should make sure the Wi-Fi network is enabled.
To do so, go to Settings > Network & Internet > Network and Sharing Center > change adapter settings.
You should see the Wi-Fi network here.
Right-click it and select Enable so that the computer can connect to it.
C. Change The Router Frequency And Channel
Modern routers have a feature that enables them to send signals at two different speeds.
Known as the frequency band, this feature can send signals at 2.5 and 5 GHz.
Lower frequencies send connection signals further but slower, while higher frequencies send signals faster but for shorter distances.
If your computer can’t connect to the Wi-Fi, it may be because of high traffic on a specific frequency.
Although most routers can automatically change their channels to optimize their speed, you may want to do it manually and see if it helps the computer connect to the internet.
To do so, you’ll need to access the router’s web interface.
Open a web browser on your computer and enter the router’s IP address and login credentials (as described above).
Go to Wireless Settings, which you may find under Advanced Settings or other settings depending on your router’s brand.
If your router has two different bandwidths, you can change them under Band by expanding the menu and choosing 2.5 or 5 GHz.
You may also want to set the SSID for each band frequency because they will appear as two different connection networks on your computer.
You can change the SSID under Wireless settings, even if you don’t want to change the frequency band.
It may help your computer connect to Wi-Fi by resetting the settings and removing glitches.
You can also change the channels to get a better connection.
That’s particularly important if your computer can’t detect the Wi-Fi network and you have multiple networks in your vicinity.
When the channel is on Auto, your modem may choose a channel already occupied, and your computer can’t detect it.
Under Band, you can find Channel and expand its menu to select your desired channel.
Choose a channel and save the changes.
The router may need to reboot, so try connecting to Wi-Fi after the router turns back on.
D. Reset Network
Another way to erase all network settings and return them to their default state is to perform a network reset.
This option will troubleshoot your network issues and automatically removes them.
However, this reset will erase all your saved networks and passwords.
You’ll need to enter these networks and passwords again to connect to Wi-Fi.
If you have any VPN software, you may need to reinstall them after the network reset.
To perform the network reset, go to Settings by right-clicking the Start button.
Select Network & Internet.
Under the Status tab, which is the default status, find Network reset and click on it.
In the new window, you’ll see a warning telling you what you’ll lose after the reset and a Reset now button on which you should click.
After the network is reset, your computer will restart and connect to your Wi-Fi by selecting it from the available networks, and you enter its password.
6. Run The Troubleshooter

Sometimes your computer can’t connect to Wi-Fi due to unknown network issues that are difficult or impossible to identify by yourself.
In such cases, you can get the system to detect these issues and offer solutions if possible.
Right-click the Wi-Fi icon on the right side of the taskbar and select Troubleshoot problems.
Here, you should select the network adapter to troubleshoot.
You can choose Wi-Fi, Local Area Connection, or All network adapters.
You can choose All network adapters to detect any issue within your network.
After selecting the diagnosis area, Windows will look for issues and guide you through troubleshooting.
Alternatively, you can run the Windows troubleshooter by typing Troubleshoot in the taskbar’s search box and selecting Troubleshoot settings.
Once in the troubleshooter window, select Additional troubleshooters and click on Internet Connections.
Hit the Run the troubleshooter button to start troubleshooting.
You’ll be prompted to select your diagnostic issue, whether it’s related to the internet connection or a specific website.
Select Troubleshoot my connection to the internet and follow the on-screen prompts to finish troubleshooting.
7. Update Router’s Firmware

Your modem or router may have developed issues that don’t allow the computer to connect to it wirelessly.
These bugs and issues are usually addressed via firmware updates offered by the modem’s manufacturer.
Although your internet service provider sends these updates to your router or modem whenever they’re released, they may not do it every time they get the updates, or they might never do it.
You can access these updates via the modem’s web interface and look for options like Upgrade Firmware or Update Software.
Depending on the modem brand, you may find it under Utilities or Management.
When you click on the Update option, the interface may tell you the software is up-to-date or start the update process.
After that, the modem may need to reboot for the updates to take effect.
Next, try connecting your computer to Wi-Fi and see if the issue has been resolved.
8. Update Drivers

Network adapters are essential components inside your computer that create connections through LAN.
Without them, you can’t connect to the internet.
However, these pieces of hardware can’t communicate with your entire system without drivers.
Drivers are software that facilitates communication between the computer and the network hardware.
Like any other software, drivers should be up-to-date to ensure they’re bug-free.
You can update network adapter drivers via the Device Manager.
Right-click the Start button, locate Device Manager and click on it.
Scroll down to Network adapters and expand the menu.
Right-click your network adapter, which can be the Wi-Fi adaptor if you have a PC, and select Update Driver.
Select the first option, Search automatically for updates, to get Windows to install any available updates automatically.
You may also want to update your Windows OS if it’s been a while since you haven’t received the updates from Microsoft.
Go to Settings by right-clicking the Start button and selecting Updates and Security.
Click Check for Updates and install them if Windows finds any.
However, Windows updates may introduce bugs that cause new issues that didn’t exist before.
If your computer can’t connect to the Wi-Fi, even though it did before, it may be due to a recent update.
If enough users report the issue to Microsoft, they will address it in subsequent updates.
Until then, you could disable the latest update by rolling back to the previous version and see if it helps.
Go to Settings > Security & Updates > View update history > Uninstall updates.
Find the latest update that caused the connection issue, right-click on it, and select Uninstall.
If rolling back to the previous version doesn’t help, you can install the updates again to prevent other issues.
Note. You’ll need a fast and reliable internet connection to update the software and firmware. You can connect your computer to the internet via an ethernet cable to get the connection you need for updates.
9. Antivirus Software

If your antivirus has a firewall or cyber-protection, it may block the Wi-Fi network and prevent your computer from connecting to the internet.
If checking the network settings and components doesn’t help, you may want to consider the antivirus tool as a possible culprit.
To ensure the antivirus software is the culprit, disable it temporarily and connect to the internet.
If your computer connects to Wi-Fi this time, you can be sure the issue is the antivirus software.
However, keeping your antivirus software disabled for a long time is not advisable, especially if you connect to the internet, as it can keep your computer exposed to threats.
You should identify and eliminate the root cause.
Check the antivirus firewall and see if the firewall protects a browser or specific website.
In such cases, try adding these browsers or websites to the firewall’s exceptions.
If you don’t know what’s the root cause, try resetting the software to its default settings since some restrictions may have been placed by accident or without your knowledge.
In addition, recent updates in the antivirus tool may have created glitches that prevent these connections.
If resetting to the default settings doesn’t help, you may want to reinstall the software.
As a last resort, deactivate the tool and switch to another antivirus.
10. Hardware Issues

The computer hardware issues related to Wi-Fi connection problems may be difficult to detect.
However, you can check different factors and see if they are the main culprit.
One of these hardware components is the Wi-Fi adaptor used in a desktop PC.
You can ensure the Wi-Fi adaptor is faulty via the ways mentioned above to narrow down the issues: connecting another wireless device to your Wi-Fi network.
If your laptop or smartphone connects to the Wi-Fi network, the problem lies within the PC.
Then, use your smartphone as a hotspot and connect it to the PC.
If the computer can’t connect to the hotspot, the problem could be the Wi-Fi adaptor.
Try using a different adaptor and see if it helps.
You may also notice that your computer connects to some networks but not others.
It might be due to incompatibility issues between the adapter and the modem.
If the adaptor is faulty, there’s little you can do to fix it, and you can only replace it.
You can find many inexpensive Wi-Fi adapters that you can connect to your PC via USB.
11. Other Issues

You may try all the above solutions and still can’t connect to Wi-Fi.
Here are some other things to try:
- Move your computer closer to the modem.
- Make sure your organization hasn’t banned your MAC.
- Check if too many devices have been connected to the same Wi-Fi.
- Change the modem’s IP address.
- Contact your ISP or your office’s IT department.


